Hey there, fellow baking enthusiast! Let me share with you my absolute favorite Classic Lemon Bars Recipe that never fails to bring smiles to everyone's faces! You know what makes the Classic Lemon Bars Recipe so special? It's that magical combination of a melt-in-your-mouth buttery shortbread crust topped with a sunshine-bright, perfectly balanced lemon filling that'll make your taste buds dance! I've made this Classic Lemon Bars Recipe countless times, and let me tell you, the sweet and tangy flavors come together perfectly in every bite. Whether you're a seasoned pro or just starting your baking journey, I'm here to walk you through this Classic Lemon Bars Recipe step by step, like a friend! Trust me, these bars will become your go-to dessert for any occasion!

Why You'll Love This Recipe?
These The Best Clasic Lemon Bars the perfect combination of a crisp, buttery shortbread base and a silky smooth, tangy lemon curd filling. The Classic Lemon Bars Recipe has been tested countless times to achieve the perfect texture - not too firm and not too runny. The shortbread crust provides a sturdy foundation while remaining delicate and tender, while the lemon filling offers a bright, refreshing taste that's perfectly balanced between sweet and tart.
Jump to:
Ingredients
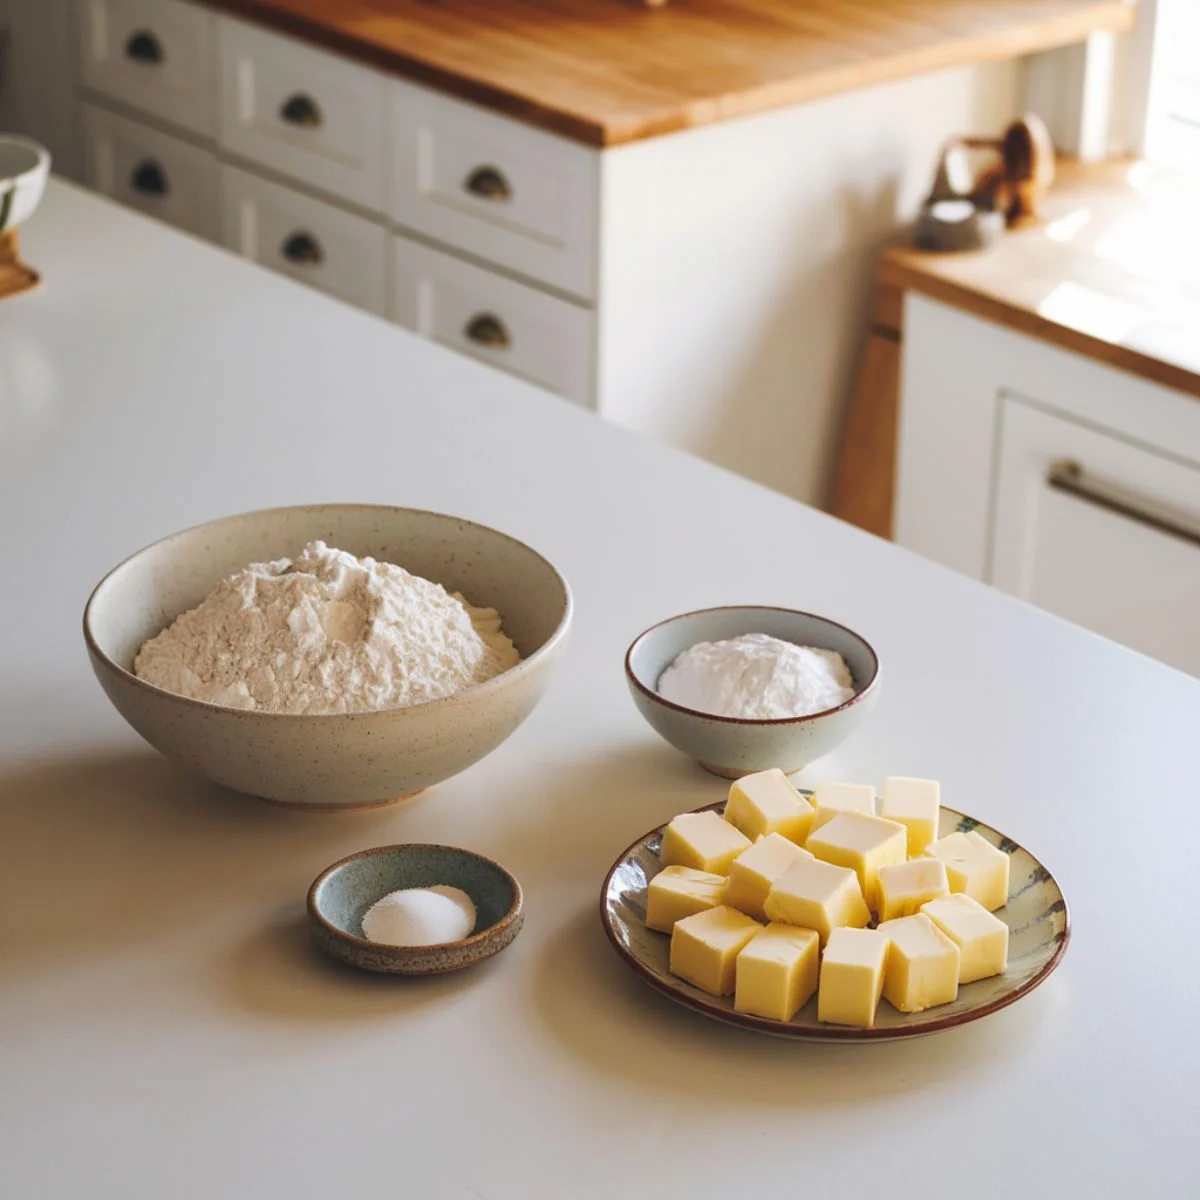
The Shortbread Crust:
- 2 cups all-purpose flour
- ½ cup powdered sugar
- 1 cup unsalted butter, cold and cubed
- ¼ teaspoon salt
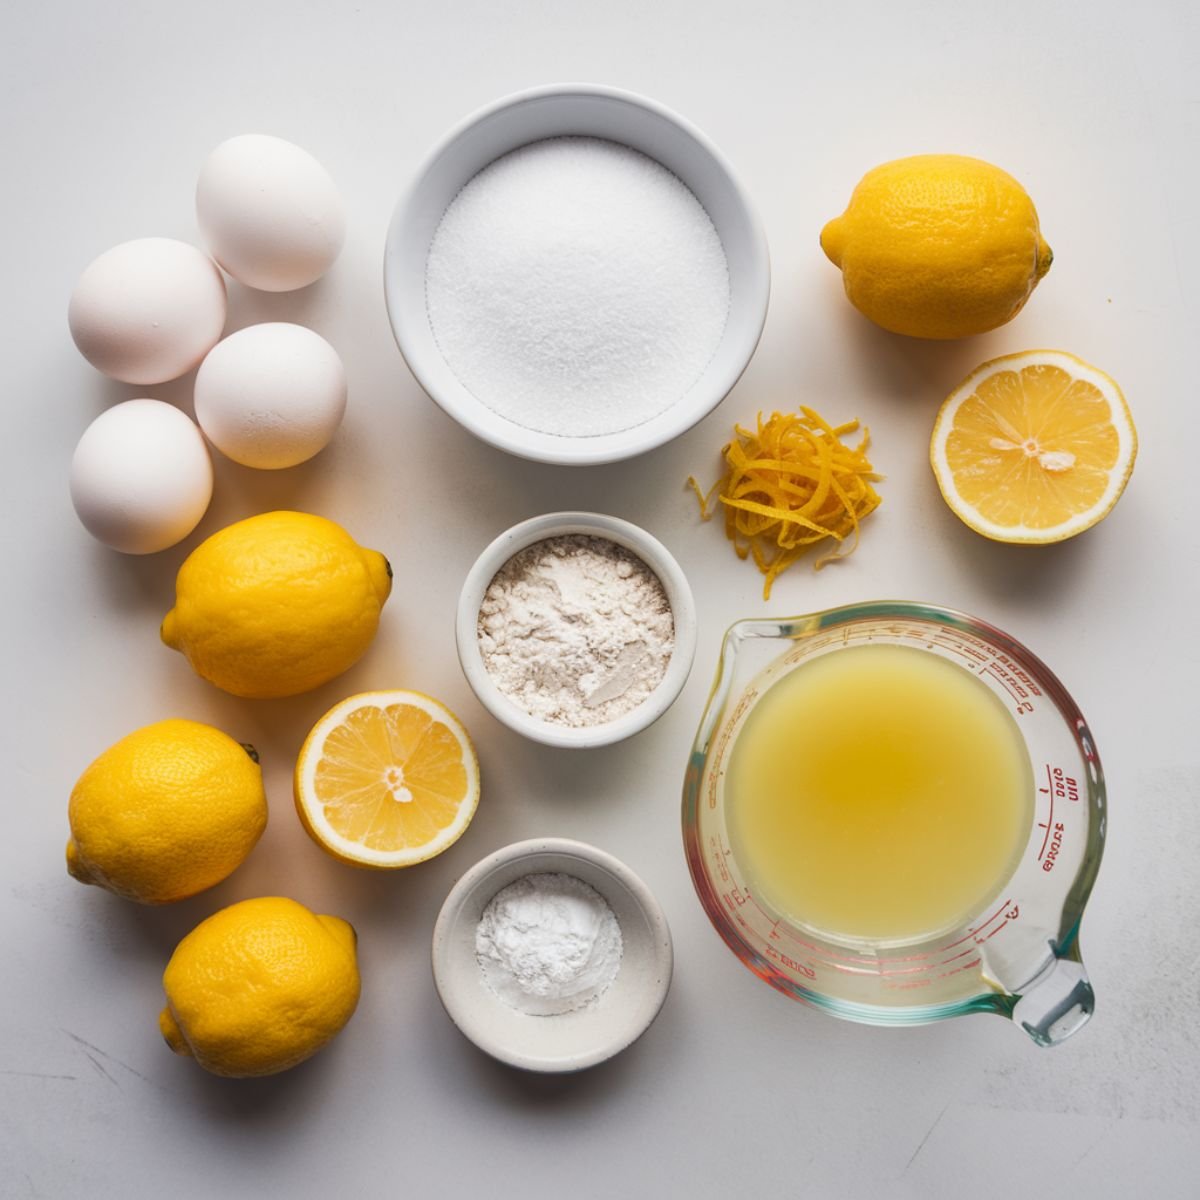
The Lemon Filling:
- 4 large eggs
- 2 cups granulated sugar
- ⅓ cup all-purpose flour
- ⅔ cup fresh lemon juice (about 4-5 medium lemons)
- 2 tablespoons lemon zest
- Powdered sugar for dusting
Equipment For Classic Lemon Bars Recipe
- 9x13 inch baking pan
- Parchment paper
- Food processor (optional, but recommended for the crust)
- Microplane or zester
- Mixing bowls
- Whisk
- Fine-mesh strainer for dusting
- Instructions
Instructions
Preparing the Crust
- Preheat your oven to 350°F (175°C). Line a 9x13 inch baking pan with parchment paper, leaving some overhang on the sides for easy removal.
- In a food processor, combine flour, powdered sugar, and salt. Pulse briefly to mix.
- Add the cold, cubed butter to the flour mixture. Pulse until the mixture resembles coarse crumbs and starts to come together.
- Press the mixture firmly and evenly into the prepared pan. Use the bottom of a measuring cup to ensure it's packed tightly.
- Bake the crust for 20-22 minutes, or until lightly golden around the edges.
Making the Lemon Filling
- While the crust bakes, prepare the filling. In a large bowl, whisk together eggs and granulated sugar until well combined.
- Add flour and whisk until no lumps remain.
- Stir in fresh lemon juice and zest until thoroughly mixed.
- When the crust is done, remove it from the oven but leave the oven on.
- Pour the filling over the hot crust and return to the oven.
- Bake for 22-25 minutes, or until the filling is set and doesn't jiggle when gently shaken.
Finishing and Storage
- Allow the bars to cool completely at room temperature (about 2 hours).
- Once cooled, lift the bars out of the pan using the parchment paper overhang.
- Dust generously with powdered sugar just before serving.
- Cut into squares using a clean, sharp knife.
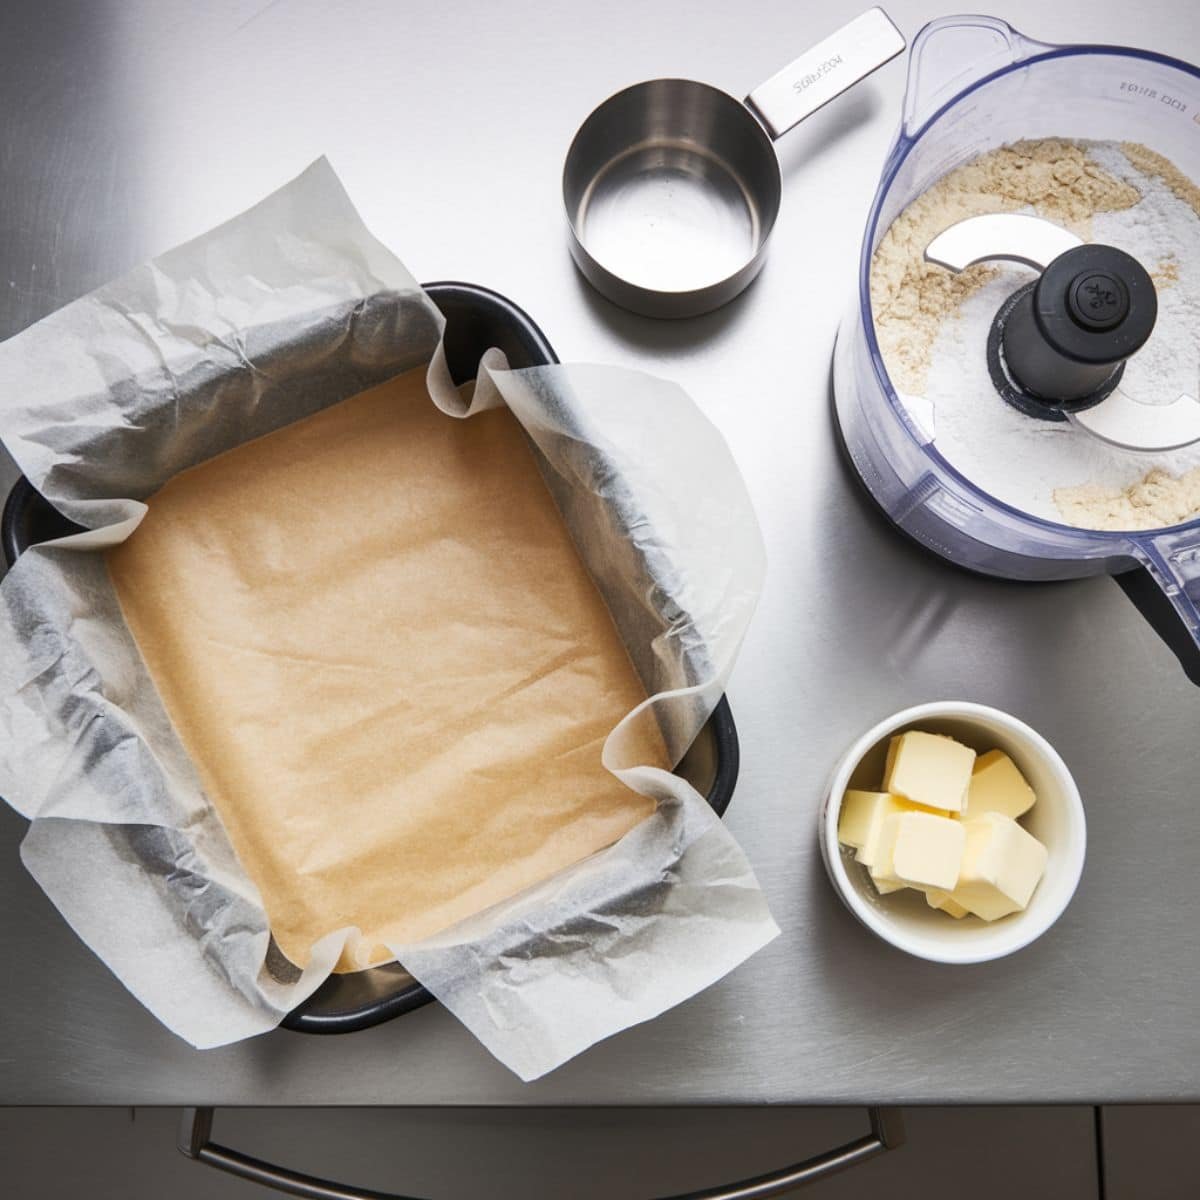
- Preparing the Crust
Pressed crust baked to golden in a parchment-lined pan.
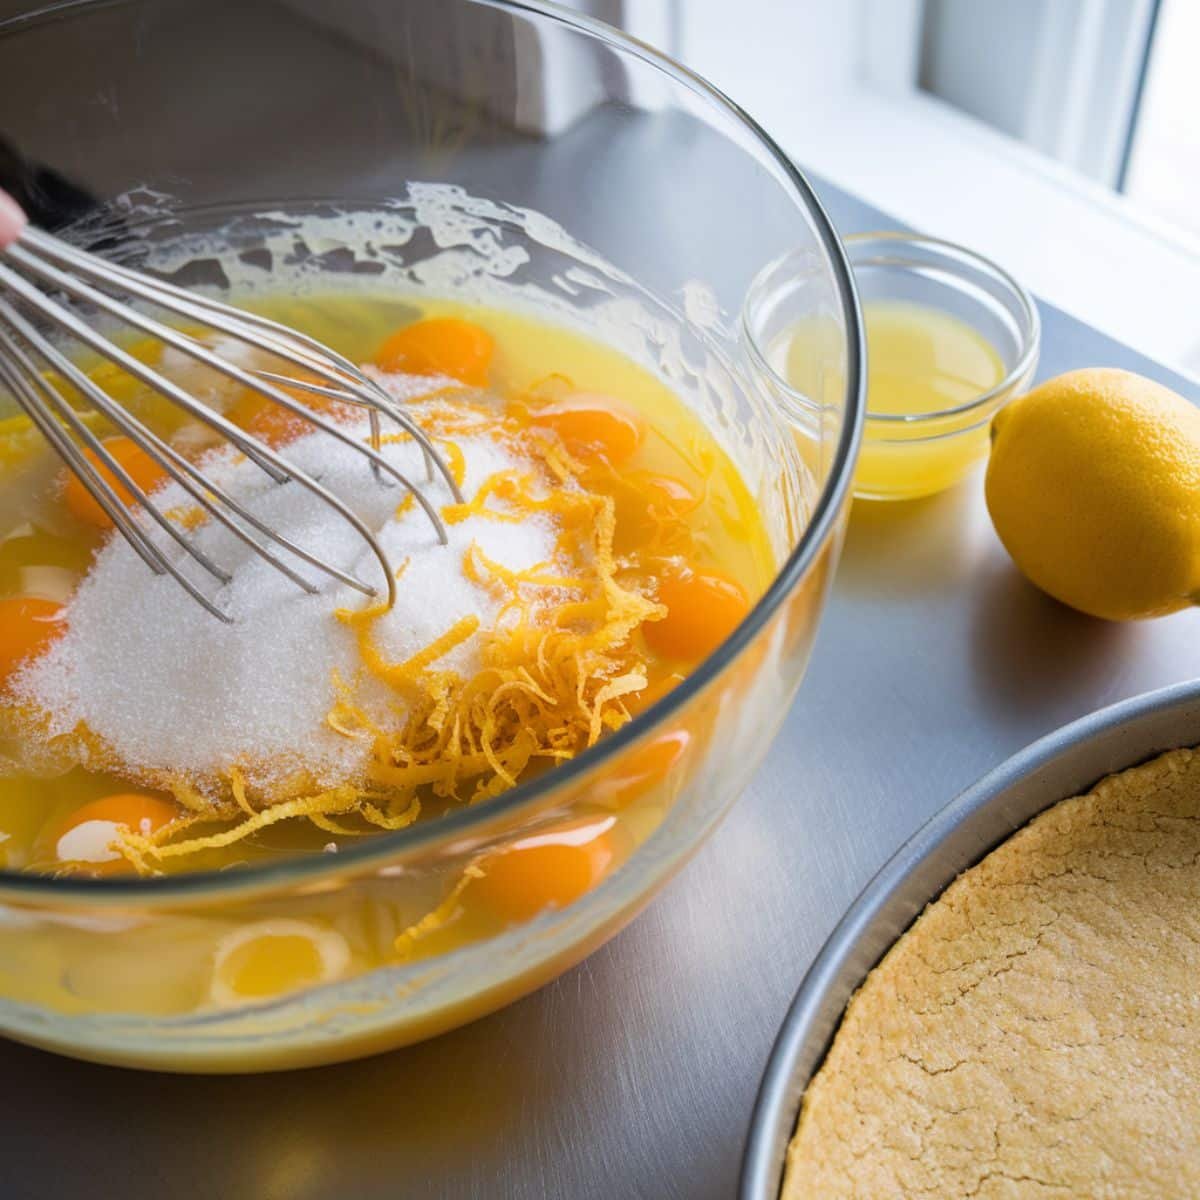
- Making the Filling
Smooth lemon filling poured over hot crust and baked.
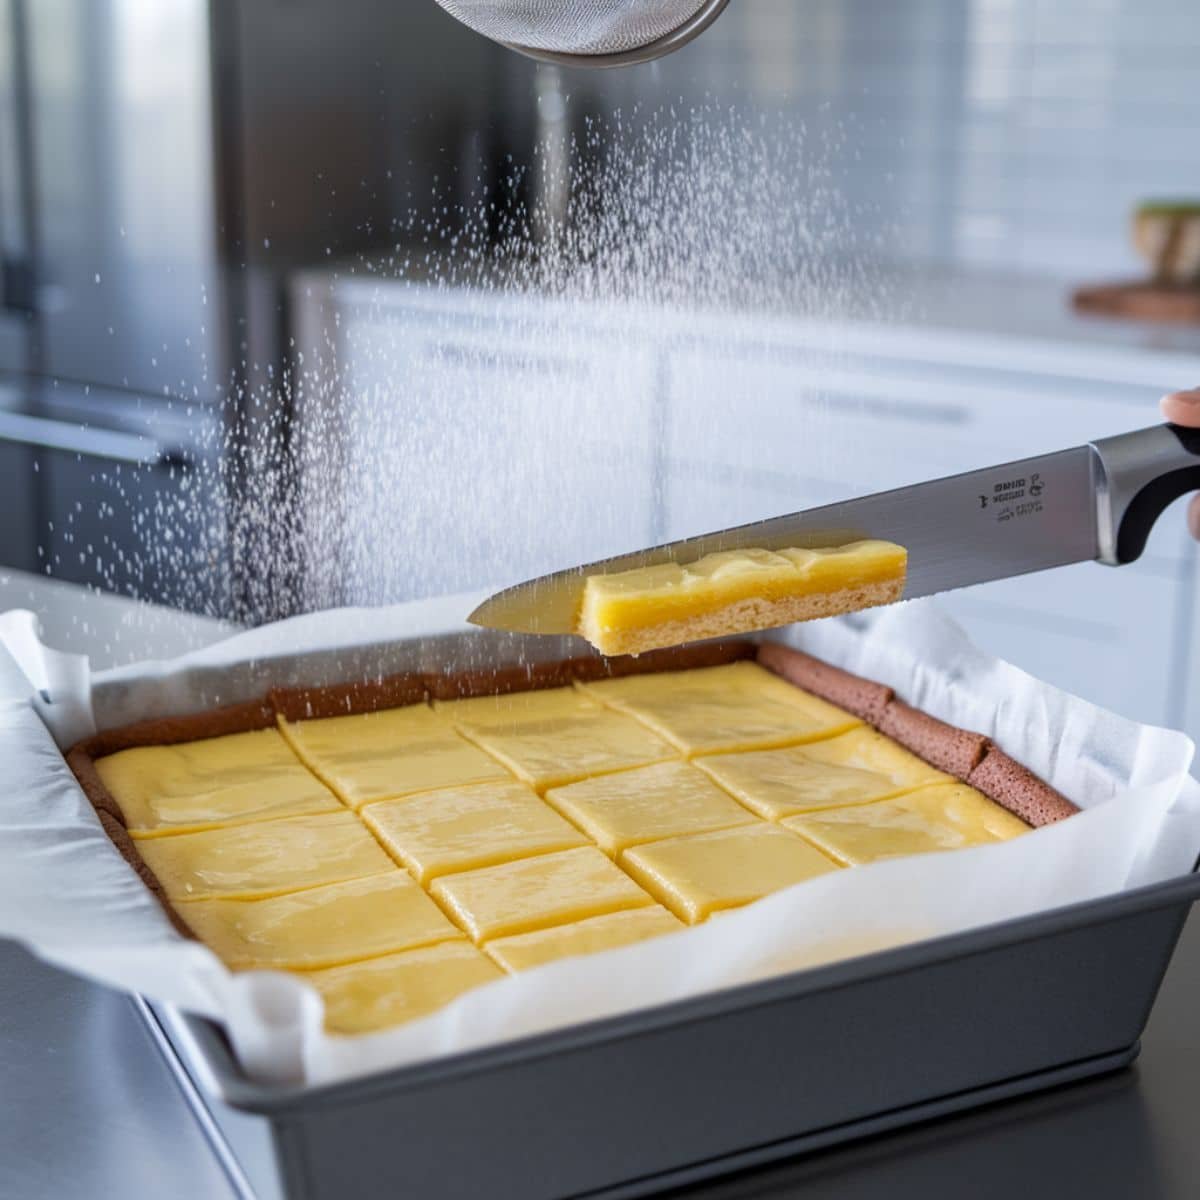
- Finishing
Cooled bars sliced and dusted with powdered sugar.
Variations
- Gluten-Free Version: Replace all-purpose flour with a 1:1 gluten-free flour blend.
- Meyer Lemon Variation: Use Meyer lemons for a slightly sweeter, more floral taste.
- Lime Bars: Substitute lime juice and zest for a different citrus twist.
- Shortbread Crust Options: Add ½ teaspoon vanilla extract or 1 tablespoon lemon zest to the crust for extra flavor.
Storage
- Room Temperature: Store in an airtight container for up to 2 days.
- Refrigerator: Keep fresh for up to 1 week.
- Freezer: Wrap well and freeze for up to 3 months.
Dietary Notes
- These lemon bars are:
- Nut-free
- Vegetarian
- Dairy-free if using plant-based butter
- Can be made gluten-free with appropriate flour substitution
Top Tips
- Use fresh lemon juice, not bottled. The flavor difference is significant.
- Cold butter is crucial for a flaky, tender crust.
- Don't overbake the filling - it should be just set but still have a slight wobble.
- Clean your knife between cuts for the cleanest squares.
- Wait until the bars are completely cool before cutting.
FAQ
Why are my lemon bars rubbery?
Classic Lemon Bars Recipe become rubbery when they're overcooked or when too much flour is added to the filling. To prevent rubbery texture, bake just until the filling is set with a slight jiggle in the center (around 22-25 minutes at 350°F), and measure flour precisely using the spoon-and-level method.
Is it better to bake lemon bars in a glass or metal pan?
Metal pans are better for baking Classic Lemon Bars Recipe
because they conduct heat more evenly and produce crispier crusts. While glass pans work, they can lead to overcooked edges and undercooked centers. For best results, use a light-colored aluminum pan lined with parchment paper.
Why are my lemon bars rubbery?
Lemon bars become rubbery when they're overcooked or when too much flour is added to the filling. To prevent rubbery texture, bake just until the filling is set with a slight jiggle in the center (around 22-25 minutes at 350°F), and measure flour precisely using the spoon-and-level method.
Where were lemon bars created?
Lemon bars were created in California during the 1960s by the Betty Crocker team. They became popular through community cookbooks and gained widespread recognition when Betty Crocker published the recipe in their "Cookie Book" series, making them a classic American dessert.
How long will lemon bars stay fresh?
Classic Lemon Bars Recipe stay fresh for up to 2 days at room temperature or 1 week in the refrigerator when stored in an airtight container. For longer storage, you can freeze them for up to 3 months. Wait to dust with powdered sugar until ready to serve.
Delicious,and Easy: Your Go-To Classic Lemon Bars Recipe
Hey baking friends! You're going to love how versatile this Classic Lemon Bars Recipe is - I've brought these zesty delights to everything from cozy family dinners to fancy celebrations, and they always steal the show! The secret to their crowd-pleasing charm? It's all in that dreamy combination of the rich, buttery shortbread crust and that bright, sunshine-y lemon filling that's perfectly balanced. Once you try these bars, I know they'll become your go-to dessert too!
I'd love to hear about your baking adventure - don't forget to drop a comment below and share your experience!
If you loved this Classic Lemon Bars Recipe, why not explore some other delightful options? Try the Mini Pecan Pies Recipe for a perfect bite-sized indulgence, or whip up the Cloud Bread Recipe for a light and airy treat. If you're in the mood for something rich and decadent, the Classic Chocolate Babka Recipe is a must-try with its irresistible swirls of chocolate. And for a nostalgic and comforting snack, the Cinnamon Toast Recipe is a simple yet satisfying favorite. No matter which recipe you choose, happy baking and enjoy every bite
Related
Looking for other recipes like this? Try these:
Pairing
These are my favorite dishes to serve with Classic Lemon Bars Recipe
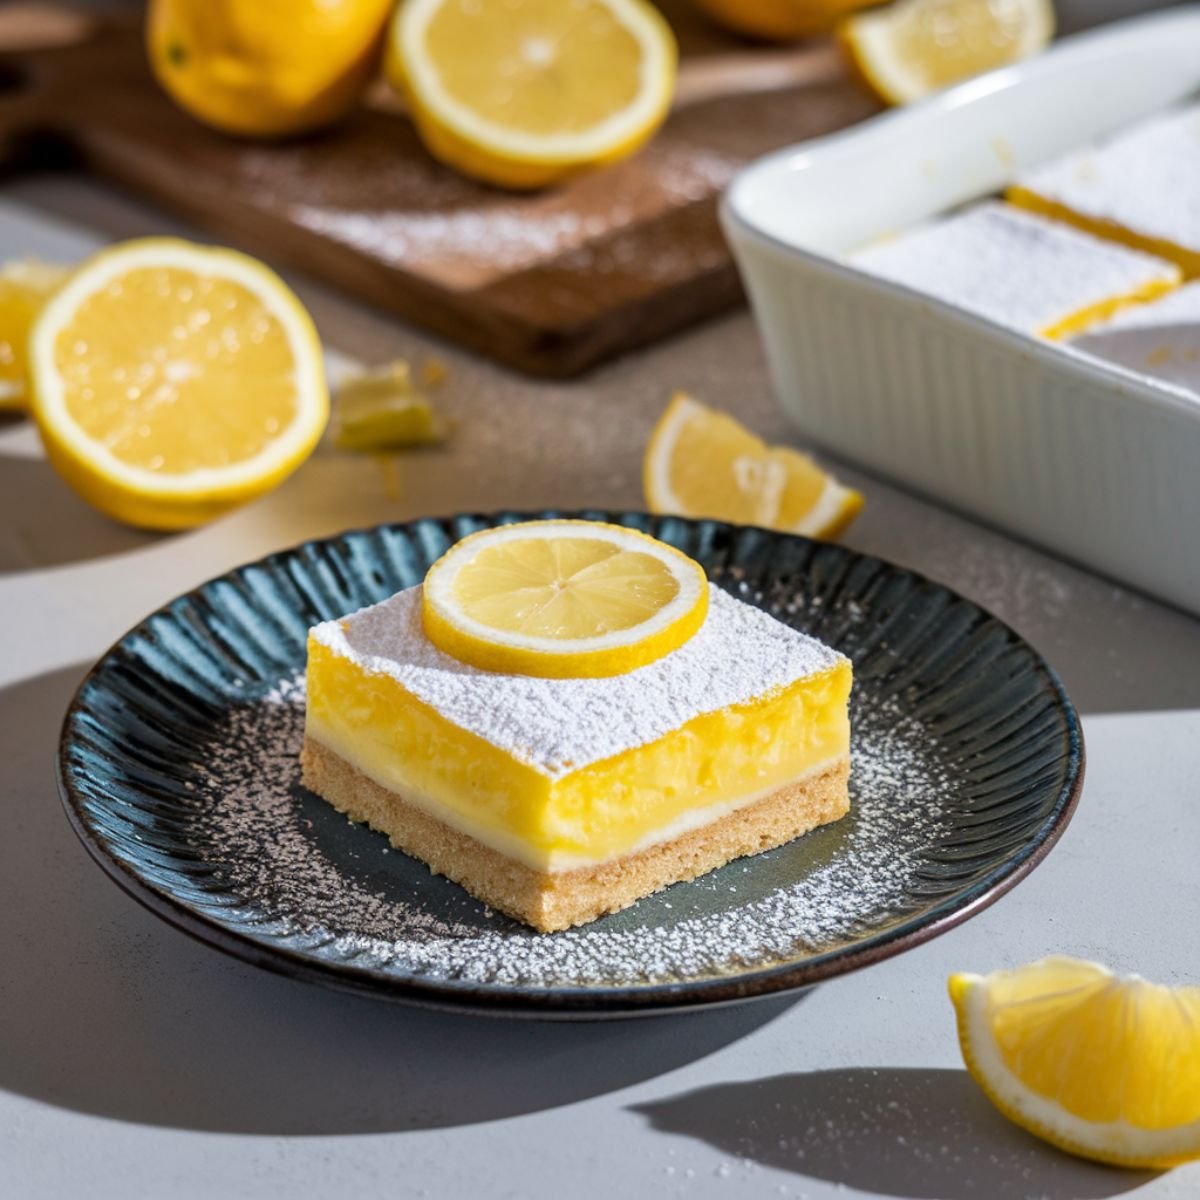
Classic Lemon Bars Recipe
Equipment
- 1 9x13 baking pan lined
- 1 Food processor optional
- 1 Zester
- 2 Mixing bowls
- 1 Whisk
- 1 Strainer for dusting
Ingredients
- 2 cups flour crust
- ½ cup powdered sugar crust
- 1 cup butter cold, cubed, crust
- ¼ teaspoon salt crust
- 4 large eggs filling
- 2 cups sugar filling
- ⅓ cup flour filling
- ⅔ cup lemon juice fresh
- 2 tablespoon lemon zest
- as needed tablespoons powdered sugar for dusting
Instructions
- Preheat oven
- Prepare crust
- Bake crust
- Prepare filling
- Pour filling
- Bake bars
- Cool bars
- Dust sugar
- Cut bars
Notes
- Use fresh lemon juice, not bottled
- Crust must be hot when adding filling
- Store in refrigerator for up to 1 week
- Can be frozen for up to 3 months
- Cut with clean, sharp knife for best results












Leave a Reply