
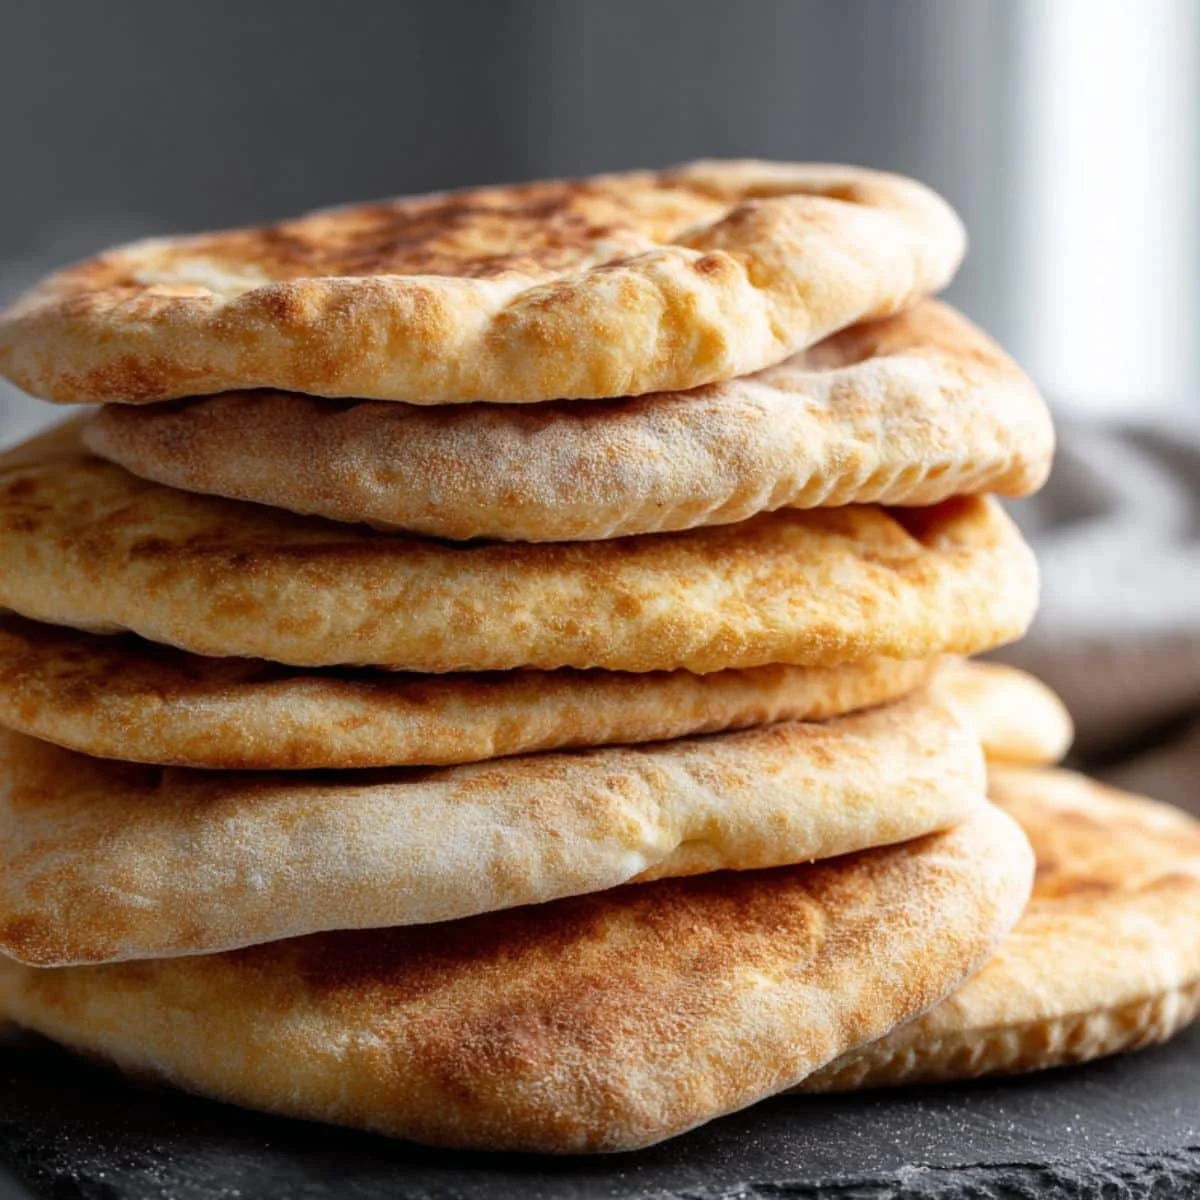
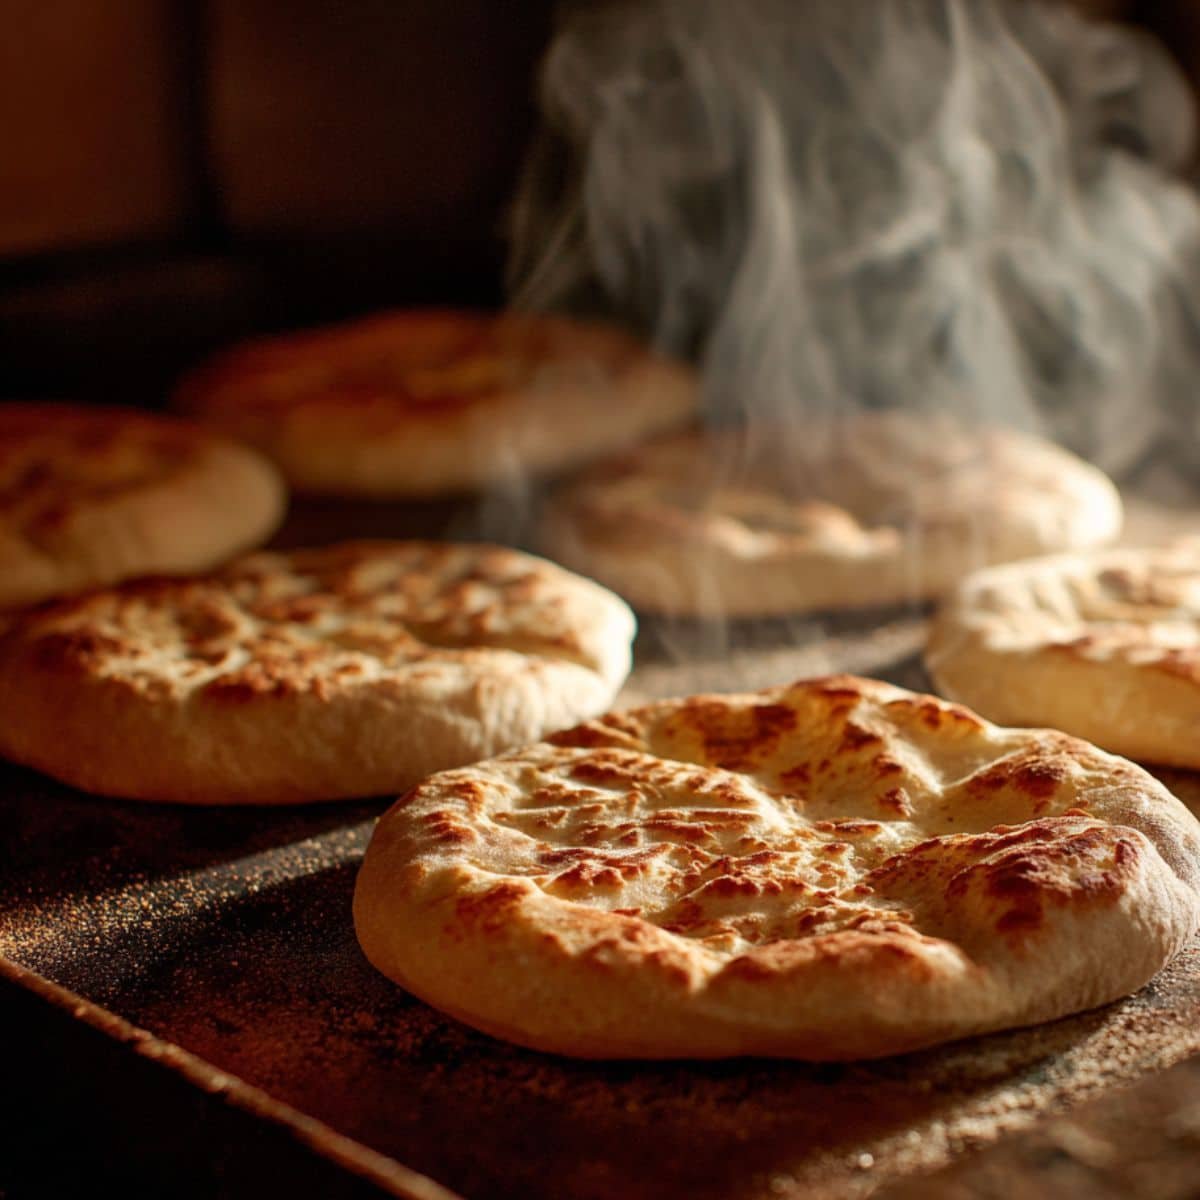
Welcome to the wonderful world of homemade gluten free pita bread! As someone who's been perfecting this recipe for years, I'm thrilled to share these game-changing techniques that will revolutionize your gluten-free baking journey. This isn't just another gluten free pita bread recipe; it's your ticket to creating restaurant-quality pocket bread that rivals any traditional version.
Many people assume that achieving the perfect pocket and soft texture in gluten free pita bread is impossible, but I'm here to prove them wrong! Through countless kitchen experiments and happy accidents, I've discovered the exact combination of ingredients and techniques that create beautifully puffed, tender gluten free pita bread every single time. Get ready to impress your family and friends with this foolproof method.
The Science Behind Perfect Gluten Free Pita Bread
The secret to exceptional gluten free pita bread lies in understanding how alternative flours behave differently from wheat flour. Without gluten's natural binding properties, we need to create structure through careful ingredient selection and precise technique. The magic happens when steam builds up inside the dough during baking, creating those coveted pockets that make gluten free pita bread so versatile.
What makes this gluten free pita bread recipe truly special is the unique blend of flours and binding agents that mimic gluten's elasticity. By combining rice flour, tapioca starch, and a touch of xanthan gum, we create a dough that's both flexible enough to roll thin and strong enough to puff into perfect pockets. This scientific approach ensures your gluten free pita bread will have the ideal texture and taste that everyone will love.
Jump to:
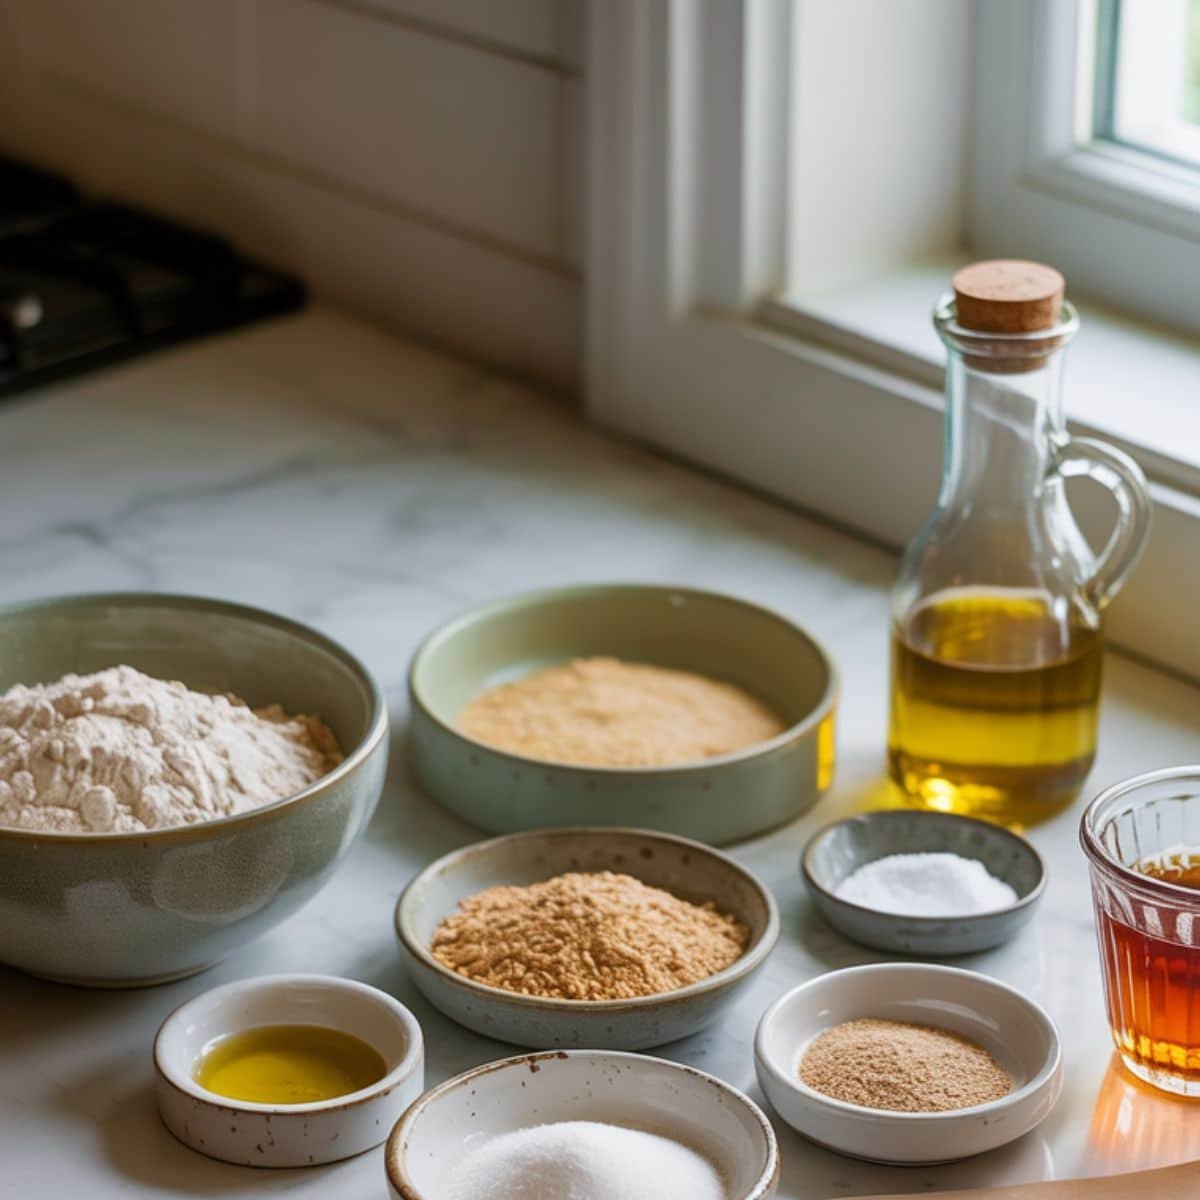
Ingredients
- Rice flour blend
- Tapioca starch
- Xanthan gum
- Active dry yeast
- Warm water
- Olive oil
- Salt
- Sugar
- Psyllium husk powder
- Apple cider vinegar
See recipe card for quantities.
Instructions
Prepare the Dough
- Dissolve yeast and sugar in warm water; let foam for 5 minutes
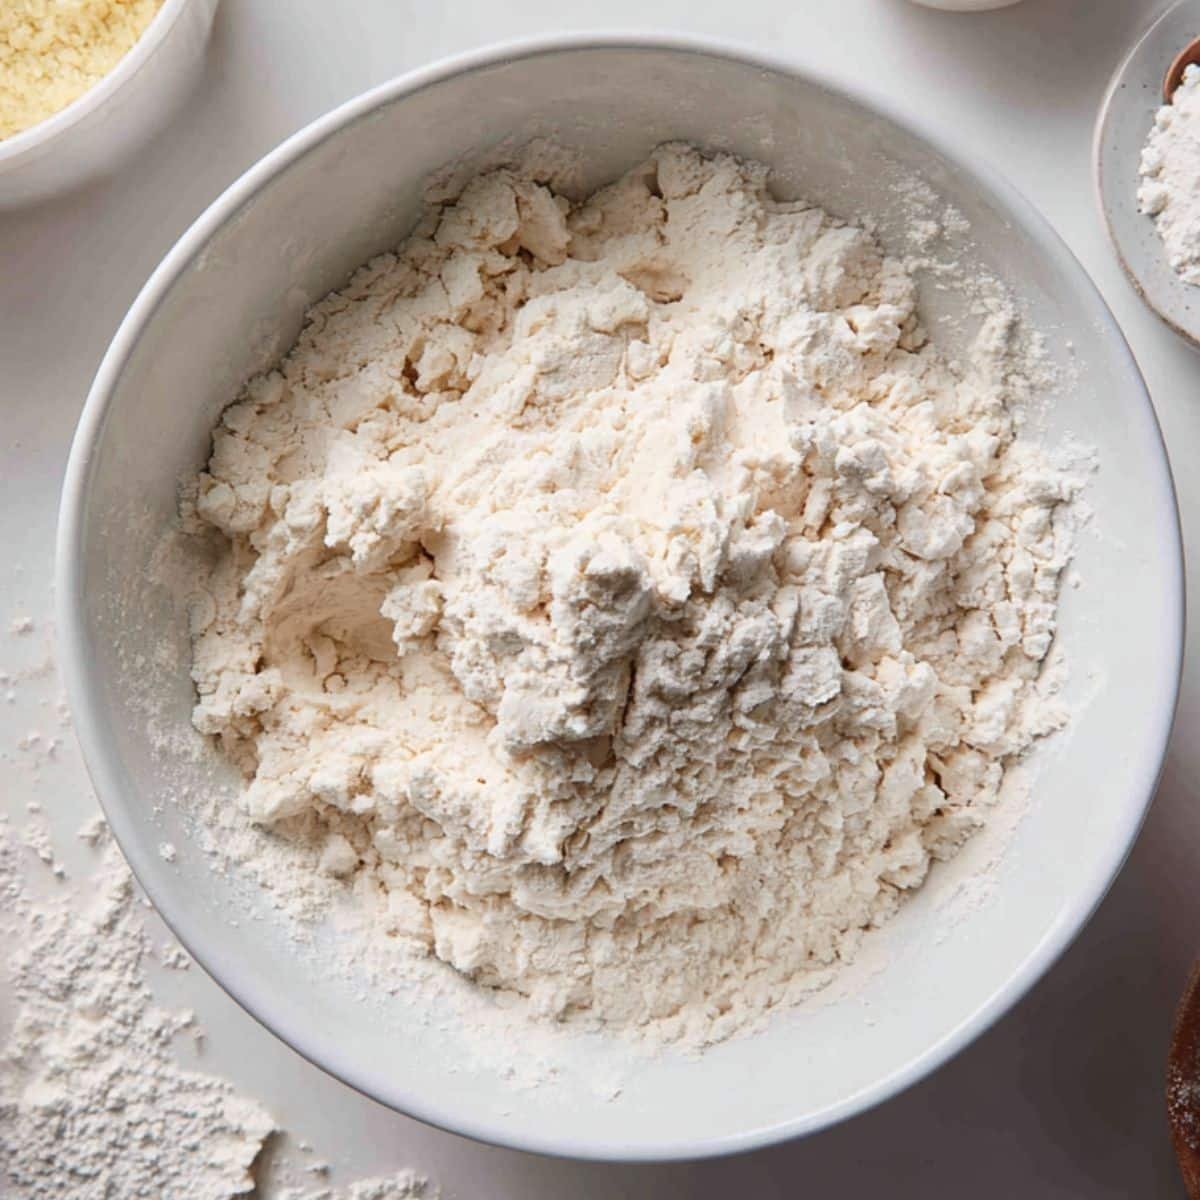
- Mix all dry ingredients in a large bowl
- Combine wet ingredients with yeast mixture
- Knead until smooth and elastic dough forms
First Rise and Shaping
- Place dough in oiled bowl; cover and rise for 1 hour
- Divide into 8 equal portions
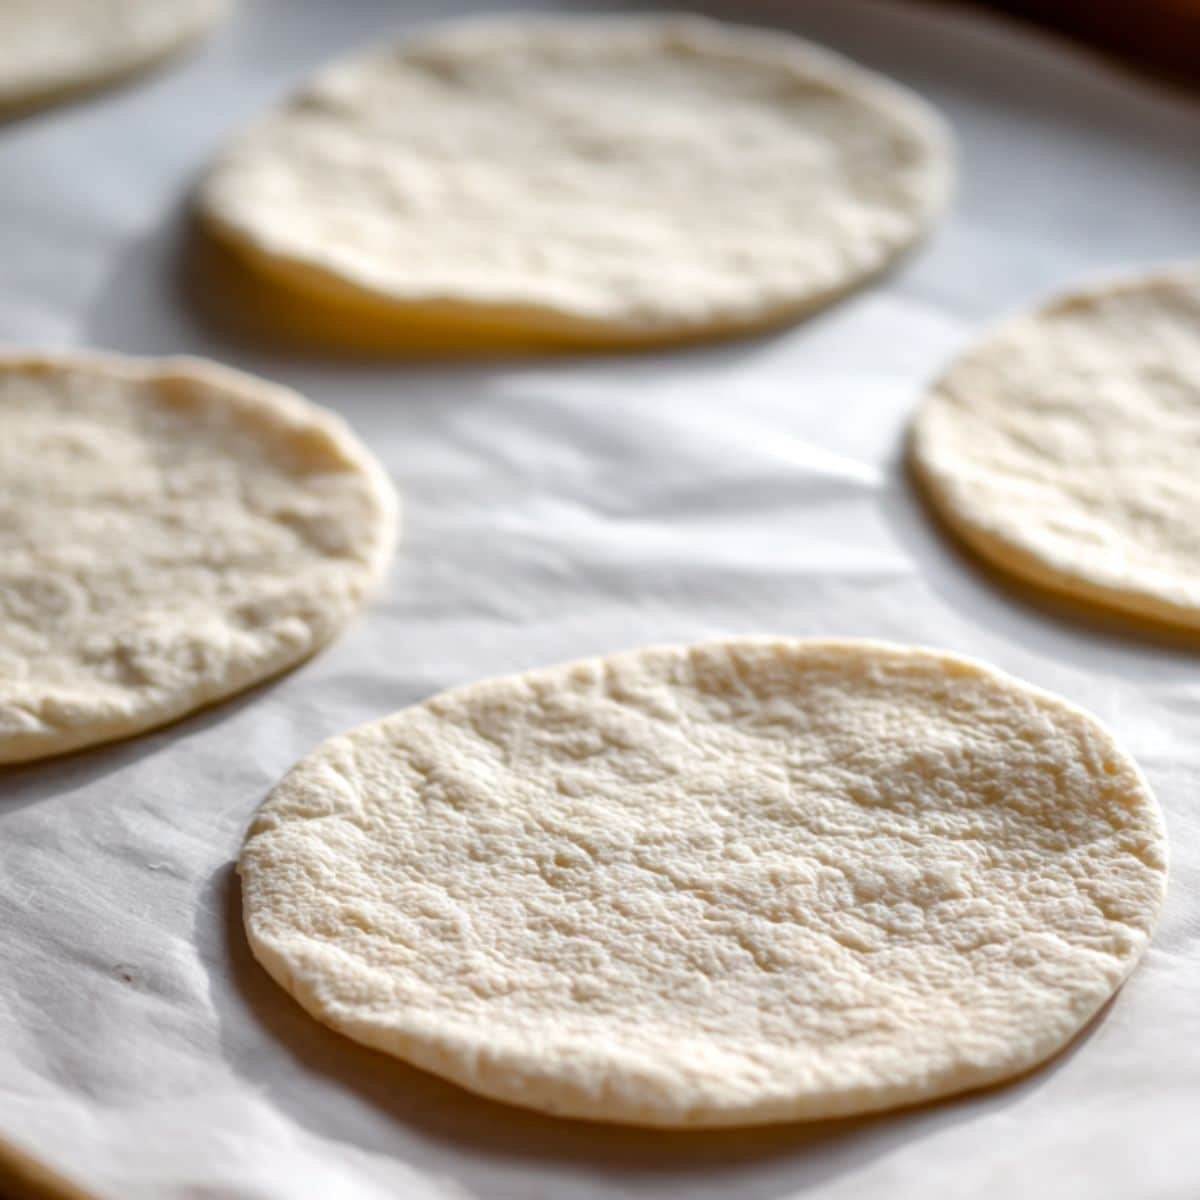
- Roll each piece into thin 6-inch circles
- Let rest on parchment paper for 15 minutes
Final Baking
- Preheat oven to 475°F with baking stone inside
- Bake each pita for 3-4 minutes until puffed
- Cool on wire rack to maintain soft texture
- Store in airtight container when completely cooled
- Prepare the Dough: Combine yeast mixture, dry & wet ingredients, knead
- First Rise & Shaping: Roll into circles, rest on parchment before baking
- Final Baking: Bake on hot stone until puffed, then cool on rack
Equipment For Gluten Free Pita Bread
- Large mixing bowl
- Kitchen scale for accurate measurements
- Stand mixer with dough hook
- Rolling pin
- Baking stone or heavy baking sheet
- Clean kitchen towels
- Wire cooling rack
- Bench scraper for easy handling
Expert Cooking Tips
- Use a kitchen scale for precise flour measurements; gluten free baking demands accuracy
- Ensure water temperature is between 105-110°F for optimal yeast activation
- Don't skip the resting period; it allows the flours to fully hydrate
- Roll dough evenly to prevent thick spots that won't puff properly
- Bake on the hottest oven setting with preheated stone for best results
- Steam is crucial; never open oven door during the first 3 minutes of baking
Recipe Variations
- Mediterranean herb version: Add dried oregano, thyme, and rosemary to the flour mixture
- Whole grain option: Substitute ⅓ of rice flour with sorghum or millet flour
- Protein-packed alternative: Include 2 tablespoons of chickpea flour for added nutrition
- Sweet variation: Add 1 tablespoon honey and cinnamon for breakfast pitas
- Dairy-free option: Replace any milk-based ingredients with plant alternatives
- Oil-free version: Use unsweetened applesauce instead of olive oil
Storage
- Cool completely before storing to prevent condensation and sogginess
- Wrap individual pitas in plastic wrap or parchment paper
- Store at room temperature for up to 3 days in airtight container
- Freeze wrapped pitas for up to 3 months in freezer bags
- Refresh day-old pitas by warming in damp paper towel in microwave
- Keep frozen pitas separated with parchment to prevent sticking
Grandmother's Ancient Secret That Changed Everything
Here's the secret that transformed my gluten free pita bread from good to absolutely extraordinary: the addition of psyllium husk powder and a splash of apple cider vinegar. My grandmother, who baked bread for over 60 years, taught me that the key to perfect texture lies in creating the right chemical reaction. The psyllium husk acts as a natural binder, replacing gluten's elasticity, while the acid helps activate the binding properties and creates a tender crumb.
The second part of this ancient wisdom involves the resting technique she called "the patient baker's reward." After shaping your gluten free pita bread rounds, letting them rest for exactly 15 minutes allows the flours to fully hydrate and the yeast to create just enough gas for perfect puffing. This simple step, often overlooked in modern recipes, is what separates amateur results from bakery-quality perfection.
FAQ
Does pita bread have gluten free?
Traditional pita bread contains wheat flour and is not gluten free, but you can easily make delicious gluten free pita bread at home using alternative flours like rice flour, tapioca starch, and binding agents. Many specialty bakeries and grocery stores now offer commercial gluten free pita bread options for those with celiac disease or gluten sensitivity.
Is anything at Pita Pit gluten free?
While Pita Pit doesn't typically offer gluten free pita bread, many locations provide gluten-free options like rice bowls and salads with your favorite fillings. Always check with your local restaurant about cross-contamination practices, as making homemade gluten free pita bread ensures complete control over ingredients and preparation methods for those with serious gluten sensitivities.
What is a good substitute for pita bread?
Excellent substitutes for traditional pita include corn tortillas, lettuce wraps, portobello mushroom caps, or homemade gluten free pita bread made with rice flour blends. Cauliflower wraps and coconut flour flatbreads also work wonderfully for Mediterranean-style meals, though nothing quite compares to the authentic pocket structure of properly made gluten free pita bread.
What bread is naturally gluten free?
Naturally gluten free bread options include corn tortillas, rice cakes, and breads made from alternative grains like quinoa, amaranth, or buckwheat flour. However, store-bought versions may contain cross-contamination, so making your own gluten free pita bread or other gluten-free breads at home guarantees safety and allows you to control all ingredients perfectly.
Conclusion: Expand Your Gluten Free Baking Journey
Now that you've mastered this incredible gluten free pita bread recipe, you're ready to explore even more amazing gluten-free baking adventures! The techniques you've learned here; precise measurements, proper hydration, and patience; will serve you well in all your future baking endeavors. Your homemade gluten free pita bread will become a family favorite that brings everyone together around the dinner table.
Consider trying these two complementary recipes that pair beautifully with your newfound gluten free pita bread skills. The Perfect Cottage Cheese Bread offers another protein-rich option for your gluten-free repertoire, while the Secrets to Perfect Apple Pie Bread Recipe will satisfy your sweet tooth with the same attention to detail and expert techniques. These recipes build upon the foundation you've established, creating a complete arsenal of gluten free pita bread mastery and beyond.
From my kitchen, with heart.
Emily Nelson ❤️
Related
Looking for other recipes like this? Try these:
Pairing
These are my favorite dishes to serve with Gluten Free Pita Bread


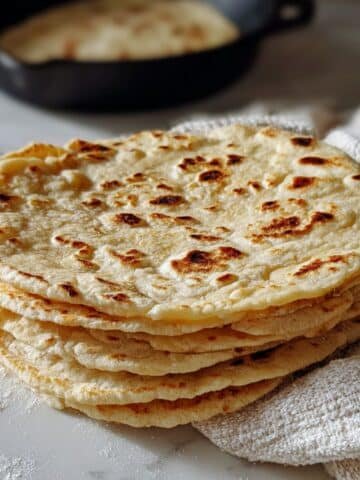
Gluten-Free Pita Bread
Equipment
- 1 Large mixing bowl For combining ingredients
- 1 Kitchen scale For precise flour measurements
- 1 Stand mixer with hook Optional but recommended
- 1 Rolling pin For shaping the dough
- 1 Baking stone Or heavy baking sheet
- 1 Clean kitchen towel To cover dough during rest
- 1 Wire cooling rack For proper cooling
- 1 Bench scraper Optional for dough handling
Ingredients
- 1 cup Rice flour blend Main flour base
- 0.5 cup Tapioca starch Adds flexibility
- 1 teaspoon Xanthan gum Acts as binder
- 1 tablespoon Psyllium husk Improves structure
- 1 teaspoon Apple cider vinegar Helps with binding reaction
- 1 tablespoon Sugar Feeds yeast
- 2 teaspoon Active dry yeast For rising
- 1 cup Warm water ~105–110°F
- 1 tablespoon Olive oil Adds softness
- 1 teaspoon Salt For flavor
Instructions
- Dissolve yeast and sugar in warm water
- Mix all dry ingredients
- Add wet ingredients to yeast mixture
- Knead until smooth dough forms
- Cover and rise 1 hour
- Divide dough into 8 equal parts
- Roll into 6-inch circles
- Let rest for 15 minutes
- Preheat oven to 475°F
- Bake 3–4 minutes until puffed
- Cool on wire rack


Leave a Reply