
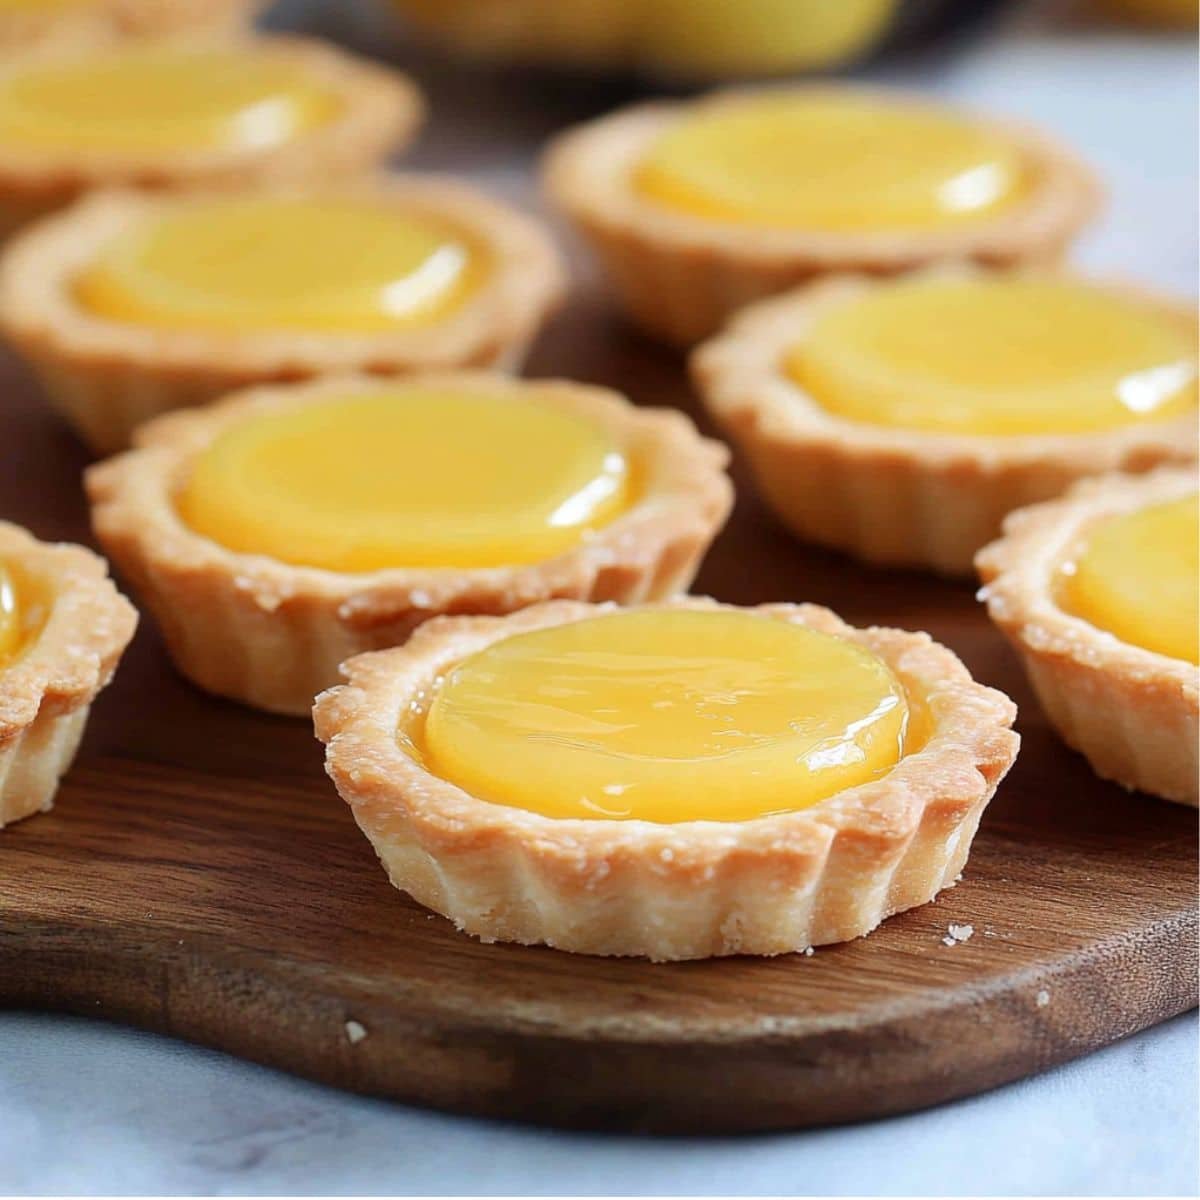
Mini Lemon Tarts are little bites of sunshine—tangy lemon curd in buttery, crisp shells that melt in your mouth. They’re perfect for brunches, showers, or a simple treat at home.
You don’t need fancy tools—just basic ingredients and 30 minutes. These Mini Lemon Tarts look bakery-perfect and taste even better.
Bright, creamy, and irresistibly zesty, Mini Lemon Tarts are a quick, crowd-pleasing dessert you’ll want to make again and again.
Why Mini Lemon Tarts Are the Elegant Classic Every Dessert Table Needs
Mini Lemon Tarts are timeless for a reason. Inspired by classic French patisserie, these citrusy treats turn simple ingredients into something elegant and unforgettable.
Their charm lies in both flavor and flexibility. From casual picnics to fancy dinner parties, Mini Lemon Tarts add a bright, refreshing touch to any setting.
Perfectly portioned, they offer built-in portion control and a light finish after heavier meals. The tangy lemon curd and crisp, buttery shell strike just the right balance.
Top your Mini Lemon Tarts with berries, whipped cream, or powdered sugar for added flair. Pair them with other bite-sized treats to create a stunning dessert spread.
No matter how you serve them, Mini Lemon Tarts are always the star of the table.
Jump to:
Ingredients
For the Mini Tart Shells:
- All-purpose flour
- Unsalted butter, cold and cubed
- Powdered sugar
- Large egg yolk
- Ice water
- Salt
For the Tangy Lemon Filling:
- Large eggs
- Fresh lemon juice
- Lemon zest
- Granulated sugar
- Unsalted butter
- Heavy cream
- Salt

See recipe card for quantities.
Ingredient Substitutions & Modifications:
- Gluten-free option: Replace all-purpose flour with 1:1 gluten-free baking flour
- Dairy-free version: Use vegan butter and coconut cream instead of dairy products
- Egg-free alternative: Try aquafaba (chickpea liquid) as an egg substitute, though texture may vary slightly
- Sugar alternatives: Coconut sugar or maple syrup can replace granulated sugar (adjust liquid accordingly)
- Graham cracker crust option: Crush 1½ cups graham crackers with ¼ cup melted butter for a no-bake alternative
Instructions
Make the Pastry and Bake the Shells
- Mix flour, powdered sugar, and salt in large bowl.
- Cut cold butter into cubes and work into flour until mixture resembles breadcrumbs.
- Add egg yolk and mix with fork.
- Add ice water gradually until dough comes together.
- Wrap in plastic and refrigerate 30 minutes.
- Preheat oven to 375°F (190°C).
- Roll dough to ⅛-inch thickness.
- Cut circles and press into tartlet shells.
- Prick bottoms with fork.
- Line with parchment and fill with pie weights.
- Bake 12-15 minutes until edges golden.
- Remove weights and bake 3-5 minutes more.
Pro tip: Keep ingredients cold for flakier pastry layers.
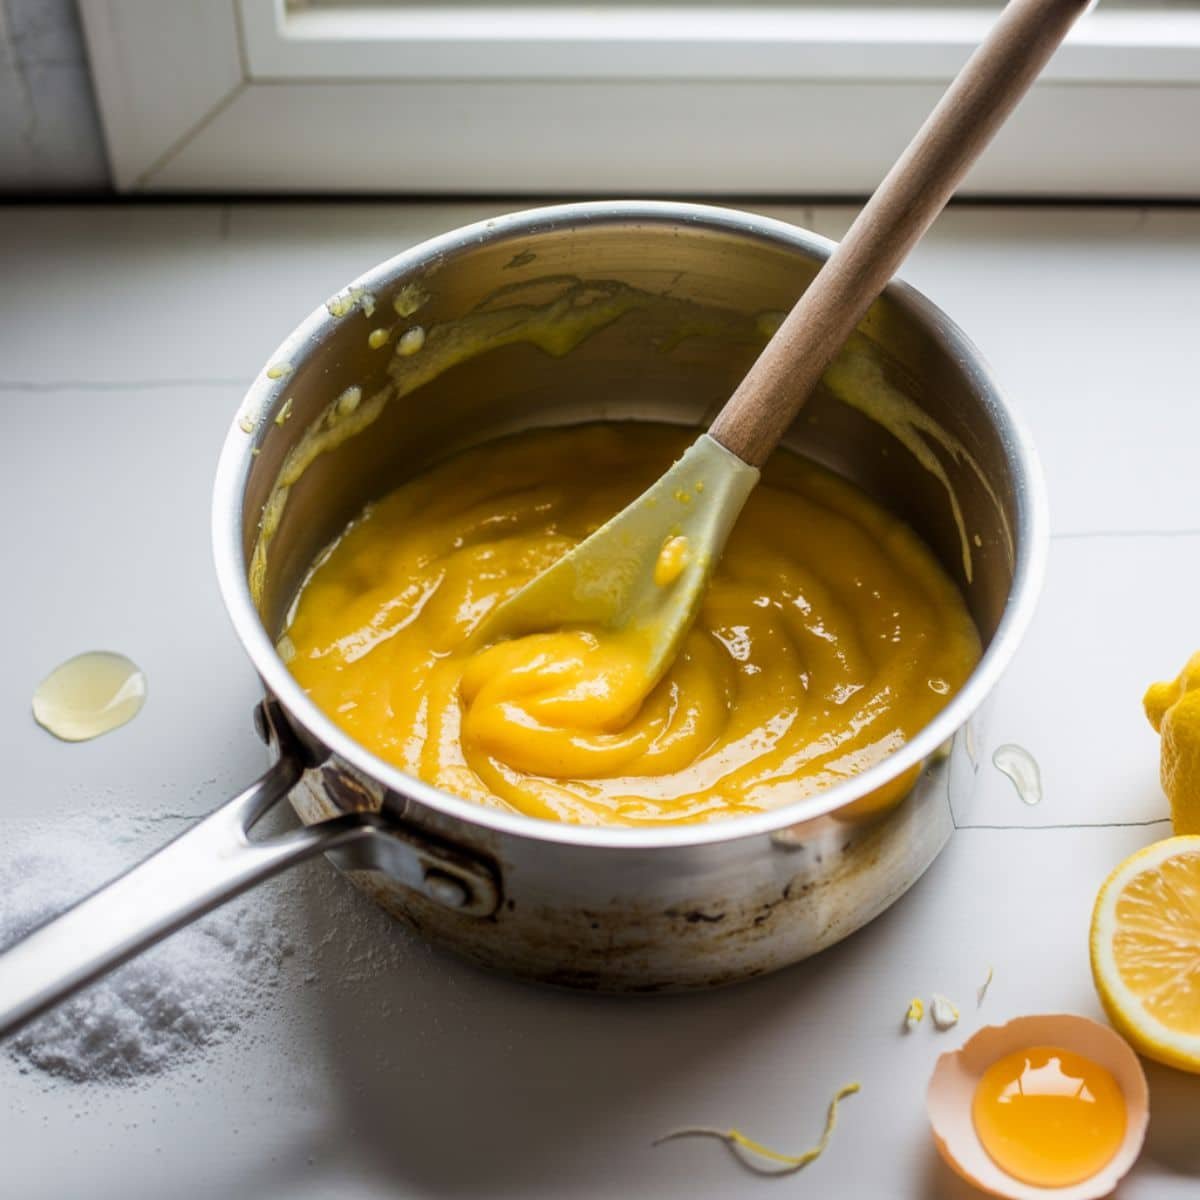
Create the Perfect Lemon Curd Filling
- Whisk eggs, lemon juice, zest, sugar, and salt in saucepan.
- Cook over medium-low heat, whisking constantly, 8-10 minutes.
- Cook until mixture coats back of spoon.
- Remove from heat and whisk in butter and cream.
Expert tip: Strain through fine-mesh sieve for ultra-smooth texture.
Assemble and Finish the Tarts
- Fill shells with warm lemon curd, about ¾ full.
- Bake 8-10 minutes until filling just set.
- Cool completely at room temperature.
- Refrigerate 2 hours before serving.

- Make the Pastry and Bake Shells: Preparing and blind baking the tart shells until golden and crisp
- Create the Lemon Curd Filling: Cooking lemon curd with eggs, zest, sugar, and butter until smooth

- Assemble and Finish the Tarts: Filling the tart shells and letting them chill for the perfect set
Equipment For Mini Lemon Tarts Recipe
- Mini Tart Pans: Muffin tins or 3-inch tart pans work best.
- Fine-Mesh Strainer: Removes lumps for a silky curd.
- Microplane Zester: Gives fine zest without bitterness.
- Digital Scale: Ensures precise, repeatable results.
- Pastry Brush: Great for egg wash or cleanup.
- Rolling Pin: French pins offer better control.
- Pie Weights: Use weights, beans, or rice for blind baking.
- Budget Tips: Try spoons for pressing dough and rice for weights.
Pro Cooking Tips for Mini Lemon Tarts
- Control the Temperature: Keep pastry ingredients cold and heat lemon curd gently—too hot scrambles eggs, too cool prevents thickening.
- Zest First: Always zest lemons before juicing for max flavor.
- Avoid Soggy Bottoms: Let tart shells cool fully before adding filling.
- Fix Grainy Curd: Blend warm curd with an immersion blender for smoothness.
- Blind Bake Right: Use parchment and pie weights (or beans/rice) to prevent puffing.
- Pick Good Lemons: Choose heavy, smooth-skinned lemons for best juice.
- Smart Timing: Make lemon curd while shells cool for better texture and sealing.
Variations
- Mini Lemon Meringue Tarts: Pipe and torch meringue on top for a classic twist.
- No-Bake Lemon Tarts: Use graham cracker crust with cream cheese filling.
- Strawberry Lemon: Add fresh strawberries for color and flavor contrast.
- Vegan Version: Use silken tofu, coconut cream, and vegan butter.
- Gluten-Free Crust: Use almond flour for a nutty, low-carb base.
- Lavender Lemon Tartlets: Add a pinch of culinary lavender for a floral note.
- Lemon Cheesecake Tarts: Blend in cream cheese for a richer filling.
Storage
Best Served Slightly Chilled: Remove from fridge 15 minutes before serving.
Refrigerate: Store tarts in airtight containers for up to 4 days.
Freeze Shells: Pre-bake, cool, and freeze shells for up to 3 months.
Freeze Assembled: Tarts can freeze for 1 month; thaw in fridge.
Make Ahead: Prepare shells 2 days ahead; curd up to 3 days in advance.
Entertaining: Assemble 2 days before your event for stress-free prep.
The Secret That Makes Mini Lemon Tarts Bakery-Worthy
A French pastry chef once whispered this tip to me: after making your lemon curd, whisk in a tablespoon of cold butter while it's still warm. That’s it. The result? Mini Lemon Tarts with a glossy, silky finish that looks straight out of a bakery. It’s a tiny step—but it makes a massive difference.
FAQ
Can you freeze lemon tartlets?
Yes, you can freeze mini lemon tarts for up to 3 months. Pre-baked tart shells freeze best - store them in airtight containers and fill with fresh lemon curd when ready to serve. Assembled lemon tartlets can be frozen for 1 month, though the filling texture may change slightly. Thaw slowly in the refrigerator for optimal results and creamy texture.
How do I stop my lemon tart from cracking?
Prevent mini lemon tarts from cracking by avoiding overbaking and temperature shock. Bake at 375°F until filling just sets with slight jiggle. Cool gradually at room temperature before refrigerating. Don't open oven door during baking. Use room temperature eggs and strain your lemon curd to ensure smooth consistency. Proper cooling prevents surface tension that causes cracks in lemon tartlets.
Do lemon tarts need to be refrigerated?
Yes, mini lemon tarts must be refrigerated due to their egg and dairy content. Store covered in the refrigerator for up to 4 days for food safety. The lemon curd filling contains eggs and cream, making refrigeration essential. Remove from fridge 15 minutes before serving for best flavor. Unrefrigerated lemon tartlets can spoil quickly and become unsafe to eat.
Why has my lemon tart curdled?
Mini lemon tarts curdle when eggs cook too quickly from excessive heat. Cook lemon curd over medium-low heat while whisking constantly. High temperatures or insufficient stirring cause egg proteins to scramble. If curdling occurs, immediately strain the mixture and blend with immersion blender. Use fresh eggs and maintain steady, gentle heat to prevent curdling in your lemon tartlets for smooth results.
Tiny Tarts, Big Flavor: Your Citrus Dessert Journey Starts Here
These Mini Lemon Tarts are proof that big flavor can come in the smallest, prettiest packages. With their golden, buttery crust and vibrant lemon curd, they strike that perfect sweet-tart balance we all crave. Whether you're baking them for a party, a picnic, or a solo citrus craving, they’re guaranteed to steal the spotlight—and spark plenty of “Can I have the recipe?” moments.
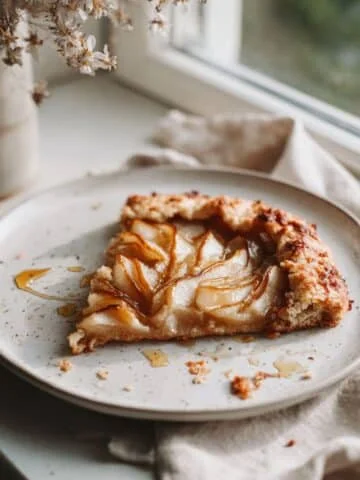
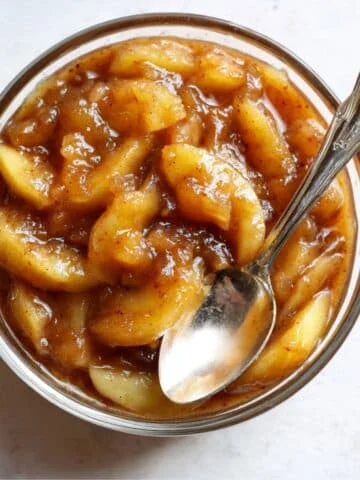
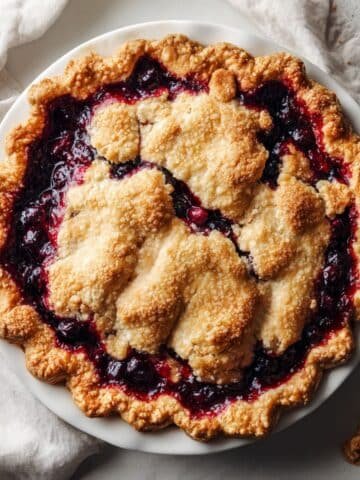
What makes this recipe a keeper isn’t just how gorgeous and delicious it is—it's how flexible it can be. Stick with the classic version for timeless charm, or play with flavors and toppings to make it truly your own. Once you master these, why stop there? Try our Easy Apple Tarts Recipe for a cozy, fruit-forward twist, or go for a show-stopping finish with the Perfectly Tart Lemon Meringue Pie Recipe—another citrus lover’s dream.
So go ahead—whisk, zest, and bake your way to a dessert that looks bakery-perfect and tastes even better. And if you give these Mini Lemon Tarts a try, I’d love to see your results! Share your photos and any fun flavor twists in the comments below. Let’s turn this recipe into your new signature dessert.
Related
Looking for other recipes like this? Try these:
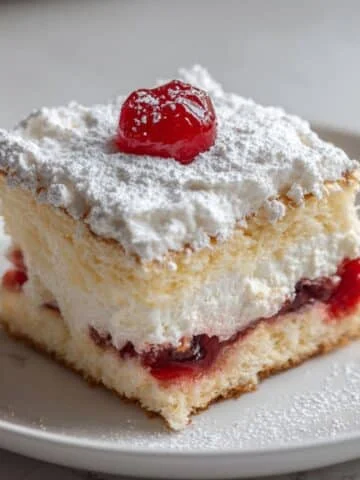
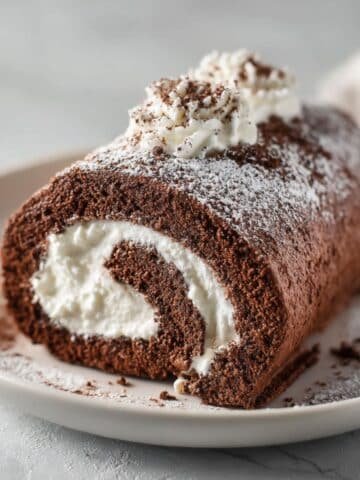
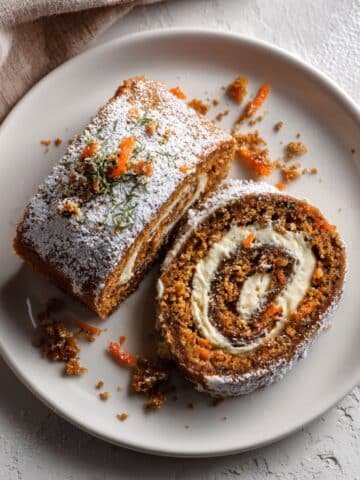
Pairing
These are my favorite dishes to serve with Mini Lemon Tarts

Mini Lemon Tarts
Equipment
- Mini tart pans Or mini muffin tin
- Fine-mesh strainer For silky smooth lemon curd
- Microplane/zester For fine, even zest
- Digital kitchen scale For accurate baking measurements
- Rolling pin French-style gives best control
- Pastry brush Optional, for egg wash
- Pie weights/beans For blind baking
Ingredients
Mini Tart Shells
- 1 ¼ cups All-purpose flour
- ½ cup Unsalted butter Cold and cubed
- ⅓ cup Powdered sugar
- 1 Large egg yolk
- 1–2 tablespoon Ice water Add gradually
- ⅛ teaspoon Salt
Lemon Filling
- 3 Large eggs
- ½ cup Fresh lemon juice
- 1 tablespoon Lemon zest
- ½ cup Granulated sugar
- 4 tablespoon Unsalted butter Add 1 tablespoon cold at end
- 2 tablespoon Heavy cream
- pinch Salt
Instructions
- Make and chill dough
- Roll and cut tart shells
- Blind bake with weights
- Cook lemon curd
- Add cold butter to curd
- Strain for smooth texture
- Fill shells and bake
- Chill before serving

Leave a Reply