
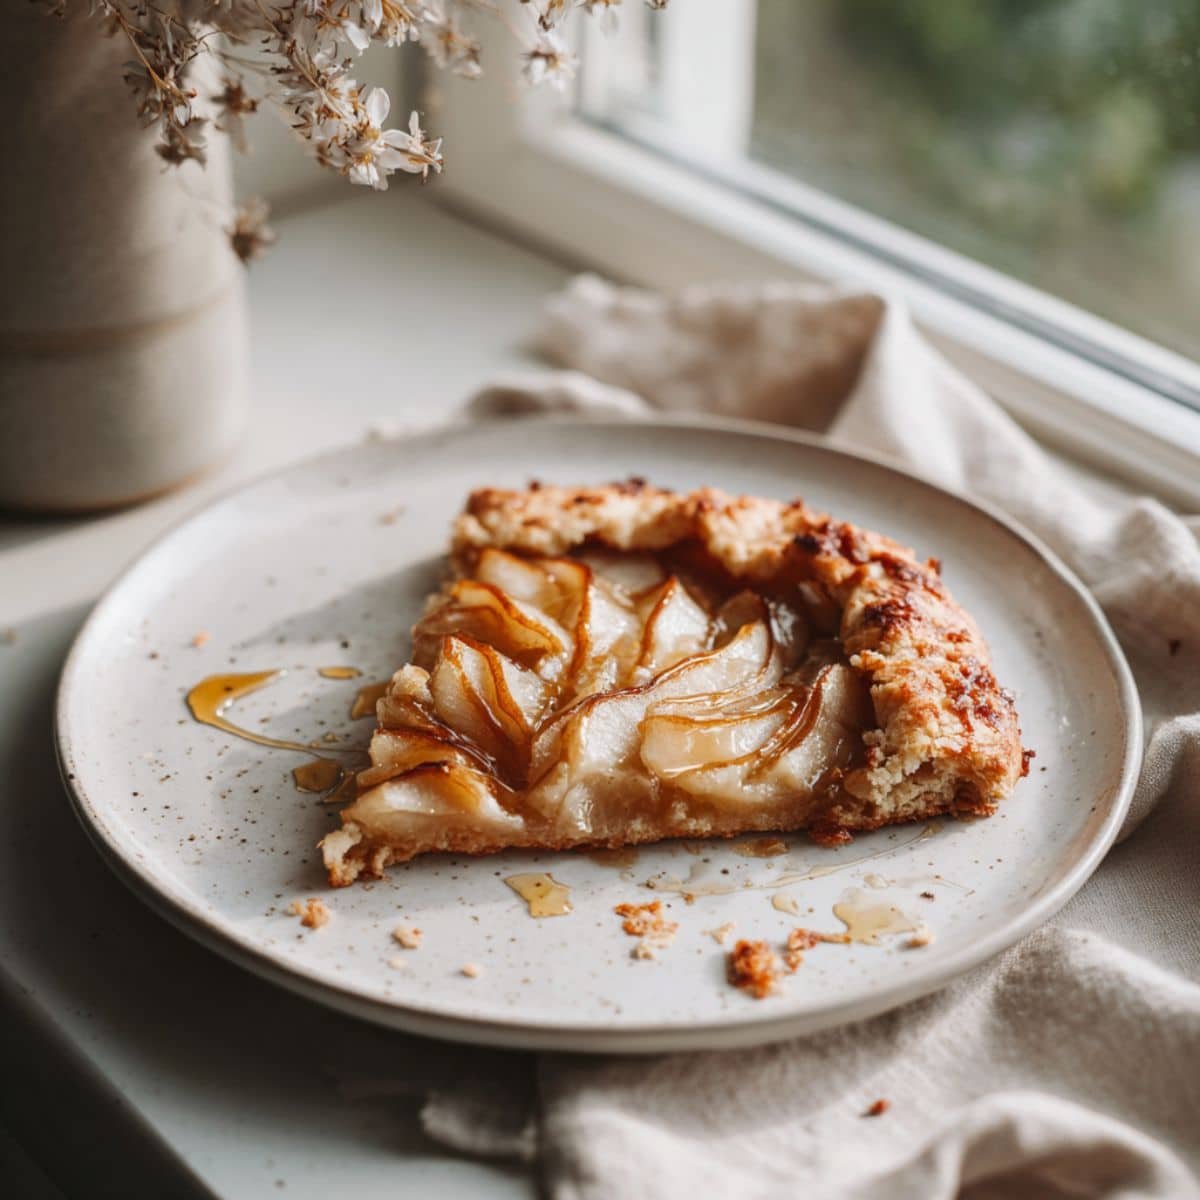
There's something absolutely magical about a pear galette recipe that combines buttery, flaky pastry with perfectly caramelized pears. Whether you're a seasoned baker or someone trying your hand at pastry for the first time, a pear galette recipe offers the perfect balance of elegance and simplicity. This rustic dessert has been enchanting home cooks for generations; and once you master the pear galette recipe, you'll find yourself making it again and again for special occasions and casual weeknight treats.
Creating a stunning pear galette recipe doesn't require fancy equipment or years of baking experience. The beauty of this classic pear galette recipe lies in its forgiving nature and the incredible aroma that fills your kitchen as it bakes. From the moment you start preparing the ingredients, you'll discover why this pear galette recipe has become a beloved favorite in kitchens around the world. Whether you prefer your galette warm with vanilla ice cream or at room temperature with a light dusting of powdered sugar, this pear galette recipe delivers restaurant-quality results that taste like you spent hours in the kitchen.
Why This Pear Galette Recipe Stands Out; A Rustic Masterpiece
What makes a pear galette recipe truly special is its incredible versatility and the way it celebrates the natural sweetness of fresh pears. Unlike traditional pies that require precise shaping and perfect lattice work, a pear galette recipe embraces a more relaxed, organic appearance that somehow looks even more sophisticated. The rustic charm of a homemade pear galette recipe comes from its imperfect edges and artfully arranged fruit; creating a dessert that looks like it came straight from a French countryside bakery.
The magic of a perfect pear galette recipe isn't just about combining ingredients; it's about understanding how each component works together to create something extraordinary. The crispy, buttery crust provides the ideal foundation for the juicy, caramelized pears that become the star of your pear galette recipe. Many bakers swear that once they discover their signature version of this pear galette recipe, they realize how simple, forgiving, and absolutely delicious homemade pastry can be. The combination of techniques, quality ingredients, and a bit of patience transforms your pear galette recipe from a simple dessert into an impressive centerpiece for any gathering.
Jump to:
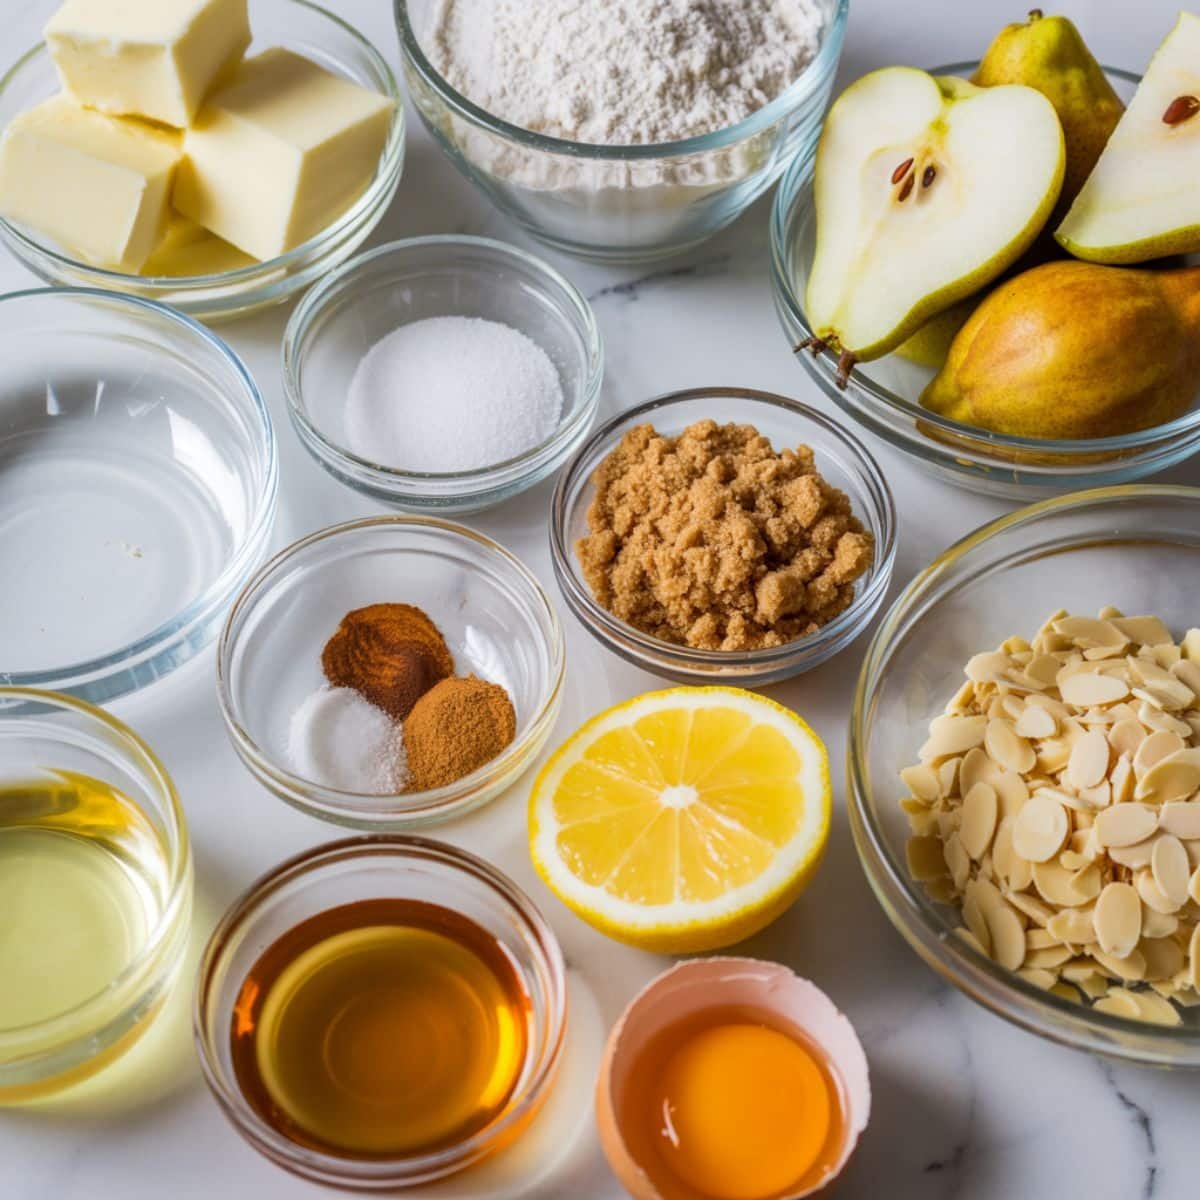
Ingredients for Your Pear Galette Recipe
- Butter; unsalted and cold
- All-purpose flour
- Salt
- Cold water
- Fresh ripe pears
- Granulated sugar
- Brown sugar
- Ground cinnamon
- Fresh lemon juice
- Lemon zest
- Almond slices or slivered almonds
- Honey
- Vanilla extract
- Egg for egg wash
See recipe card for quantities.
Instructions
Prepare the Galette Crust
- Combine cold butter cubes with flour and salt
- Mix until the mixture resembles coarse breadcrumbs
- Add ice water one tablespoon at a time until dough just comes together
- Form a disk, wrap in plastic, and refrigerate for at least 30 minutes
- Roll out dough between parchment paper to a 12-inch circle
Prepare Your Pears
- Peel, core, and slice fresh pears into thin, uniform pieces
- Toss pear slices with lemon juice and lemon zest immediately
- Mix pears with granulated sugar, brown sugar, cinnamon, and almond slices
- Allow the mixture to sit for 10 minutes to release juices
- Arrange pear mixture in the center of your rolled galette dough, leaving a 2-inch border
Bake and Finish
- Fold the dough edges over the pear filling, creating a rustic border
- Brush the crust with beaten egg wash for a golden finish
- Drizzle honey over the pear filling
- Bake at 400°F for 30 to 35 minutes until the crust is golden brown
- Cool for 10 minutes before serving your beautiful pear galette recipe
Equipment For Your Pear Galette Recipe
- Rolling pin
- Parchment paper
- 9 to 10-inch cake pan or baking sheet
- Sharp knife for slicing pears
- Mixing bowls
- Measuring cups and spoons
- Pastry brush for egg wash
- Bench scraper for handling dough
- Cooling rack
Expert Cooking Tips
- Ensure butter stays cold throughout the process for the flakiest pear galette crust
- Use pears that are ripe but still slightly firm for the best texture
- Don't skip the lemon juice; it prevents browning and enhances pear flavor
- Egg wash creates a beautiful golden-brown crust that looks professional
- Chill your dough thoroughly to prevent shrinkage during baking
- Place your baking sheet on the middle oven rack for even cooking
- If edges brown too quickly, tent with aluminum foil for the last 10 minutes
- Serve your pear galette recipe warm or at room temperature; both are delicious
Recipe Variations
- Apple and Pear Galette – Combine sliced apples with pears for extra flavor complexity
- Pear with Almond Cream Galette – Spread a thin layer of almond cream before adding pears
- Spiced Pear Galette – Add cardamom, nutmeg, or ginger to your pear filling
- Mini Pear Galettes – Divide dough into smaller portions for individual servings
- Pear and Walnut Galette – Toast walnuts and scatter throughout the filling
- Honey Pear Galette – Drizzle with lavender-infused honey for an elegant touch
- Savory Pear and Cheese Galette – Top with crumbled goat cheese or sharp cheddar
- Pear with Brown Butter – Cook the butter until nutty before incorporating into dough
Storage
- Room Temperature Storage • Store leftover galette in an airtight container at room temperature for up to 2 days • Keep away from direct sunlight and heat sources • Cover with parchment paper to prevent sticking
- Refrigerator Storage • Refrigerate your pear galette recipe for up to 4 days in a sealed container • Wrap tightly to prevent moisture loss and odor absorption • Allow to come to room temperature before serving for best flavor
- Freezer Storage • Freeze unbaked galettes on a baking sheet for up to 3 months; bake directly from frozen • Wrap baked galette tightly in plastic wrap before freezing • Thaw in refrigerator overnight before reheating
- Reheating Instructions • Reheat frozen baked galette at 350°F for 15 to 20 minutes for best results • Cover with foil if crust begins to brown too quickly • The pear galette recipe tastes best served warm with vanilla ice cream or whipped cream
The Secret to Perfecting Your Pear Galette Recipe
The true secret behind creating an exceptional pear galette recipe lies in understanding the importance of balance between simplicity and quality ingredients. Many home bakers become intimidated by pastry; but a pear galette actually welcomes a more relaxed approach that celebrates rustic charm over perfection. The imperfections in your dough folds and fruit arrangement are exactly what make your pear galette recipe look and feel authentically homemade.
Temperature control is absolutely essential when creating your pear galette at home. By keeping your butter cold and your water iced, you'll achieve layers in your pastry that create that coveted flaky texture. Professional bakers know that the pear galette recipe is forgiving because the rustic presentation actually hides minor mistakes, allowing you to focus on what truly matters; creating a delicious dessert that your family and friends will genuinely enjoy and remember.
FAQ
What pears are best for galette?
Bartlett pears are ideal for pear galette recipe because they have a sweet flavor and soft texture that caramelizes beautifully. Bosc pears work wonderfully too; offering a firmer structure that holds its shape during baking. Anjou pears are another excellent choice for your pear galette recipe. Ensure your pears are ripe but still slightly firm; never use overripe pears as they become mushy. The best pear galette recipe uses pears that are perfectly balanced between sweetness and structure.
Is galette dough the same as pie dough?
Yes; galette dough and pie dough are essentially the same thing in your pear galette recipe. Both contain flour, butter, salt, and water mixed in identical proportions. The primary difference between the two involves presentation; while pies have crimped edges and filled shells, galette dough remains open and rustic. Your pear galette recipe actually benefits from this simpler presentation because mistakes are less noticeable. Many bakers find that creating a pear galette recipe is easier than traditional pies since there's no need for crimping skills.
How do you prevent soggy bottom galettes?
The key to preventing soggy bottoms in your pear galette recipe is ensuring your baking sheet is properly preheated before adding the galette. A hot surface immediately begins cooking the bottom crust; creating a protective barrier against moisture. For your pear galette recipe, let fruit macerate with sugar only briefly; about 10 minutes; to prevent excess liquid buildup. Baking your pear galette recipe on the middle or lower oven rack ensures the bottom receives adequate heat. Some bakers brush the crust with egg wash first; which also helps create a moisture-resistant layer.
What enhances the flavor of pears?
Warm spices like cinnamon, nutmeg, and cardamom beautifully enhance the natural sweetness in your pear galette recipe. Lemon juice and zest brighten and complement pear flavor while preventing oxidation in your pear galette recipe. Honey, vanilla extract, and almond cream all work wonderfully with pears in your pear galette recipe. Brown butter adds richness and a subtle nutty depth that makes your pear galette recipe taste even more impressive. Fresh thyme or ginger can introduce sophisticated flavor dimensions to your pear galette recipe that elevate it beyond ordinary.
Your Gateway to Impressive Homemade Desserts
Mastering your pear galette recipe opens doors to countless other rustic pastry creations that will impress your family and guests. Once you've perfected this classic French-inspired dessert; you'll have the confidence to explore related recipes that share similar techniques and that beautiful, effortless elegance. The skills you develop while creating your pear galette recipe apply directly to other fruit galettes and pastry projects that can expand your baking repertoire significantly.
Consider complementing your pear galette by preparing an Easy No-Bake Lemon Pie Recipe that offers a completely different texture and flavor profile; perfect for warmer months when you want to skip the oven. You might also explore Easy Spinach Puff Pastries Recipe as a savory counterpart that uses similar pastry techniques to your pear galette . These three recipes together create a well-rounded collection of impressive dishes that prove your pastry skills extend far beyond basic baking.
From my kitchen, with heart.
Alyssa Coleman ❤️
Related
Looking for other recipes like this? Try these:
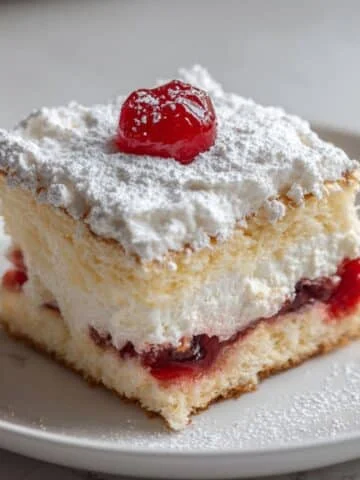
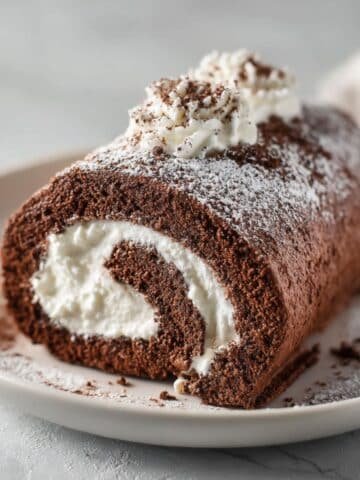
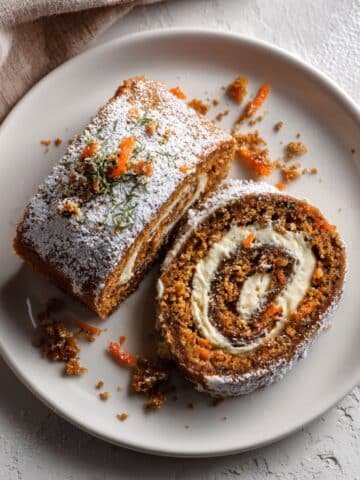
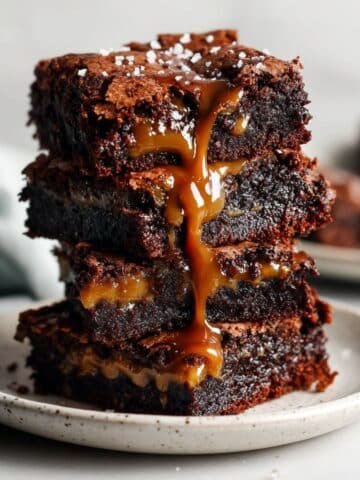
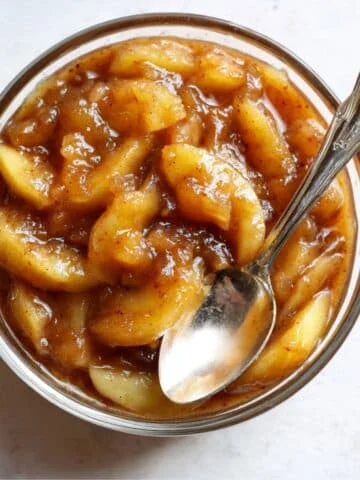
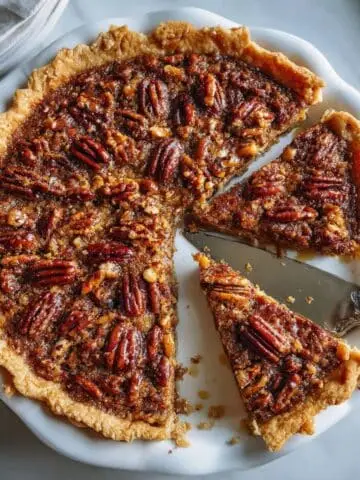
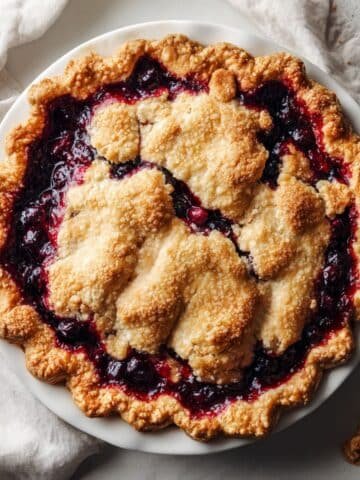
Pairing
These are my favorite dishes to serve with Pear Galette Recipe


Pear Galette Recipe
Equipment
- 1 Rolling pin For rolling out dough evenly
- 1 Parchment paper Prevents sticking
- 1 Baking sheet or 9–10-inch pan For baking the galette
- 1 Sharp knife For slicing pears
- 2 Mixing bowls One for dough, one for filling
- 1 set Measuring cups/spoons For precise measurements
- 1 Pastry brush For egg wash
- 1 Bench scraper To handle dough easily
- 1 Cooling rack For cooling the baked galette
Ingredients
Crust
- 1 cup Unsalted butter Cold, cubed
- 2 cups All-purpose flour For crust
- ½ teaspoon Salt
- 4–5 tablespoon Cold water Add gradually
Filling
- 3–4 Fresh ripe pears Peeled, cored, sliced thin
- 2 tablespoon Granulated sugar For sweetness
- 2 tablespoon Brown sugar Adds caramel flavor
- ½ teaspoon Ground cinnamon Optional spice
- 1 tablespoon Fresh lemon juice Prevents browning
- 1 teaspoon Lemon zest Bright flavor
- 2 tablespoon Sliced almonds Optional garnish
- 1 tablespoon Honey For drizzle
- 1 teaspoon Vanilla extract Enhances flavor
- 1 Egg For egg wash
Instructions
- Combine cold butter, flour, and salt until crumbly; add water gradually; form dough and chill.
- Roll dough into a 12-inch circle on parchment paper.
- Peel, core, and slice pears; toss with lemon juice, sugars, zest, cinnamon, and almonds.
- Arrange pears on dough, leaving border; fold edges over filling.
- Brush crust with egg wash; drizzle honey on pears.
- Bake at 400°F for 30–35 mins until golden brown; cool before serving.

Leave a Reply