
Hey there, dessert lovers! If you've ever craved that iconic Dairy Queen buster bar ice cream cake but wanted to make it right in your own kitchen, you're in for a treat. This homemade buster bar ice cream cake combines layers of creamy vanilla ice cream, rich chocolate fudge, crunchy Oreo crust, and plenty of peanuts for that perfect sweet and salty combination. Making your own buster bar ice cream cake means you control the ingredients, customize the flavors, and create a show-stopping frozen dessert that'll have everyone asking for seconds.
Trust me, once you realize how easy it is to whip up this buster bar ice cream cake, you'll never want to wait in line at the ice cream shop again. This recipe requires no special equipment, uses simple ingredients you can find at any grocery store, and comes together in just minutes of active prep time; the freezer does most of the work for you!
Why This Buster Bar Ice Cream Cake Recipe Stands Out
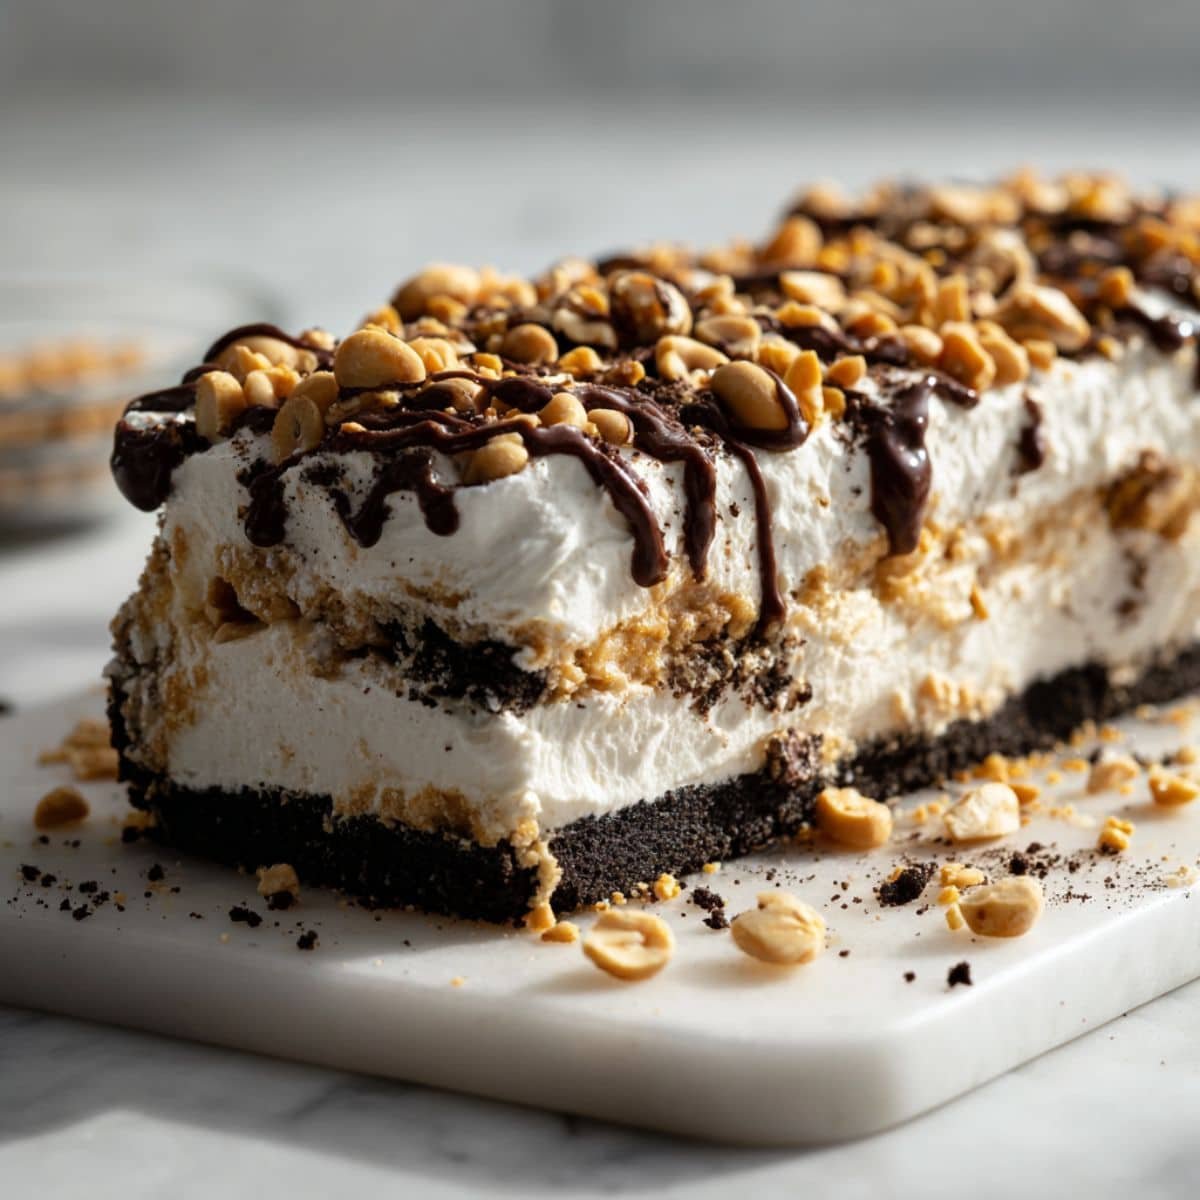
What makes this buster bar ice cream cake truly special is how it captures all those nostalgic flavors we love from the classic Dairy Queen treat while giving you the freedom to make it your own way. The combination of that crunchy Oreo cookie base, smooth vanilla ice cream center, thick fudge layer, and generous peanut topping creates the perfect texture contrast in every single bite. Unlike store-bought versions, this homemade buster bar ice cream cake stays fresh in your freezer and can be customized with different ice cream flavors, nut choices, or even extra chocolate drizzle.
The best part about making your own buster bar ice cream cake is that it's incredibly forgiving and perfect for beginners. You don't need any fancy ice cream maker or complicated techniques; just layer, freeze, and enjoy. This copycat recipe tastes even better than the original because you're using fresh, quality ingredients and can adjust the sweetness to your preference. Whether you're planning a summer party, birthday celebration, or just want a special treat waiting in your freezer, this buster bar ice cream cake delivers every time.
Jump to:
Ingredients
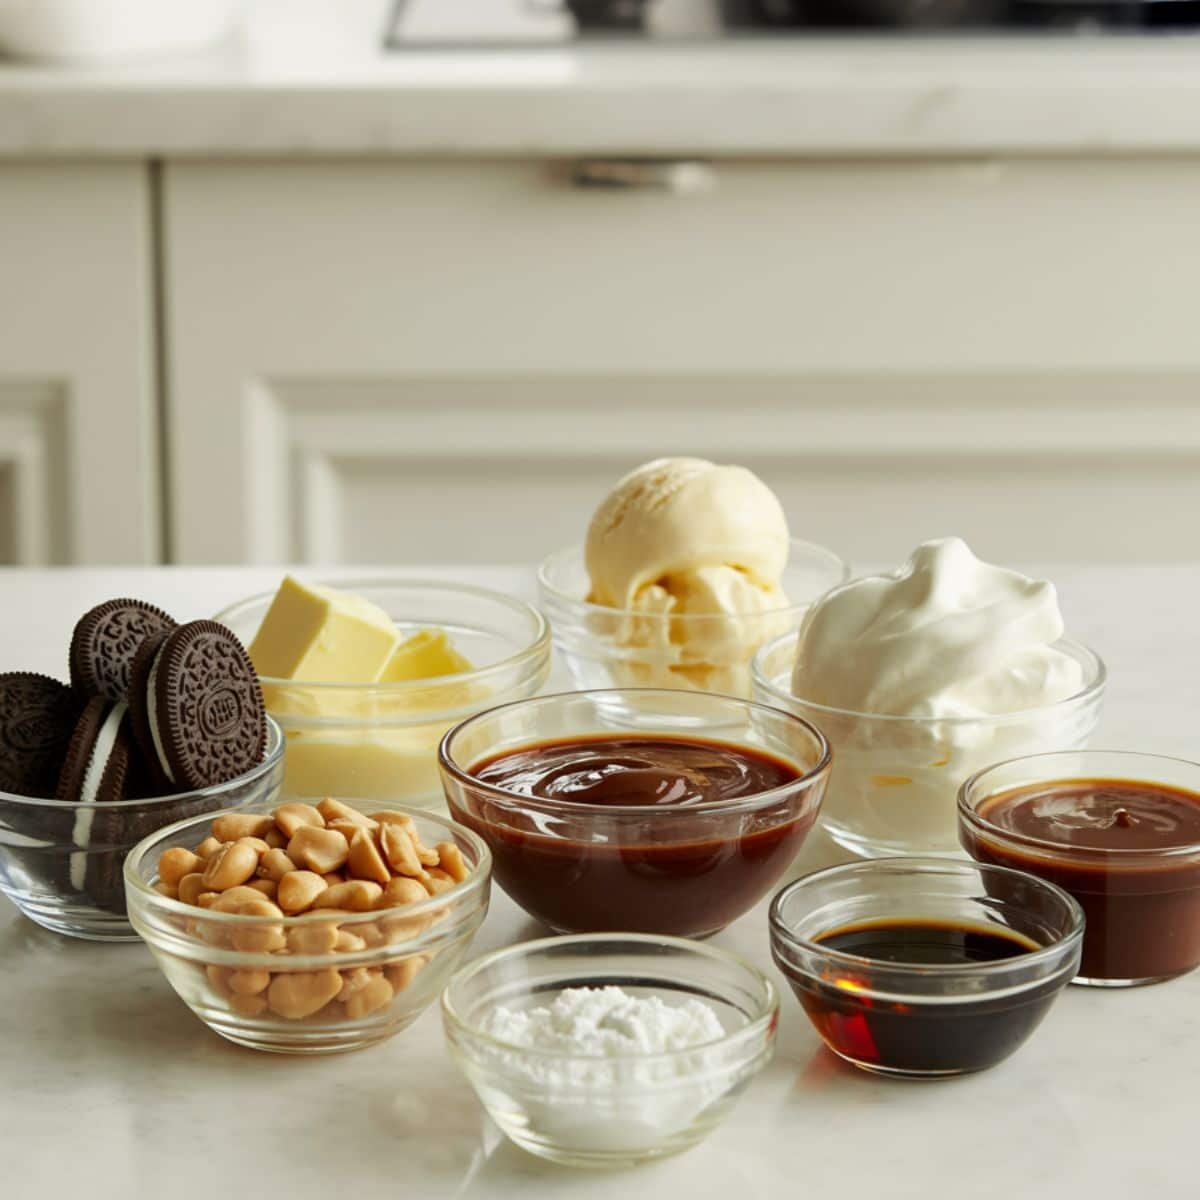
- Oreo cookies
- Butter
- Vanilla ice cream
- Hot fudge sauce
- Spanish peanuts
- Heavy whipping cream
- Powdered sugar
- Vanilla extract
- Chocolate syrup
See recipe card for quantities.
Instructions
Prepare the Oreo Crust
- Crush the Oreo cookies into fine crumbs using a food processor or place them in a sealed bag and crush with a rolling pin
- Melt the butter and mix thoroughly with the Oreo crumbs until the mixture resembles wet sand
- Press the Oreo mixture firmly into the bottom of your prepared pan, creating an even layer
- Place the crust in the freezer for 15 minutes to set while you prepare the other layers
Build the Ice Cream Layers
- Remove your vanilla ice cream from the freezer and let it soften slightly for easier spreading
- Spread half of the softened ice cream evenly over the frozen Oreo crust, smoothing the top with a spatula
- Drizzle a generous layer of hot fudge sauce over the ice cream, then sprinkle with chopped peanuts
- Add the remaining ice cream on top, smooth it out, and return to the freezer for at least 2 hours to firm up
Add the Final Toppings
- Whip the heavy cream with powdered sugar and vanilla extract until stiff peaks form
- Spread the whipped cream over the frozen ice cream cake, creating a smooth or decorative top
- Drizzle with chocolate syrup and sprinkle generously with more peanuts
- Freeze for at least 4 hours or overnight before serving
Equipment For Buster Bar Ice Cream Cake
- 9x13 inch baking pan or springform pan
- Food processor or rolling pin
- Mixing bowls
- Electric mixer or whisk
- Spatula
- Plastic wrap or aluminum foil for covering
Expert Cooking Tips
- Let your ice cream soften at room temperature for 10-15 minutes before spreading; this makes layering much easier and prevents cracking the crust
- Line your pan with parchment paper for easy removal and perfect slicing when making buster bar ice cream cake
- Freeze each layer for 20-30 minutes before adding the next one to keep distinct layers and prevent mixing
- Use salted peanuts instead of unsalted for a more authentic Dairy Queen flavor that balances the sweetness
- Warm your fudge sauce slightly before drizzling so it spreads easily but doesn't melt the ice cream too quickly
- Let the cake sit at room temperature for 5-10 minutes before slicing for cleaner cuts
Recipe Variations
- Chocolate Lovers: Swap vanilla ice cream for chocolate or use a combination of both flavors in your buster bar ice cream cake
- Nut-Free Version: Replace peanuts with crushed graham crackers, toffee bits, or chocolate chips for those with allergies
- Extra Fudgy: Add an additional fudge layer in the middle for more chocolate richness
- Mint Twist: Use mint chocolate chip ice cream for a refreshing variation
- Peanut Butter Boost: Add a layer of melted peanut butter between the ice cream layers
- Birthday Style: Mix in sprinkles or cookie dough pieces into the ice cream for a festive touch
Storage
- Store your buster bar ice cream cake tightly covered with plastic wrap and aluminum foil in the freezer for up to 2 weeks
- For best texture and flavor, consume within one week of making
- Slice only what you need and return the rest to the freezer immediately to prevent melting
- If the cake becomes too hard, let it sit at room temperature for 10 minutes before serving
- Avoid storing near strong-smelling foods in the freezer as ice cream can absorb odors
The Secret Behind Perfect Layers
The real magic in creating an unforgettable buster bar ice cream cake lies in the temperature control and timing of each layer. When you allow each component to freeze properly before adding the next one, you create those distinct, beautiful layers that not only look impressive but also give you different textures and flavors in every bite. Many people rush this process, but patience here makes all the difference; your buster bar ice cream cake will hold its shape better when sliced and look absolutely stunning on the serving plate.
Another insider secret is the quality of your fudge sauce; using a thick, premium hot fudge creates that signature chocolate shell effect when it hits the cold ice cream. This chocolate layer should be generous enough to taste in every bite but not so thick that it makes the cake difficult to slice. The perfect buster bar ice cream cake has a harmonious balance where no single flavor overpowers the others, and every element; the crunchy Oreo base, creamy ice cream, rich fudge, and salty peanuts works together in sweet frozen harmony.
FAQ
How much is the ice cream cake at Coldstone?
Coldstone ice cream cakes usually cost between $25 and $45, depending on the size and decorations. A small round cake serves 6–8 people for about $25–30, while larger rectangular ones reach $40–45. Making a homemade buster bar ice cream cake costs under $15 and serves up to 15 people, offering customization and bigger portions.
What is a Buster Bar ice cream?
A Buster Bar ice cream is a classic Dairy Queen treat made with vanilla ice cream dipped in thick chocolate and rolled in Spanish peanuts. It delivers the perfect mix of creamy, crunchy, and chocolaty textures. The buster bar ice cream cake recreates these nostalgic flavors in a shareable dessert with Oreo crust, fudge, ice cream, and peanuts.
What are the crunchies in ice cream cake made of?
Crunchies in ice cream cakes are made from crushed Oreo cookies, chocolate crumbs, or wafer pieces mixed with fats like coconut oil to keep them crunchy when frozen. Some versions use commercial cookie crumbs that stay crisp longer. In this recipe, crushed Oreos and butter form the crunchy layer that separates the creamy ice cream and fudge.
Is ice cream cake an indica or sativa?
“Ice Cream Cake” is also a cannabis strain, an indica-dominant hybrid known for relaxing effects—but it’s unrelated to the dessert. Our buster bar ice cream cake is a family-friendly frozen treat made from vanilla ice cream, Oreos, fudge, and peanuts. It contains no cannabis—just layers of creamy, crunchy, and chocolaty goodness perfect for parties or summer days.
Sweet Endings and More Frozen Delights
Now that you've mastered this incredible buster bar ice cream cake, your dessert game has officially leveled up! This recipe proves that you don't need fancy equipment or culinary school training to create restaurant-quality frozen treats at home. The combination of textures and flavors in this buster bar ice cream cake makes it perfect for any occasion, from casual family dinners to special celebrations, and it's guaranteed to impress every single guest who takes a bite.
If you loved making this buster bar ice cream cake and want to explore more no-bake frozen desserts, I highly recommend trying my No-Bake Chocolate Mint Lasagna Recipe for a refreshing twist on layered desserts, or the Sweet Potato Dump Cake for an easy, comforting treat that requires minimal effort. Both recipes share that same simple-yet-impressive quality that makes home baking so rewarding. Keep experimenting with different flavor combinations in your buster bar ice cream cake; swap the peanuts for almonds, try different ice cream flavors, or add extra fudge layers to make this recipe truly your own signature dessert!
From my kitchen, with heart.
Emily Nelson ❤️
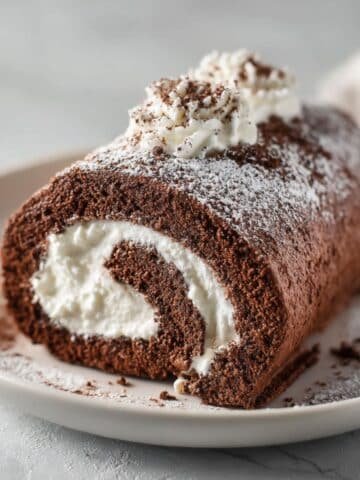
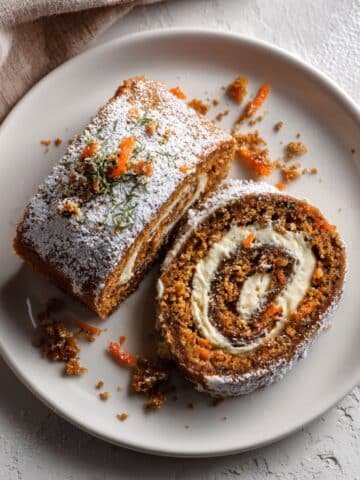
Related
Looking for other recipes like this? Try these:
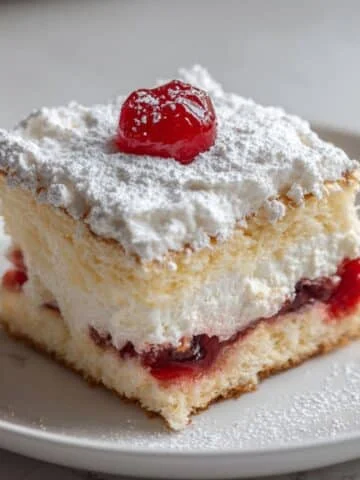
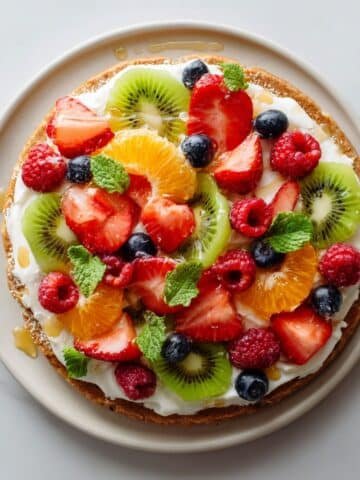
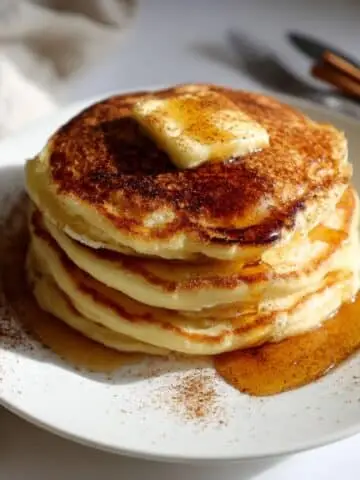
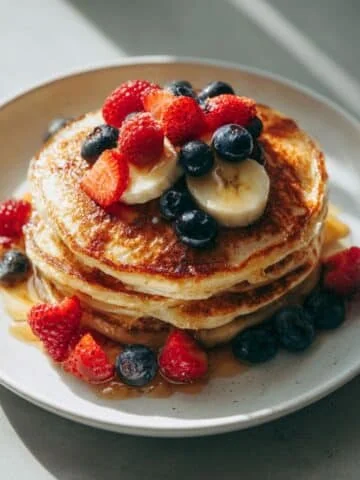
Pairing
These are my favorite dishes to serve with Buster Bar Ice Cream Cake

Buster Bar Ice Cream Cake
Equipment
- 1 9x13 inch baking pan or springform pan
- 1 Food processor or rolling pin to crush Oreos
- 2 Mixing bowls for crust and whipped cream
- 1 Electric mixer or whisk to whip cream
- 1 Spatula for spreading layers
- 1 Plastic wrap or foil for covering before freezing
Ingredients
- 24 pieces Oreo cookies crushed
- 6 tablespoon Butter melted
- 1.5 qt Vanilla ice cream softened
- 1 cup Hot fudge sauce slightly warmed
- 1 cup Spanish peanuts chopped
- 1 cup Heavy whipping cream chilled
- 2 tablespoon Powdered sugar for whipped cream
- 1 teaspoon Vanilla extract optional
- 2 tablespoon Chocolate syrup for topping
Instructions
- Crush Oreos in a food processor or with a rolling pin.
- Mix crushed Oreos with melted butter.
- Press the mixture into a 9x13 inch pan to form the crust.
- Freeze the crust for 10–15 minutes.
- Spread softened vanilla ice cream evenly over the crust.
- Pour and spread slightly warmed fudge sauce over the ice cream layer.
- Sprinkle chopped peanuts evenly over the fudge layer.
- Freeze for at least 1 hour to set the layers.
- Whip the chilled cream with powdered sugar and vanilla until soft peaks form.
- Spread whipped cream on top of the frozen layers.
- Drizzle chocolate syrup over the top.
- Cover with plastic wrap or foil and freeze for at least 6 hours or overnight.
- Slice and serve chilled.


Leave a Reply