
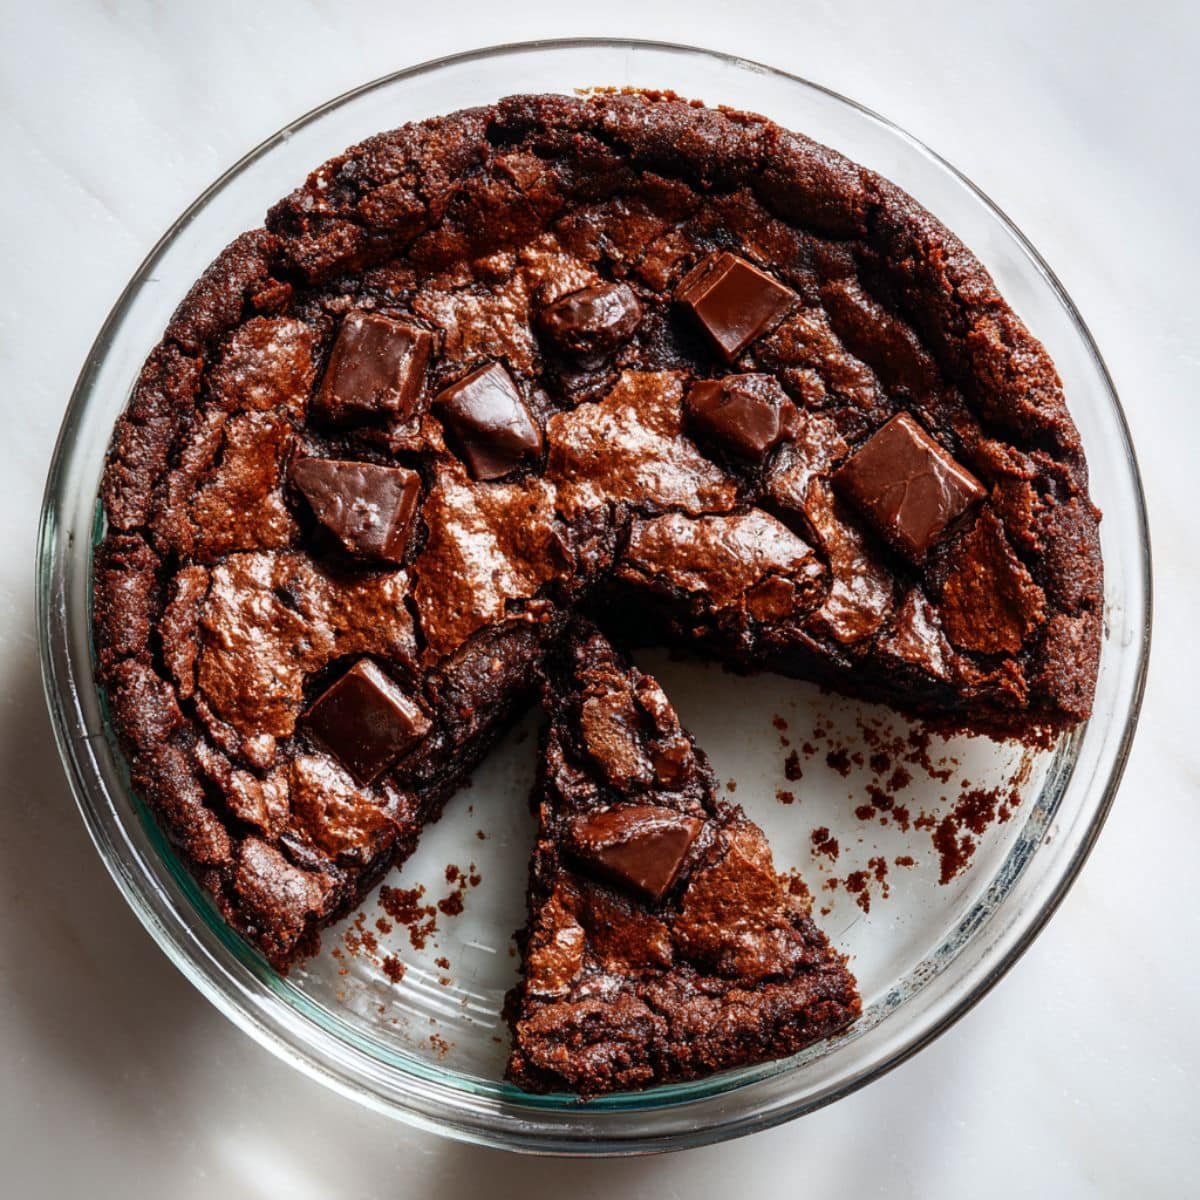
Let me share something special with you today; this chocolate brownie pie is the dessert that changed everything in my kitchen! I've been making this chocolate brownie pie for years, and every single time, people ask for seconds. The magic happens when you combine the dense, fudgy texture of a classic brownie with the elegant presentation of a pie; trust me, your chocolate brownie pie will disappear faster than you can say "dessert."
What makes this chocolate brownie pie so irresistible? It's all about that perfect balance; the crispy edges meet a gooey center that melts in your mouth. Whether you're hosting a dinner party or just treating yourself on a Tuesday night, this chocolate brownie pie delivers pure chocolate bliss without the fuss.
The Secret Behind This Show-Stopping Dessert
Here's why this chocolate brownie pie stands out from every other chocolate dessert you've tried; it creates that bakery-quality texture at home with ingredients you probably already have. Unlike traditional brownies that can sometimes turn out cakey, this chocolate brownie pie guarantees that fudgy, dense consistency everyone craves. The pie format also means you get those coveted crispy edges all around the perimeter; more surface area equals more delicious contrast.
I've tested countless versions, and this chocolate brownie pie recipe hits all the right notes. The deep chocolate flavor comes from using quality cocoa powder and real chocolate, creating layers of richness that develop as it bakes. Plus, serving it as a pie makes it feel extra special; slice it up, add a scoop of vanilla ice cream, and watch your guests fall in love with every bite of this incredible chocolate brownie pie.
Jump to:
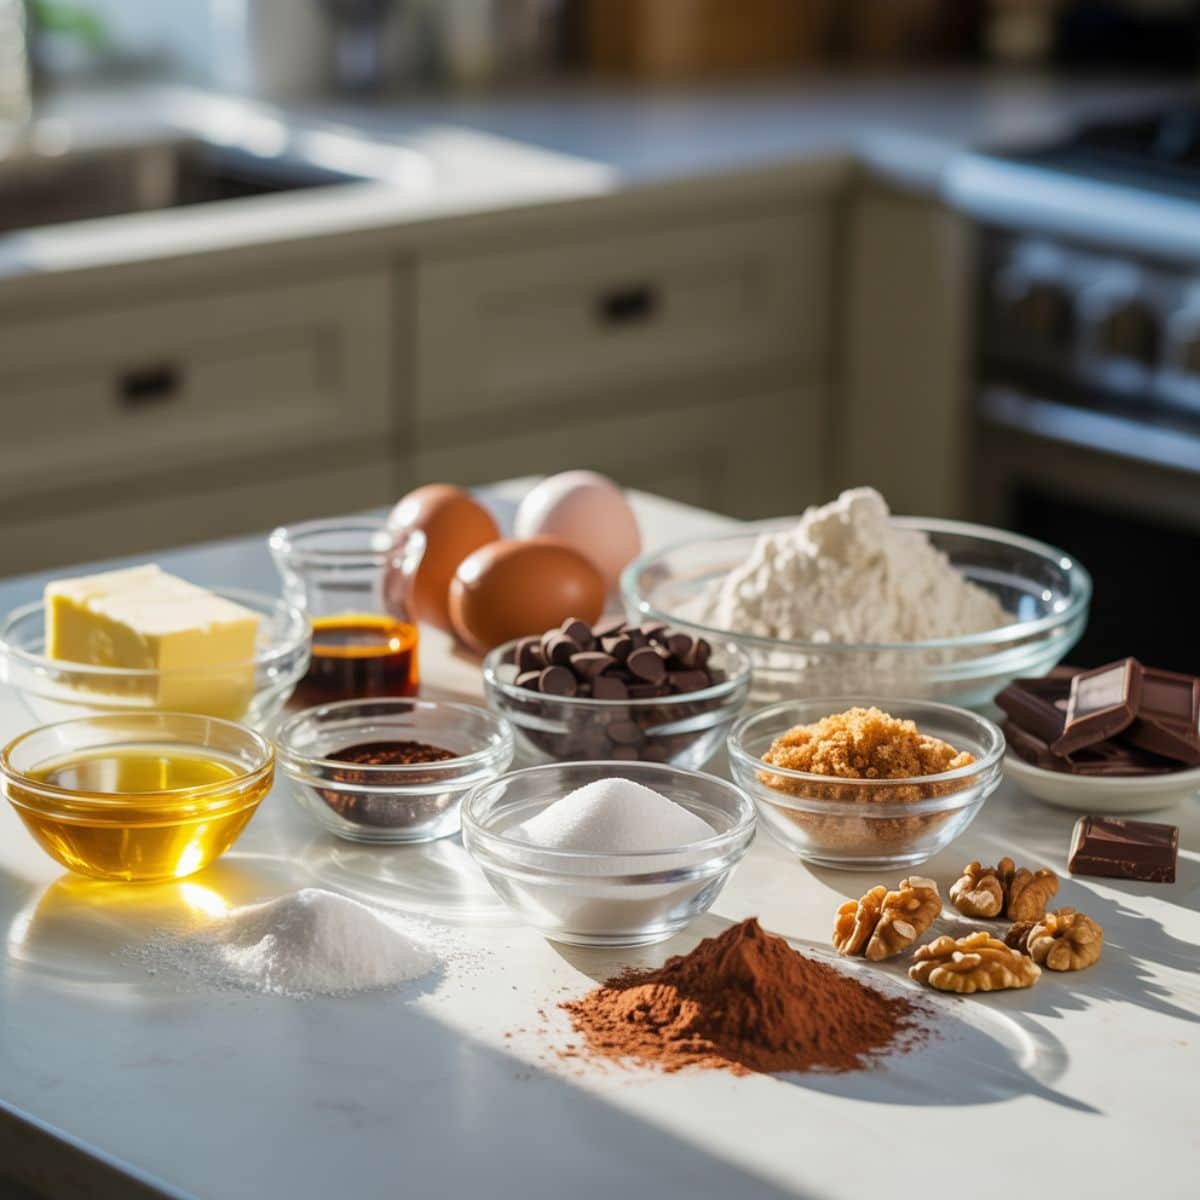
Ingredients
- High-quality cocoa powder
- Dark chocolate chips or chunks
- Unsalted butter
- Granulated sugar
- Brown sugar
- Large eggs
- Pure vanilla extract
- All-purpose flour
- Salt
- Espresso powder
- Chocolate chunks for topping
- Optional: chopped pecans or walnuts
See recipe card for quantities.
Instructions
Prepare the Base
- Preheat your oven and prepare your pie dish with butter or cooking spray
- Melt the butter and dark chocolate together until smooth and glossy
- Let the chocolate mixture cool slightly while you prepare other ingredients
- This cooling step prevents scrambling the eggs later
Mix the Batter
- Whisk together sugars and eggs until light and fluffy with a slight foam
- Fold in the cooled chocolate mixture along with vanilla extract
- Gently incorporate the dry ingredients until just combined; avoid overmixing
- The batter should be thick, glossy, and rich in color
Bake to Perfection
- Pour the batter into your prepared pie dish and spread evenly
- Sprinkle extra chocolate chunks on top for added texture
- Bake until the edges are set but the center still has a slight jiggle
- Let it cool for at least 30 minutes before slicing for the best texture
Equipment For Chocolate Brownie Pie
- 9-inch pie dish (glass or ceramic works best)
- Large mixing bowl
- Medium saucepan for melting chocolate
- Whisk or electric mixer
- Rubber spatula
- Measuring cups and spoons
- Cooling rack
- Sharp knife for clean slices
Expert Cooking Tips
- Use room temperature eggs for better incorporation and a smoother chocolate brownie pie texture
- Don't overbake; the center should still wobble slightly when you remove it from the oven
- Add a pinch of espresso powder to intensify the chocolate flavor without tasting like coffee
- Line your pie dish with parchment paper for easier removal and serving
- For extra fudgy results, reduce the flour by two tablespoons
- Let it cool completely before cutting for cleaner slices
- Warm it slightly before serving to enhance the gooey texture
- Store at room temperature if serving within 24 hours
Recipe Variations
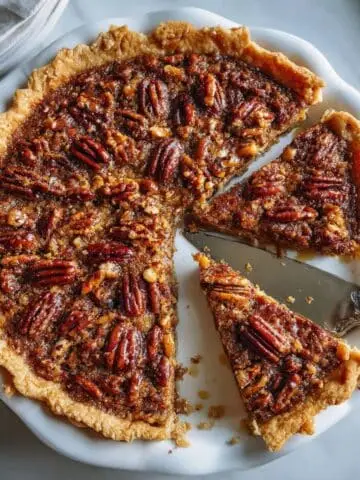
- Brownie Pecan Pie: Add a layer of toasted pecans to the bottom before pouring batter for a nutty crunch
- S'mores Brownie Pie: Top with mini marshmallows and graham cracker crumbs during the last 5 minutes of baking
- Double Chocolate Brownie Pie: Fold in white chocolate chips along with dark chocolate chunks
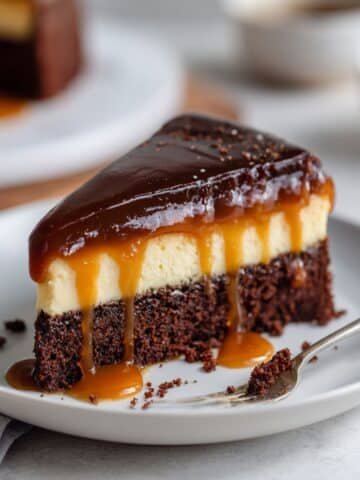
- Brownie Cheesecake Pie: Swirl cream cheese mixture into the batter before baking for tangy richness
- Salted Caramel Version: Drizzle with homemade salted caramel sauce and sprinkle with flaky sea salt
- Mint Chocolate Brownie Pie: Add peppermint extract and top with crushed candy canes
- Peanut Butter Swirl: Drop spoonfuls of peanut butter on top and swirl with a knife
- Flourless Brownie Pie: Replace flour with almond flour for a gluten-free option
Storage
- Room Temperature: Keep covered for up to 2 days in a cool, dry place away from direct sunlight
- Refrigerator: Store in an airtight container for up to 5 days; the texture becomes even fudgier when chilled
- Freezing: Wrap individual slices in plastic wrap, then aluminum foil, and freeze for up to 3 months
- Reheating: Microwave individual slices for 15-20 seconds to restore that fresh-baked warmth
- Best Served: Slightly warm with vanilla ice cream or fresh whipped cream on the side
Your Secret Weapon for Dessert Success
Want to know what separates a good chocolate brownie pie from an absolutely unforgettable one? It's all in the timing and temperature control. When you pull your chocolate brownie pie from the oven, it should look slightly underdone in the center; that's your golden ticket to fudgy perfection. As it cools, the residual heat continues the baking process, creating that ideal texture where the edges are set and the middle stays gloriously gooey.
Here's my insider tip that took me years to discover: let your baked pie rest for exactly 30 minutes before cutting. I know it's tempting to dive right in, but patience pays off with cleaner slices and better flavor development. The chocolate intensifies as it settles, and you'll taste the difference in every bite. Some bakers rush this step and end up with a messy presentation; don't be that baker!
FAQ
Does brownie pie need to be refrigerated?
Your chocolate brownie pie doesn't require refrigeration if consumed within 48 hours. Store it covered at room temperature in a cool spot. However, refrigerating extends shelf life to 5 days and creates a fudgier texture. The cold intensifies chocolate flavor, making each slice more decadent. Warm slightly before serving for optimal taste and texture experience with your chocolate brownie pie.
Do chocolate pies need to be refrigerated?
Most chocolate pies with custard or cream fillings require refrigeration for safety. However, chocolate brownie pie is different; it's essentially a baked brownie without dairy-heavy fillings. Your chocolate brownie pie can sit out safely for two days when covered. Refrigeration maintains freshness longer and improves the fudgy texture, making your chocolate brownie pie even more indulgent and delicious.
Can you bake brownies in a pie dish?
Absolutely! Baking brownies in a pie dish creates chocolate brownie pie with unique presentation and texture. The shallow, wider surface provides more crispy, caramelized edges. Your chocolate brownie pie bakes slightly faster than traditional pan brownies; reduce baking time by 5 minutes. The pie format makes serving elegant and offers better portion control while looking stunning topped with ice cream.
How far in advance can you make chocolate pie?
You can prepare chocolate brownie pie up to 3 days ahead when refrigerated properly. Making your chocolate brownie pie in advance improves flavor as chocolate deepens overnight. Bake, cool completely, cover tightly, and refrigerate. Before serving, bring to room temperature or warm slices for 15 seconds. Your chocolate brownie pie freezes beautifully for up to 3 months when wrapped well.
Your Next Chocolate Adventure Awaits
Now that you've mastered this incredible chocolate brownie pie, you're ready to explore more decadent desserts that'll make you the star of every gathering. This chocolate brownie pie is just the beginning of your chocolate journey; once you've experienced how easy and impressive it is, you'll want to try similar show-stopping treats. The beauty of mastering this chocolate brownie pie is that you now understand the perfect balance of fudgy texture and rich flavor.
Ready to expand your dessert repertoire? Try making an Easy Chocolate Strawberry Pie at Home for a fruity twist on chocolate indulgence, or cool down with the rich, creamy layers of Perfect Mississippi Mud Pie Ice Cream. Both recipes build on the same chocolate-loving principles as your new favorite chocolate brownie pie but take you in exciting new directions. Trust me, once people taste your baking skills, they'll be requesting these treats for every occasion!
From my kitchen, with heart.
Emily Nelson ❤️
Related
Looking for other recipes like this? Try these:
Pairing
These are my favorite dishes to serve with Chocolate Brownie Pie


Chocolate Brownie Pie
Equipment
- 1 9-inch pie dish Glass or ceramic works best
- 1 Large mixing bowl For combining all ingredients
- 1 Medium saucepan To melt chocolate and butter
- 1 Whisk or electric mixer For mixing eggs and sugar
- 1 Rubber spatula To fold and scrape batter
- — Measuring cups/spoons Standard baking tools
- 1 Cooling rack Helps pie set evenly
- 1 Sharp knife For clean slices after cooling
Ingredients
- ½ cup Unsalted butter Melted
- 1 cup Dark chocolate chips Melted with butter
- 1 cup Granulated sugar
- ½ cup Brown sugar Adds moisture and depth
- 2 large Eggs Room temperature
- 1 teaspoon Pure vanilla extract
- ¾ cup All-purpose flour Do not overmix
- ½ cup Unsweetened cocoa powder High-quality preferred
- ¼ teaspoon Salt Enhances chocolate flavor
- 1 teaspoon Espresso powder Optional, boosts chocolate
- ½ cup Chocolate chunks For topping
- ¼ cup Chopped pecans or walnuts Optional
Instructions
- Preheat oven to 350°F (175°C) and grease a 9-inch pie dish.
- Melt butter and chocolate together until smooth; let cool slightly.
- Whisk sugars and eggs until light and foamy.
- Fold in melted chocolate mixture and vanilla.
- Add flour, cocoa, salt, and espresso; stir gently.
- Pour batter into dish; top with chocolate chunks and nuts.
- Bake for 28–35 minutes until edges are set and center slightly jiggles.
- Cool on rack for 30 minutes before slicing.

Leave a Reply