
Planning the perfect celebration for your upcoming wedding? An engagement cake serves as the centerpiece that captures the magic of this special milestone. Whether you're looking for elegant simplicity or show-stopping designs, creating the ideal engagement cake doesn't have to be complicated. I've spent years perfecting celebration cakes, and I'm here to share everything you need to know about crafting a stunning engagement cake that your guests will remember long after the party ends.
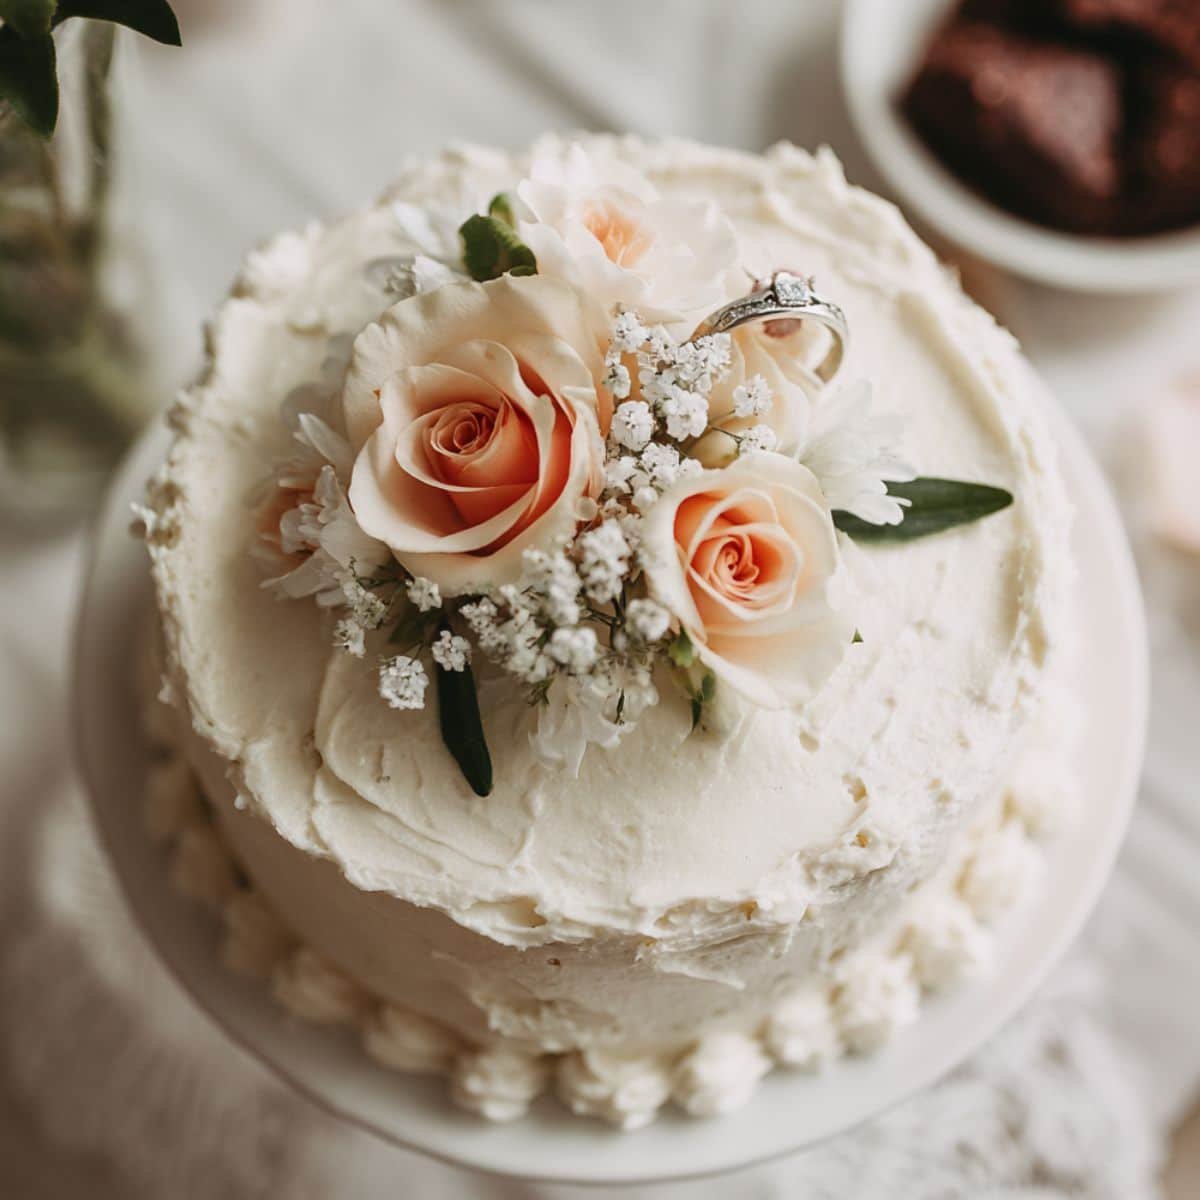
The beauty of an engagement cake lies in its ability to tell your unique love story through flavor, design, and personal touches. From classic white tiers adorned with fresh flowers to modern minimalist designs featuring engagement ring toppers, the possibilities are endless. Let me guide you through creating an engagement cake that's not only delicious but also perfectly captures the joy of this momentous occasion.
Why This Engagement Cake Recipe Stands Out
This engagement cake recipe combines foolproof techniques with professional results, making it perfect for both beginners and experienced bakers. Unlike complicated recipes that require specialized skills, this approach focuses on achieving bakery-quality results with straightforward methods. The versatile base allows you to customize your engagement cake to match any theme, color scheme, or flavor preference while maintaining structural integrity for beautiful tiered designs.
What truly sets this engagement cake apart is its crowd-pleasing flavor profile and reliable texture that holds up beautifully under fondant, buttercream, or any decoration style you choose. The recipe includes professional tips for achieving perfectly level layers, smooth frosting, and stunning presentations worthy of your engagement party. You'll create a cake that tastes as incredible as it looks, ensuring your celebration is memorable for all the right reasons.
Jump to:
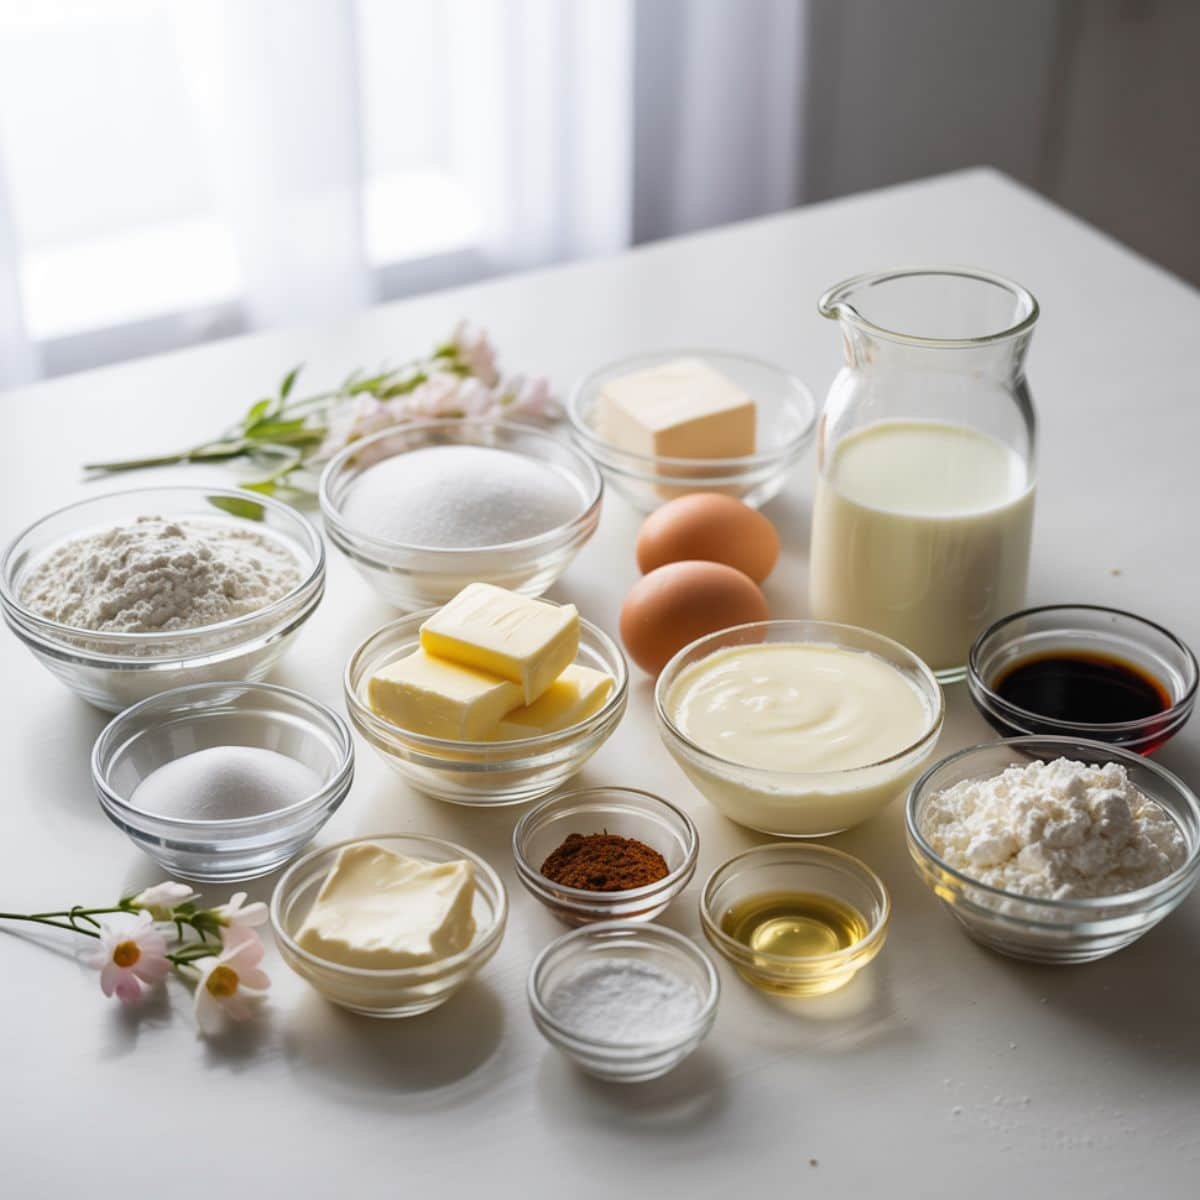
Ingredients
- All-purpose flour
- Granulated sugar
- Unsalted butter
- Large eggs
- Whole milk
- Pure vanilla extract
- Baking powder
- Salt
- Cream cheese
- Powdered sugar
- Heavy cream
- Fresh flowers for decoration
- Food coloring
- Fondant
- Cake boards
- Dowel rods
See recipe card for quantities.
Instructions
Prepare and Bake the Cake Layers
- Preheat your oven and prepare your cake pans by greasing and lining them with parchment paper
- Cream together butter and sugar until light and fluffy, then incorporate eggs one at a time
- Alternate adding dry ingredients and milk, mixing until just combined
- Divide batter evenly between pans and bake until a toothpick inserted comes out clean
- Allow layers to cool completely in pans before removing and leveling
Create the Frosting and Assemble
- Beat cream cheese and butter until smooth and creamy
- Gradually add powdered sugar and vanilla, then incorporate heavy cream for desired consistency
- Level each cake layer using a serrated knife or cake leveler
- Stack layers with frosting between each, applying a thin crumb coat first
- Refrigerate for 30 minutes before applying final frosting layer
Decorate and Personalize
- Apply final layer of smooth frosting using an offset spatula or bench scraper
- Add decorative elements such as fresh flowers, fondant details, or piped designs
- Position engagement ring topper or personalized cake topper if using
- Add final touches like gold leaf, edible pearls, or custom color accents
- Refrigerate until 1 hour before serving for best presentation
Equipment For Engagement Cake
- Round cake pans in various sizes
- Electric stand mixer or hand mixer
- Offset spatula for frosting
- Cake turntable for smooth finishing
- Bench scraper for clean edges
- Serrated knife or cake leveler
- Piping bags and decorating tips
- Cake boards and dowel rods for tiered engagement cake designs
- Cooling racks
- Parchment paper
Expert Cooking Tips
- Always use room temperature ingredients for the smoothest batter and prevent curdling
- Measure flour by spooning it into the measuring cup and leveling off for accuracy
- Don't overmix the batter once you add flour; this creates a tough texture
- Use the toothpick test and check that the cake springs back when lightly touched
- Apply a crumb coat and refrigerate before final frosting for professional results
- For clean cuts, dip your knife in hot water and wipe between slices
- Plan your engagement cake timeline; bake layers a day ahead and assemble on party day
Recipe Variations
- Classic vanilla engagement cake with buttercream roses and elegant piping
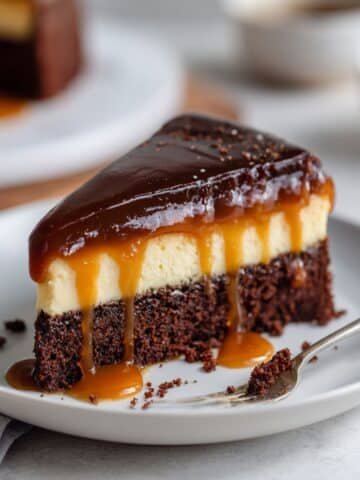
- Chocolate ganache drip cake with gold accents and fresh berries
- Red velvet layers with cream cheese frosting and white chocolate curls
- Lemon raspberry cake with Swiss meringue buttercream and edible flowers
- Marble cake design with two-tone frosting swirls
- Ombre engagement cake with gradient coloring from white to your wedding colors
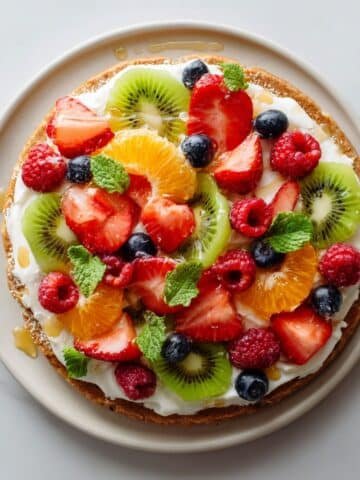
- Naked cake style showing layers with minimal frosting and fruit decorations
- Floral engagement cake covered in cascading sugar flowers
Storage
- Store unfrosted cake layers wrapped tightly in plastic wrap at room temperature for up to 2 days
- Refrigerate frosted engagement cake for up to 5 days in an airtight container
- Freeze unfrosted layers for up to 3 months; thaw overnight in refrigerator before use
- Keep decorated cake away from direct sunlight and heat sources to prevent melting
- Remove from refrigerator 1 hour before serving for best flavor and texture
- Cover cut surfaces with plastic wrap to prevent drying
The Sweet Secret Behind Perfect Celebration Cakes
The key to an extraordinary engagement cake lies in the quality of your ingredients and proper preparation timing. Professional bakers know that allowing your engagement cake layers to rest overnight before assembly actually improves both texture and flavor. This resting period allows the crumb to settle, making layers easier to handle and less likely to break during stacking. Additionally, flavors meld and develop, resulting in a more cohesive and delicious final product.
Another secret involves the frosting temperature and consistency. Your frosting should be cool but spreadable; too warm and it will slide off, too cold and it won't spread smoothly. Work in a cool kitchen when possible, and don't hesitate to pop your engagement cake back in the refrigerator between decorating steps. These small professional tricks transform homemade cakes into bakery-worthy centerpieces that will have everyone asking for your recipe.
FAQ
Which cake is best for an engagement party?
The best engagement cake depends on your guests' preferences and party theme. Classic vanilla or chocolate cakes are universally loved and pair well with any decoration style. For a sophisticated engagement cake, consider champagne-flavored layers or elegant almond cake with raspberry filling. Red velvet offers a romantic touch, while lemon cake provides a refreshing option for spring or summer celebrations. Consider dietary restrictions and choose flavors that complement your overall menu. The ideal engagement cake balances visual appeal with crowd-pleasing taste.
What makes a cake an engagement cake?
An engagement cake is distinguished by its celebratory design elements that honor the couple's commitment. These typically include romantic decorations like hearts, rings, flowers, or the couple's names and engagement date. Unlike wedding cakes which tend to be more formal, an engagement cake can be playful and personalized to reflect the couple's personality. The design often incorporates the party's color scheme or theme. What truly makes it special is the intention; it celebrates the beginning of the wedding planning journey and the couple's decision to marry.
What to put on a cake for an engagement?
Perfect engagement cake toppers include engagement ring replicas, the couple's initials, "She said yes" phrases, or heart-shaped decorations. Fresh flowers matching the party décor create an elegant, timeless look. You can add the couple's names with their engagement date, romantic quotes, or fun phrases that reflect their relationship. Edible metallic accents like gold leaf add sophistication, while custom photo toppers make the engagement cake uniquely personal. Consider the overall aesthetic; minimalist parties call for simple elegance, while elaborate celebrations can feature more ornate decorations.
What is the 4 day cake rule?
The 4-day cake rule refers to food safety guidelines for storing celebration cakes at room temperature. Most buttercream-frosted engagement cake varieties can safely remain at cool room temperature for up to 4 days when properly covered. However, cakes with perishable fillings like cream cheese frosting, fresh fruit, custard, or whipped cream must be refrigerated and consumed within 3-4 days. This timeframe ensures optimal freshness and prevents bacterial growth. For your engagement cake, always refrigerate if uncertain, and display at room temperature only during the actual party hours for best food safety.
Celebrate Your Love Story With These Delicious Cakes
Now that you've mastered creating the perfect engagement cake, why not explore more celebration cake ideas? The Ultimate Green Cake Recipe offers a stunning and unexpected color choice that's perfect for nature-inspired or spring engagement parties. The vibrant hue creates an eye-catching centerpiece while maintaining delicious flavor profiles that your guests will adore.
For those drawn to romantic, feminine designs, Stunning Pink Cake Recipes provide elegant options ranging from subtle blush tones to bold fuchsia statements. These recipes complement traditional engagement cake themes beautifully and offer versatile decorating possibilities. Whether you're planning your own celebration or baking for loved ones, these additional recipes expand your repertoire. Remember, the best engagement cake is one made with love, bringing people together to celebrate new beginnings and the exciting journey ahead.
From my kitchen, with heart.
Alyssa Coleman ❤️
Related
Looking for other recipes like this? Try these:
Pairing
These are my favorite dishes to serve with Easy Engagement Cake

Engagement Cake
Equipment
- 2–3 Round cake pans 2–3 pans, greased and lined with parchment paper
- 1 Electric mixer Stand or hand mixer
- 1 Offset spatula For smooth frosting
- 1 Cake turntable For clean, professional finish
- 1 Bench scraper To smooth frosting sides
- 1 Serrated knife or cake leveler To level layers
- 2–3 Piping bags & tips 2–3 bags, for decoration
- 1 Cake board Support for stacking
- 1 Dowel rods As needed, for tiered design
- 1 Cooling rack Cool layers completely
Ingredients
Cake Batter
- 3 cups All-purpose flour Sifted
- 2 cups Granulated sugar
- 1 cup Unsalted butter Room temperature
- 4 large Eggs
- 1 cup Whole milk
- 2 teaspoon Vanilla extract Pure
- 2.5 teaspoon Baking powder
- 0.5 teaspoon Salt
Frosting & Decoration
- 8 oz Cream cheese For frosting
- 3 cups Powdered sugar Sifted
- 0.5 cup Heavy cream Adjust for consistency
- Food coloring Optional
- Fresh flowers For decoration
- Fondant For smooth finish (optional)
Instructions
- grease and line 2–3 round cake pans with parchment paper.
- cream butter and sugar, add eggs, then mix in sifted dry ingredients and wet ingredients alternately.
- divide batter and bake at 350°F (175°C) for about 40 minutes.
- cool layers on a rack and level tops with a serrated knife or leveler.
- beat cream cheese, powdered sugar, and cream until smooth.
- alternate cake and frosting on a cake board.
- apply a thin layer of frosting to trap crumbs, chill briefly.
- smooth a thick layer of frosting using an offset spatula and bench scraper.
- use piping bags, fresh flowers, food coloring, or fondant as desired.
- refrigerate before slicing for clean cuts.

Leave a Reply