
Creating the perfect rainbow cake rainbow has never been easier with this comprehensive guide that combines traditional baking wisdom with modern techniques. As someone who has perfected countless rainbow cake rainbow creations over the years, I'm excited to share these time-tested secrets that guarantee stunning results every time. Whether you're planning a special birthday celebration or simply want to brighten someone's day, this cake recipe delivers both spectacular visual appeal and incredible taste that will leave everyone amazed.
The magic of a rainbow cake rainbow lies not just in its beautiful appearance, but in the joy it brings to every celebration. This detailed recipe guide will walk you through each step of creating layers of vibrant colors that come together in perfect harmony, ensuring your rainbow cake rainbow becomes the centerpiece of any gathering and creates lasting memories for years to come.
Background & Why This Rainbow Cake Rainbow Recipe Stands Out?
Traditional rainbow cake rainbow recipes often fall short when it comes to achieving truly vibrant colors while maintaining the perfect texture and flavor balance. After years of experimentation and countless kitchen trials, this recipe has been refined to deliver consistent results that professional bakers would be proud of. The secret lies in understanding how different food colorings interact with cake batter and how to maintain moisture levels across multiple colored layers without compromising the structural integrity of your rainbow cake rainbow.
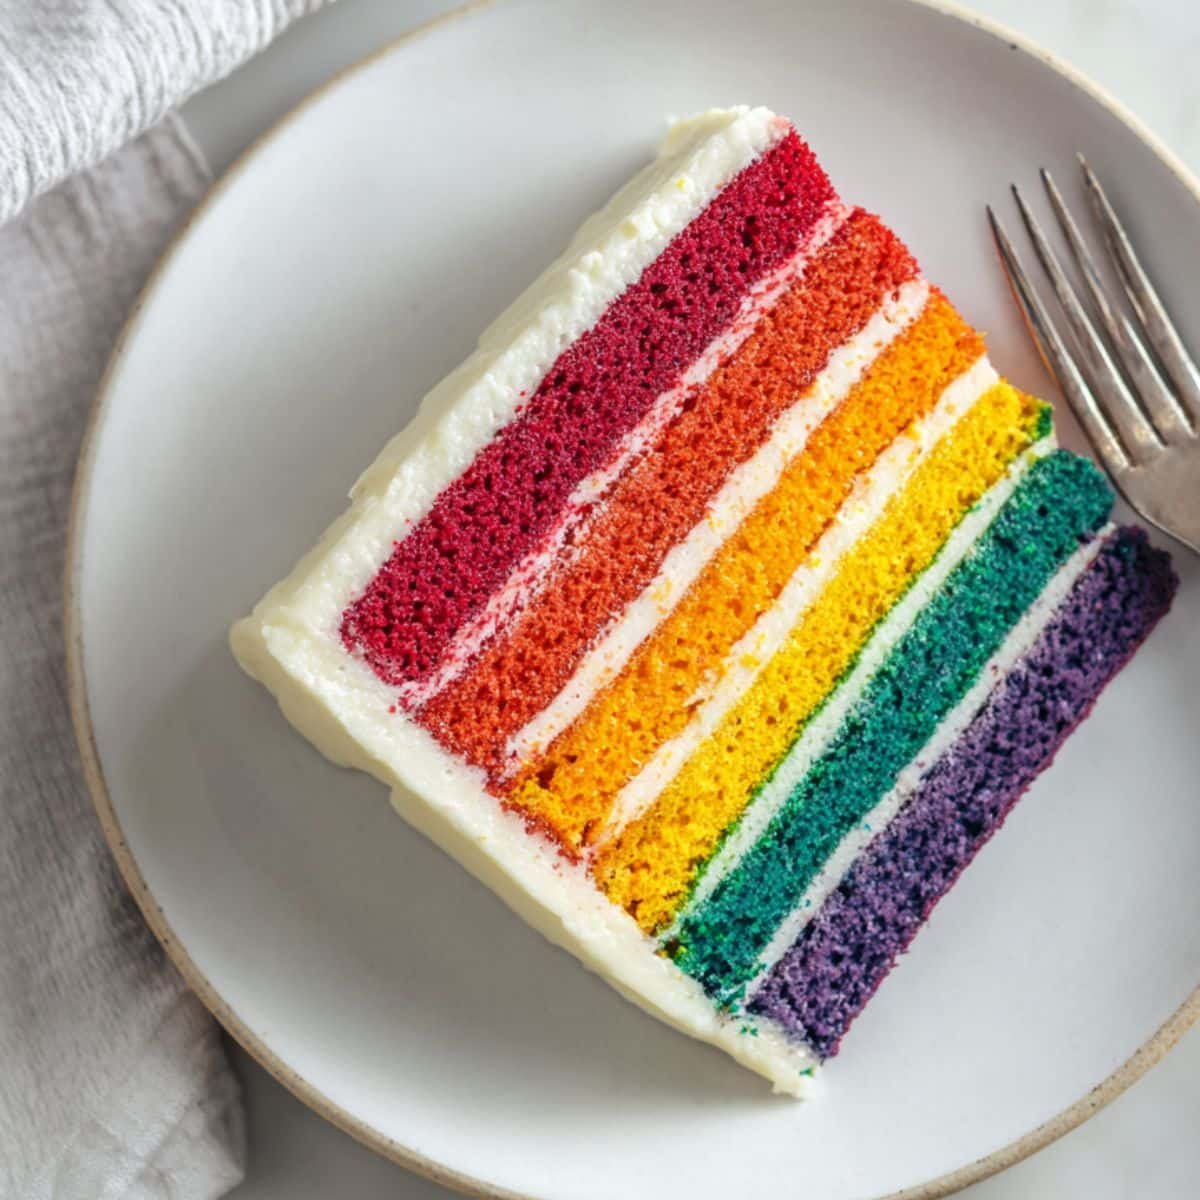
What makes this rainbow cake rainbow recipe truly exceptional is its foolproof approach to color distribution and layer construction. Unlike other methods that can result in muddy colors or uneven layers, this technique ensures each band of color remains distinct and vibrant throughout the baking process. The careful balance of ingredients creates a tender crumb that holds together beautifully when sliced, revealing the stunning rainbow cake rainbow pattern that makes this dessert so spectacular and Instagram-worthy.
Jump to:
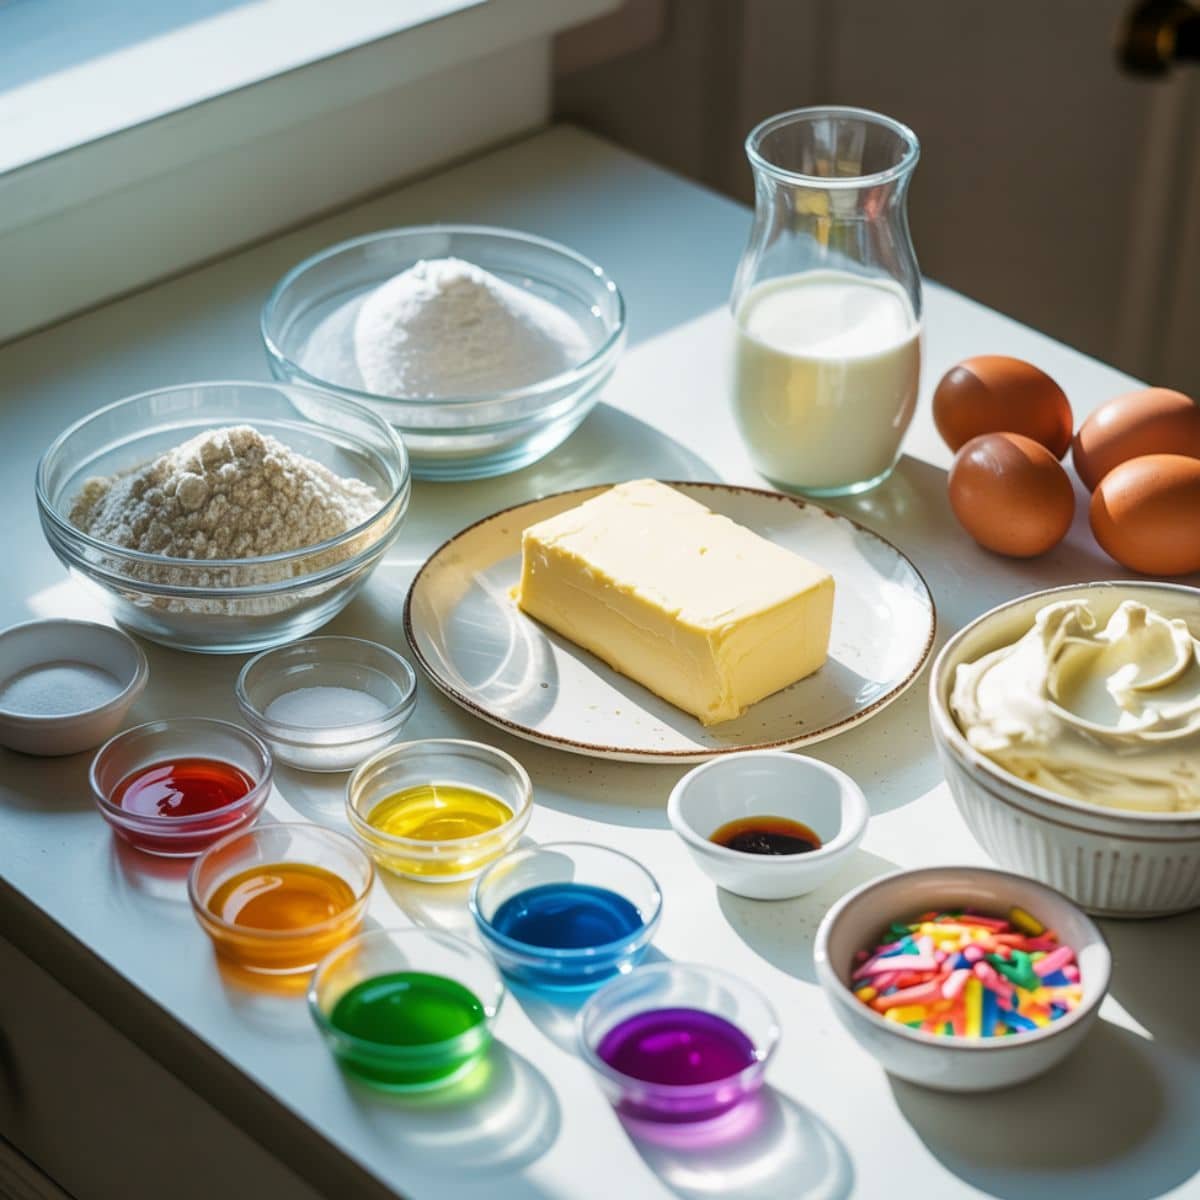
Ingredients
- All-purpose flour
- Granulated sugar
- Unsalted butter
- Large eggs
- Vanilla extract
- Baking powder
- Salt
- Whole milk
- Gel food coloring (red, orange, yellow, green, blue, purple)
- Powdered sugar
- Cream cheese
- Heavy whipping cream
- Rainbow sprinkles
See recipe card for quantities.
Instructions
Prepare Your Rainbow Layers
- Preheat oven to 350°F and grease six 8-inch round cake pans
- Cream butter and sugar until light and fluffy, then add eggs one at a time
- Alternate adding dry ingredients and milk to create smooth batter
- Divide batter evenly into six bowls and tint each with different gel food coloring
- Pour each colored batter into prepared pans and bake for 18-20 minutes
Create Perfect Frosting
- Beat cream cheese and butter until smooth and creamy
- Gradually add powdered sugar, beating until light and fluffy
- Add vanilla extract and heavy cream for desired consistency
- Reserve portion for decorating and tint remaining frosting if desired
Assemble Your Masterpiece
- Level each cooled cake layer with serrated knife for even stacking
- Place purple layer on serving plate and spread thin layer of frosting
- Continue stacking in rainbow order: blue, green, yellow, orange, red
- Apply crumb coat, chill 30 minutes, then add final frosting layer
- Decorate with rainbow sprinkles and additional colorful elements
Equipment For Rainbow Cake Rainbow
- Six 8-inch round cake pans for creating distinct rainbow cake rainbow layers
- Electric stand mixer or hand mixer
- Large mixing bowls (at least 7)
- Measuring cups and spoons
- Rubber spatulas for folding
- Wire cooling racks
- Offset spatula for frosting
- Bench scraper for smooth sides
- Serrated knife for leveling
Expert Cooking Tips
- Use gel food coloring instead of liquid for vibrant colors without thinning batter
- Room temperature ingredients mix more evenly and create better texture
- Weigh batter portions to ensure equal rainbow cake rainbow layer sizes
- Don't overmix colored batters to prevent tough texture
- Chill assembled cake before final decorating for cleaner cuts
- Use parchment paper circles in pans for easy release
- Test doneness with toothpick in center of each layer
Recipe Variations
- Create ombre rainbow cake rainbow effect by using varying shades of single color
- Try tie-dye rainbow cake rainbow with marbled color effects in each layer
- Make rainbow cake rainbow cupcakes using same batter in muffin tins
- Add different extracts to each layer for unique flavor combinations
- Create naked cake style with minimal frosting between layers
- Use natural food coloring from fruit and vegetable juices
- Make gluten-free version with almond flour blend
Storage
- Store completed rainbow cake rainbow covered in refrigerator up to 4 days
- Wrap individual unfrosted layers in plastic wrap and freeze up to 3 months
- Keep frosted cake in cake dome or covered container to prevent drying
- Bring refrigerated rainbow cake rainbow to room temperature before serving
- Freeze decorated cake uncovered 30 minutes, then wrap for longer storage
- Store leftover slices in airtight containers for maximum freshness
Rainbow Magic: The Secret Behind Perfect Layers
The most crucial secret to achieving a stunning rainbow cake rainbow lies in the precise timing and temperature control throughout the baking process. Professional bakers know that each colored layer must be baked at exactly the right temperature to prevent color bleeding and ensure even rising. When your oven temperature fluctuates, it can cause some rainbow cake rainbow layers to dome while others remain flat, resulting in an uneven final product that lacks the visual impact you're seeking.
Another game-changing secret involves the strategic use of clear vanilla extract and the careful measurement of gel food coloring. Traditional vanilla extract can muddy bright colors, while clear vanilla maintains the vibrancy essential for a perfect rainbow cake rainbow. The key is adding gel coloring gradually until you achieve the desired intensity, remembering that colors will appear slightly more muted after baking, so aim for slightly brighter than your target shade.
FAQ
What ingredients are in rainbow cake?
A rainbow cake rainbow typically contains standard cake ingredients including all-purpose flour, sugar, butter, eggs, vanilla extract, baking powder, salt, and milk. The signature element is gel food coloring in six vibrant colors: red, orange, yellow, green, blue, and purple. Quality gel food coloring ensures bright, distinct layers without affecting the rainbow cake rainbow texture or taste.
What is the secret ingredient to a moist cake?
The secret to a moist rainbow cake rainbow lies in using room temperature ingredients and the proper ratio of fat to flour. Adding a tablespoon of sour cream or mayonnaise to the batter creates incredible moisture retention. Additionally, using cake flour instead of all-purpose flour, or adding cornstarch, creates a more tender crumb in your rainbow cake rainbow layers.
What is the name of the Italian rainbow cake?
The Italian rainbow cake rainbow is called "Cassata Siciliana" or sometimes "Rainbow Cassata." This traditional Sicilian dessert features colorful layers of sponge cake soaked in liqueur, filled with ricotta cheese, candied fruits, and chocolate chips. While different from American rainbow cake rainbow, it shares the beautiful multi-colored layered appearance that makes it equally stunning and delicious.
What flavor is a rainbow cake?
A classic rainbow cake rainbow typically features vanilla flavor as the base, allowing the vibrant colors to shine without competing flavors. However, many bakers customize each colored layer with complementary flavors: strawberry for red, orange for orange, lemon for yellow, lime for green, blueberry for blue, and grape for purple, creating a truly unique rainbow cake rainbow experience.
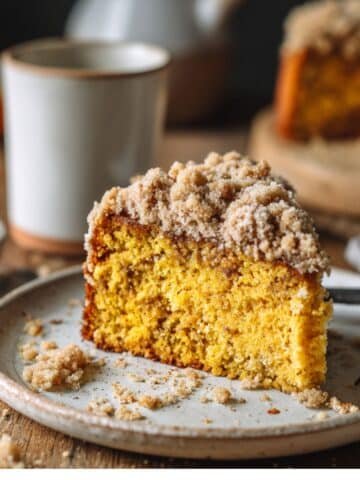
Perfect Pairings for Your Rainbow Celebration
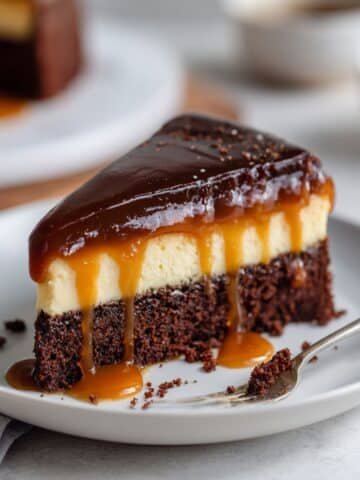
When planning your rainbow cake rainbow celebration, consider pairing it with complementary desserts that enhance the colorful theme. The Perfect Texas Sheet Cake offers a rich chocolate contrast that beautifully balances the sweetness and visual brightness of your rainbow creation. Its dense, fudgy texture provides an excellent counterpoint to the light, fluffy layers of your rainbow cake rainbow, giving guests variety in both flavor and texture experiences.
Making the Perfectly Chocolate Hershey's Cake alongside your rainbow cake rainbow creates a stunning dessert table that appeals to different preferences while maintaining visual harmony. The deep chocolate color serves as an elegant backdrop that makes the rainbow cake rainbow colors appear even more vibrant and spectacular. Together, these three desserts create a memorable finale to any celebration, ensuring every guest finds their perfect slice of happiness and making your rainbow cake rainbow the star of an unforgettable dessert spread.
From my kitchen, with heart.
Alyssa Coleman ❤️
Related
Looking for other recipes like this? Try these:
Pairing
These are my favorite dishes to serve with rainbow cake rainbow

Rainbow Cake Rainbow
Equipment
- 6 8-inch round cake pans For 6 color layers
- 1 Electric mixer Stand or hand mixer
- 7 Mixing bowls For dividing colored batter
- Set Measuring cups/spoons
- 2–3 Rubber spatulas For folding
- 1 Serrated knife For leveling layers
- 1 Offset spatula For frosting
- 1 Bench scraper For smooth sides
- Wire racks Cooling racks for even cooling
Ingredients
- 3 cups All-purpose flour
- 2 ½ cups Granulated sugar
- 1 cup Unsalted butter Softened
- 4 Large eggs Room temp
- 2 teaspoon Vanilla extract Clear vanilla recommended
- 2 ½ teaspoon Baking powder
- ½ teaspoon Salt
- 1 cup Whole milk Room temp
- Gel colors Red, orange, yellow, green, blue, purple
- 4 cups Powdered sugar For frosting
- 8 oz Cream cheese Softened
- 1 cup Heavy whipping cream For frosting
- ½ cup Rainbow sprinkles For decoration
Instructions
- Preheat oven & prepare pans
- Cream butter & sugar
- Add eggs & vanilla
- Combine dry & wet
- Divide, color, bake layers
- Make frosting
- Level & stack layers
- Crumb coat & chill
- Frost & decorate


Leave a Reply