
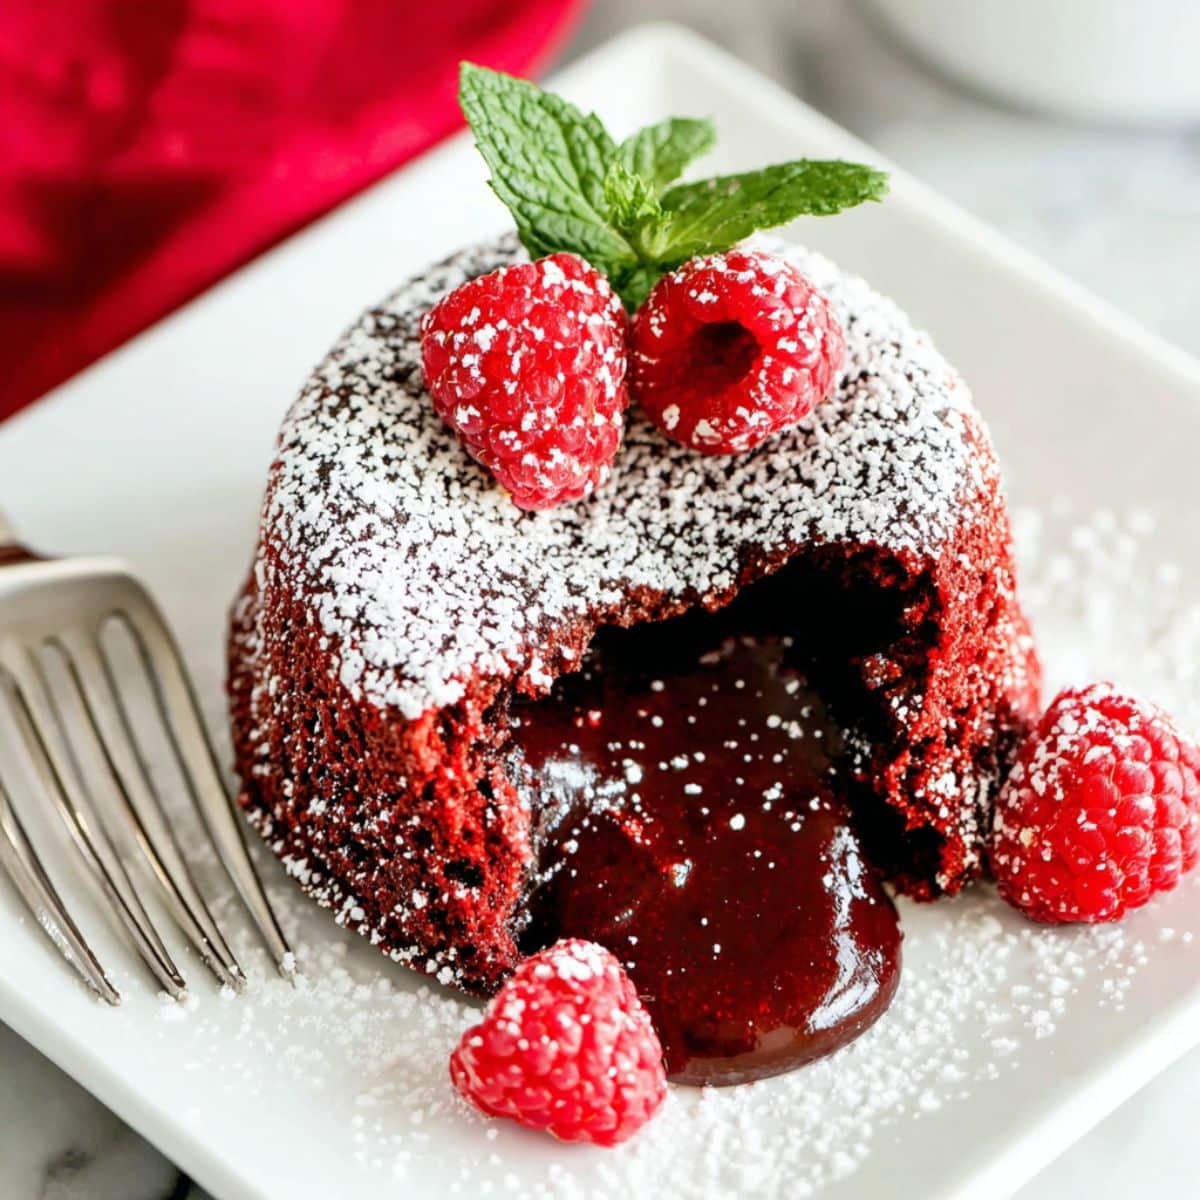
Have you ever craved a dessert that combines elegance with pure indulgence? This red velvet lava cake delivers exactly that; a stunning crimson exterior that gives way to a luxuriously gooey center. I remember the first time I cracked into one of these beauties at a dinner party, and the warm, molten chocolate center oozed onto my plate like liquid velvet. That magical moment inspired me to perfect this red velvet lava cake recipe at home, and now I'm sharing it with you.
What makes this red velvet lava cake so special is its versatility and wow factor. Whether you're planning a romantic Valentine's dinner, celebrating an anniversary, or simply treating yourself on a Tuesday night, this red velvet lava cake transforms any occasion into something extraordinary. The best part? It's surprisingly simple to master, requiring just a few quality ingredients and about 30 minutes from start to finish.
The Story Behind This Molten Red Velvet Masterpiece
Red velvet lava cake isn't just another trendy dessert; it's a beautiful marriage of two beloved classics. Traditional red velvet cake emerged in the 1800s, when natural cocoa reacted with acidic ingredients to create a reddish hue. Fast forward to modern times, and creative bakers combined this iconic flavor with the French molten chocolate cake technique, creating the show-stopping red velvet lava cake we adore today. This fusion represents the perfect balance between American comfort food and European sophistication.
What truly sets this red velvet lava cake apart from ordinary chocolate lava cakes is the subtle complexity of flavors. The hint of cocoa paired with tangy buttermilk creates a more nuanced taste profile than standard chocolate versions. Plus, that signature crimson color makes every red velvet lava cake Instagram-worthy before you even take the first bite. The cream cheese filling option adds another layer of decadence, transforming this dessert into an unforgettable experience that guests will request again and again.
Jump to:
Ingredients
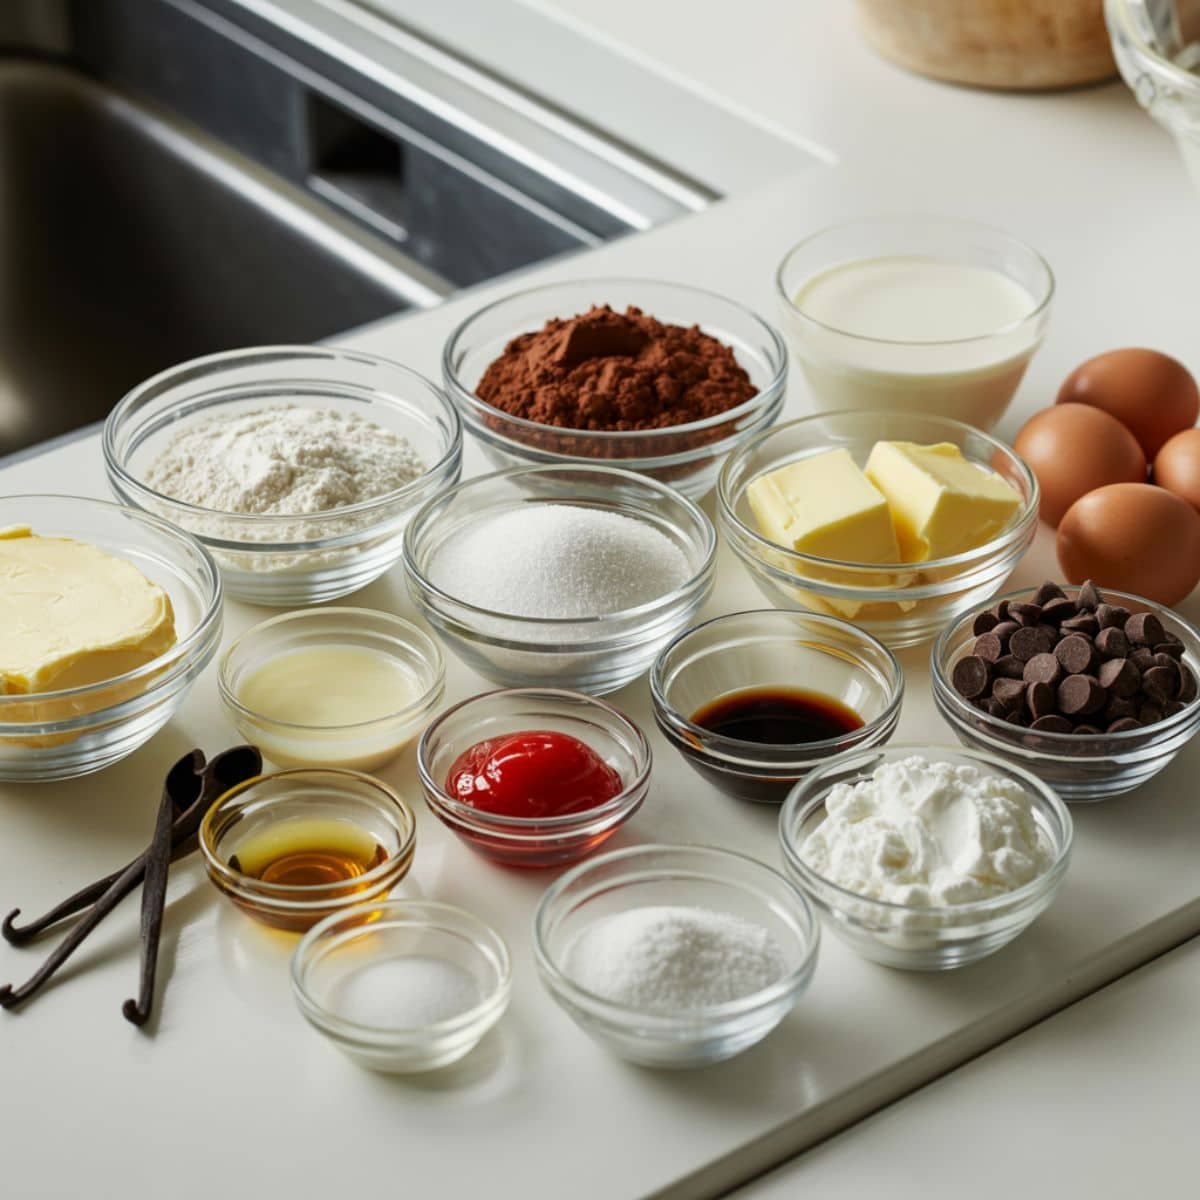
- All-purpose flour
- Unsweetened cocoa powder
- Granulated sugar
- Eggs
- Butter
- Red food coloring
- Vanilla extract
- Buttermilk
- White vinegar
- Baking soda
- Salt
- Dark chocolate chips
- Heavy cream
- Cream cheese
- Powdered sugar
See recipe card for quantities.
Instructions
Prepare the Batter
- Preheat your oven to 425°F and generously butter your ramekins, then dust with cocoa powder
- Melt butter and dark chocolate together in a double boiler until smooth and glossy
- Whisk eggs and sugar vigorously until light and fluffy, then fold in the melted chocolate mixture
- Add flour, cocoa powder, salt, red food coloring, vanilla extract, buttermilk, vinegar, and baking soda; mix until just combined without overmixing
Create the Molten Center
- For classic molten centers, prepare chocolate ganache by heating heavy cream and pouring over chocolate chips
- For cream cheese centers, blend softened cream cheese with powdered sugar and vanilla until smooth
- Fill each ramekin halfway with batter, add a spoonful of your chosen filling in the center, then cover with remaining batter
- Ensure the filling is completely sealed within the batter to create that perfect gooey surprise
Bake and Serve
- Place ramekins on a baking sheet and bake for 12-14 minutes until edges are set but centers still jiggle slightly
- Remove from oven and let rest for exactly 1 minute to allow the structure to set properly
- Run a knife around the edges, invert onto serving plates, and gently lift the ramekin away
- Dust with powdered sugar, add fresh berries, and serve immediately while the center is still gloriously molten
Equipment For Red Velvet Lava Cake
- Six 6-ounce ramekins
- Double boiler or microwave-safe bowl
- Electric hand mixer or whisk
- Mixing bowls (various sizes)
- Measuring cups and spoons
- Rubber spatula
- Baking sheet
- Butter for greasing
- Small saucepan for ganache
Expert Cooking Tips
- Use room temperature eggs and buttermilk for better incorporation and smoother batter texture
- Don't overbake; the red velvet lava cake should have a slight jiggle in the center when you remove it from the oven
- Butter and cocoa-dust your ramekins thoroughly to ensure easy release and prevent sticking
- Test one cake first if you're nervous about timing; you can always return underbaked ones to the oven for 1-2 more minutes
- Prepare the batter up to 24 hours ahead and refrigerate; just add 2-3 extra minutes to baking time if starting from cold
- Use gel food coloring instead of liquid for more vibrant color without affecting batter consistency
- The chocolate quality matters; choose chocolate with at least 60% cocoa content for rich flavor
Recipe Variations
- White Chocolate Red Velvet Lava Cake: Replace dark chocolate with white chocolate for a sweeter, creamier molten center
- Cream Cheese Swirl: Mix cream cheese filling directly into the batter before baking for a marbled cheesecake effect
- Mini Red Velvet Lava Cupcakes: Use muffin tins instead of ramekins and reduce baking time to 8-10 minutes
- Vegan Version: Substitute eggs with flax eggs, use plant-based butter, and replace buttermilk with almond milk mixed with apple cider vinegar
- Gluten-Free Option: Replace all-purpose flour with a 1:1 gluten-free baking blend
- Espresso Enhancement: Add a teaspoon of instant espresso powder to intensify the chocolate flavor
- Peppermint Twist: Add peppermint extract and crushed candy canes for a holiday variation
Storage
- Unbaked Batter: Prepare filled ramekins up to 24 hours ahead, cover with plastic wrap, and refrigerate; add 2-3 minutes to baking time
- Baked Cakes: Best enjoyed immediately, but leftovers can be refrigerated for up to 2 days in an airtight container
- Reheating: Microwave refrigerated cakes for 20-30 seconds to restore the gooey center
- Freezing Unbaked: Freeze prepared ramekins for up to 1 month; bake directly from frozen, adding 5-6 minutes to cooking time
- Freezing Baked: Not recommended as texture suffers, but if necessary, freeze for up to 1 week and reheat gently
- Batter Only: Store unmixed dry and wet ingredients separately for up to 3 days, then combine and bake when ready
Master the Magic: Secret Techniques for Perfect Results
The secret to an absolutely perfect red velvet lava cake lies in understanding temperature control and timing precision. Professional pastry chefs know that the difference between a perfectly molten center and a fully baked cake is literally just 60-90 seconds. Invest in an oven thermometer to ensure your temperature is accurate, as many home ovens run hot or cold. When you pull your red velvet lava cake from the oven, the edges should be firm and pulling slightly away from the sides, while the center remains soft with a gentle jiggle when you tap the ramekin.
Another game-changing secret involves the chocolate quality and the power of acid. The buttermilk and vinegar in this red velvet lava cake recipe don't just add tanginess; they react with the baking soda to create a tender, moist crumb that makes the molten center even more luxurious. Always use natural cocoa powder rather than Dutch-processed, as the acidity is crucial for both flavor development and that signature red velvet taste. These small details transform a good dessert into an extraordinary one that rivals any high-end restaurant version.
FAQ
Are lava cakes just underbaked?
While lava cakes might appear underbaked, they're actually precisely baked to achieve that signature molten center. The secret lies in careful timing and temperature control rather than simply pulling a cake out early. A proper red velvet lava cake has fully cooked outer layers with a deliberately gooey center created by adding extra chocolate or filling that remains liquid during baking. The batter is formulated with specific ratios that ensure the exterior sets while the interior stays gloriously molten, making it completely safe to eat and intentionally delicious.
What exactly is red velvet flavor?
Red velvet flavor is a unique combination of mild chocolate, tangy buttermilk, and vanilla that creates a subtle, sophisticated taste distinct from regular chocolate cake. The red velvet lava cake includes cocoa powder for a hint of chocolate rather than an intense chocolate flavor, balanced with acidic ingredients like buttermilk and vinegar. This tanginess is what differentiates red velvet from other cakes. The original red velvet recipes relied on natural cocoa's reaction with acids to produce a reddish tint, though modern versions use food coloring for that iconic crimson hue we associate with this beloved dessert.
What can I add to boxed red velvet cake mix?
You can elevate boxed red velvet cake mix by adding buttermilk instead of water, melted butter instead of oil, and an extra egg for richer texture. For red velvet lava cake, enhance the mix with a tablespoon of cocoa powder, a teaspoon of vanilla extract, and a splash of vinegar to boost that classic tangy flavor. Consider folding in mini chocolate chips or creating a cream cheese filling to add homemade appeal. These simple additions transform a basic mix into something special that rivals scratch-made versions while saving time and effort.
Is red velvet cake actually just chocolate cake dyed red?
No, red velvet cake is not simply chocolate cake with food coloring; it has a distinct flavor profile and chemistry. While both contain cocoa, red velvet lava cake uses much less cocoa powder, creating a subtle chocolate hint rather than an intense chocolate flavor. The addition of buttermilk, vinegar, and specific ratios of ingredients gives red velvet its characteristic tanginess and fine, velvety crumb texture. Historically, the red color came from chemical reactions between cocoa and acidic ingredients, not just dye. Modern recipes use food coloring to enhance the hue, but the flavor remains unique and unmistakably red velvet.
Your Next Chocolate Adventure Awaits
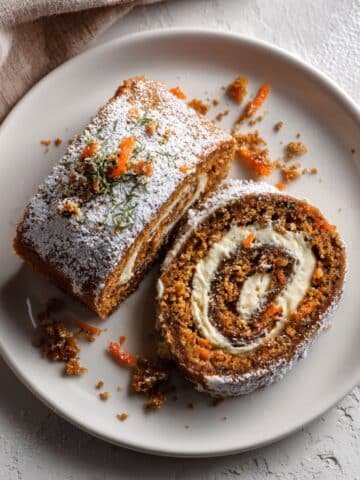
Now that you've mastered this show-stopping red velvet lava cake, you're ready to explore more incredible dessert creations that will impress everyone at your table. The techniques you've learned here; precision timing, temperature control, and creating molten centers, translate perfectly to other spectacular treats. If you loved the gooey center of this red velvet lava cake, you'll absolutely adore the warm, spiced flavors of a Quick Pumpkin Spice Roll Cake, which brings autumn comfort with a similar wow factor but in an elegant rolled presentation.
For those who want to continue their chocolate journey, learning how to master the Chocolate Cranberry Cake Recipe offers another dimension of flavor sophistication. This red velvet lava cake has taught you the fundamentals of creating restaurant-quality desserts at home, and these next recipes build on those skills beautifully. Whether you're baking for special occasions or simply indulging your sweet tooth, you now have the confidence to create memorable desserts. Remember, the magic of any red velvet lava cake lies not just in the recipe but in the joy of sharing something made with love and attention to detail.
From my kitchen, with heart.
Nicole Harper ❤️
Related
Looking for other recipes like this? Try these:
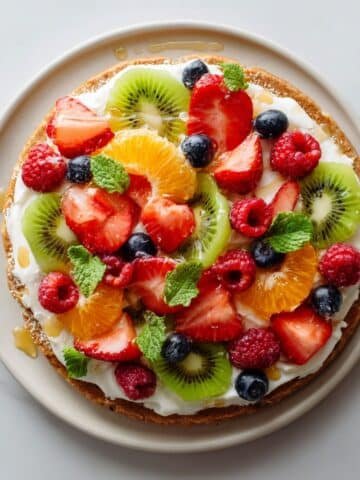
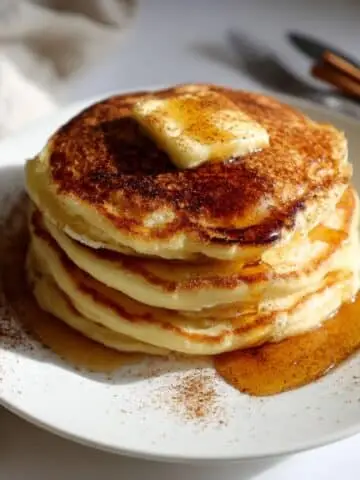
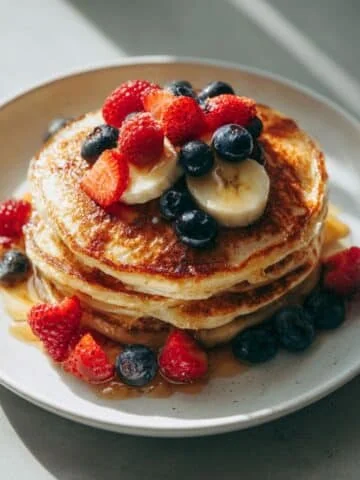
Pairing
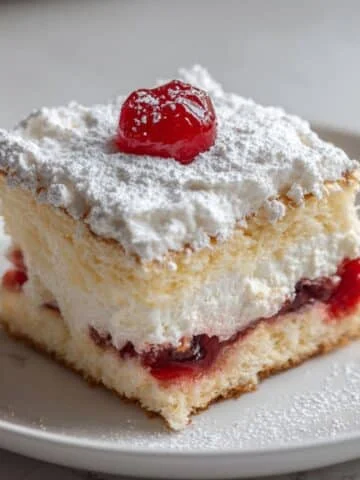
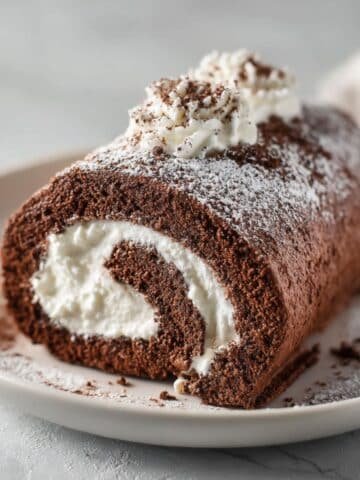
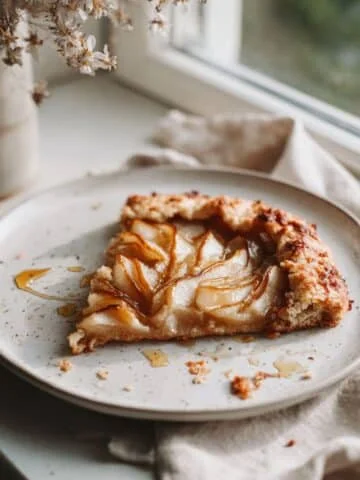
These are my favorite dishes to serve with Red Velvet Lava Cake

Red Velvet Lava Cake
Equipment
- 6 6-ounce ramekins Buttered and cocoa-dusted
- 1 Double boiler or microwave-safe bowl For melting chocolate
- 1 Electric hand mixer Or whisk
- 2–3 Mixing bowls Different sizes
- 1 set Measuring cups and spoons
- 1 Rubber spatula
- 1 Baking sheet For stability in oven
- Butter For greasing ramekins
- 1 Small saucepan For ganache
Ingredients
Cake Batter
- 0.5 cup All-purpose flour
- 2 tablespoon Unsweetened cocoa powder Natural, not Dutch-processed
- 0.5 cup Granulated sugar
- 2 large Eggs Room temperature
- 0.5 cup Butter Melted
- 1 teaspoon Red food coloring Gel preferred
- 1 teaspoon Vanilla extract
- 0.25 cup Buttermilk Room temperature
- 0.5 teaspoon White vinegar
- 0.25 teaspoon Baking soda
- 1 pinch Salt
Filling
- 0.5 cup Dark chocolate chips 60% cocoa or higher
- 0.25 cup Heavy cream For ganache
- 2 oz Cream cheese Optional filling
- 2 tablespoon Powdered sugar For filling and dusting
Instructions
- Butter and dust ramekins.
- Melt chocolate and butter.
- Whisk eggs and sugar.
- Combine wet and dry ingredients.
- Pour half the batter into ramekins.
- Add ganache or cream cheese center.
- Cover with remaining batter.
- Bake 12–14 minutes.
- Rest for 1 minute.
- Invert and serve warm.


Leave a Reply